As my WDTV Live Hub is a few years old now, and impressed greatly by what I have seen of the new H.265 video codec, I decided it was time to update to a new Media Player.
My first stop was Harvey Norman, where nothing of interest was found. Moving through the shopping centre the next port of call was Office Works, where the MMC-S30 was found. After reviewing the many logo’s on the box, and ogling it’s capabilities, the sale price of $179 was too good to pass up, and I brought it home.

The unit really does have a considerable amount of features. Quad core CPU, 8 Core GPU, Dolby Digital, DTS, HDMI, 3D, 4K, WiFi, Ethernet, Bluetooth… the list just goes on and on.
 Un-boxing and connecting was pretty straight forward. With a big smile I plugged in both my USB WD 4TB drives, and still had one port spare! Too good to be true!

Now…
The unit booted up, and with a small amount of fine tuning (adjusting the scale and resolution to suit my TV, setting audio to SPDIF pass through etc) I was ready to dive in. After scrolling through the menu I settled upon the 7Plus Smart App to begin playing with. To my surprise, the supplied remote does not work with this (and many of the other) pre-installed apps. Closer inspection of the supplied instructions revealed that some apps need a mouse. There goes that spare USB port I was so happy about…now I have to go and buy a USB keyboard and mouse. In reality however, because the machine is running Googles Android operating system, most tasks require use of a keyboard and mouse. The operating system, normally used in phones and tablets is built for touch interfacing, and falls terribly short in a media player relying on a remote control. Play, Pause, and scrolling up and down through directories seems to be where the remotes usefulness runs out.
With a Keyboard and mouse plugged in to a USB hub, and the hub plugged in to that coveted 3rd USB port, I again began exploring the device. This time with a full set of capabilities. Navigation seems very simple and straight forward to me. Like a kid in a candy store, I went searching for my sample H.265 1080 videos. Upon launching them, the machine played them back effortlessly and smoothly. I was pleasantly surprised. It also coped well with my MP4 files.
Feeling game I delved into the Google Play store, and set about downloading some apps. Although my keyboard worked flawlessly elsewhere, I had considerable trouble typing in searches. It appeared as though each key I pressed was stuck down – “aaaaaaaaaaaaaaaaaaaaaaaaaa”. I ended up having to use the mouse to click each letter. After some time I managed to get my search term typed in – Tunein Radio. The app downloaded and installed, but flatly refused to play. My second choice for internet radio was 181FM’s own app, which downloaded and played, but repeatedly quit/crashed after about 15 mins.
The unit comes with an old version of XBMC installed, so I was quickly and easily able to download and install the latest “Jarvis” version of Kodi. SuperRepo also installed well, and before long I was flicking through channels and enjoying the benefits of the 10/100Mb Ethernet connection. The unit handles Kodi very well. The only issue here again was “sticky” keyboard behavior, which is odd because other than the Google Play store, the keyboard works well with every other aspect of the software
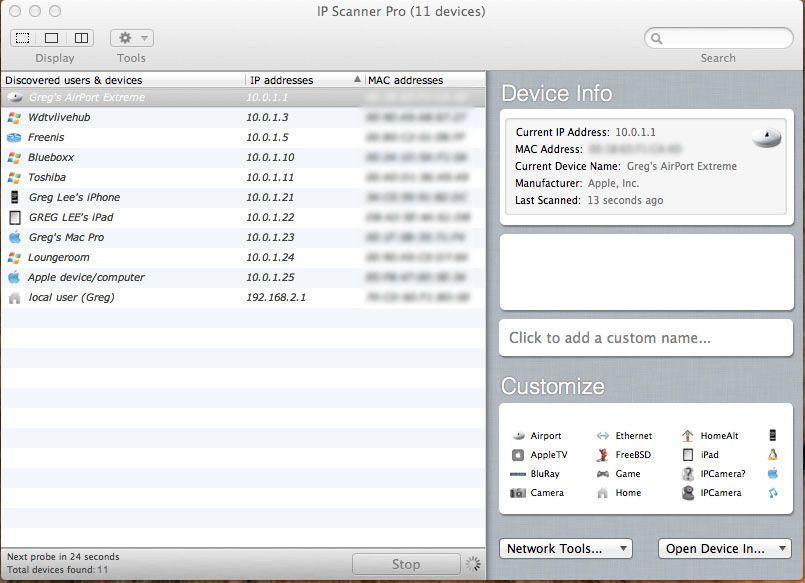
Next on my list of things to do was add some new files. This is where things turn bad for me fast. Being used to the WD TV Live Hub’s always on file server capabilities, and given the device has wifi and ethernet, I went looking for it on my home network. It was nowhere to be seen. I scoured the settings, and nothing I could do made the unit appear on my network. It seems odd to me that a machine with so many capabilities doesn’t come with a server option? I expected there to be several solutions in Googles app store, and there was, but nothing that worked as easily and efficiently as it should. Wifi File Transfer and ES File Explorer were the best of what I tried, but neither allowed me to upload new files to my USB drives from my computer.
Further research into this revealed that Google removed the ability to write to external drives in Android Version 4.4, which coincidentally happens to be the version of Android running on this device. My understanding is that writability been restored in later versions of the operating system, but until LaserCo releases a firmware update, it looks like this may not be possible.
In an effort to try and buoy my spirits, I decided to check out and admire the quality of some of the 1080P episodes of Arrow I have. This is when the MMC-S30 REALLY got on my nerves. The episodes are encoded with DTS sound, and the device played them back easily. My gripe however, is that a DTS logo is superimposed over the video in the top right hand corner. I thought this logo may disappear after a minute or so, but it didn’t. It was there the entire time the DTS file was playing.
As I used the machine more, I found myself getting frustrated with it. It always shows subtitles, and the subtitle button doesn’t seem to work with its video player app. I had to manually turn subtitles off with the mouse in each new file. There are also no fast forward or rewind buttons on the remote, only chapter skipping. Very basic and vague instructions were not helpful.
I posted on LaserCo’s sparsely utilised forum about setting the machine up as a file server, but have yet to receive a reply. I also sent a question to LaserCo’s support service about “Rooting/Unrooting” the machine. Whilst I did eventually get a reply from them, the procedures they outlined, and the firmware file the made available for download did not successfully root the device.
Snooping around on 3rd party web sites I learned that the MMC-S30 will not play Netflix in HD, and that it is also a re-branded clone of the many cheap Chinese players that can be found on Ebay for $50-$80.
And then it happened……
About a week after buying the machine, I disconnected it, put it back in the box, and pined for the many hours I lost trying to get to like this machine. I had had enough.
The bottom line, the hardware side of the MMC-S30 is great. But the Android operating system when applied to this media player is clumsy, unintuitive, buggy and frustrating. Unless a OS update is soon released to address some of these issues, I would pass on this machine. It’s not quite there yet.
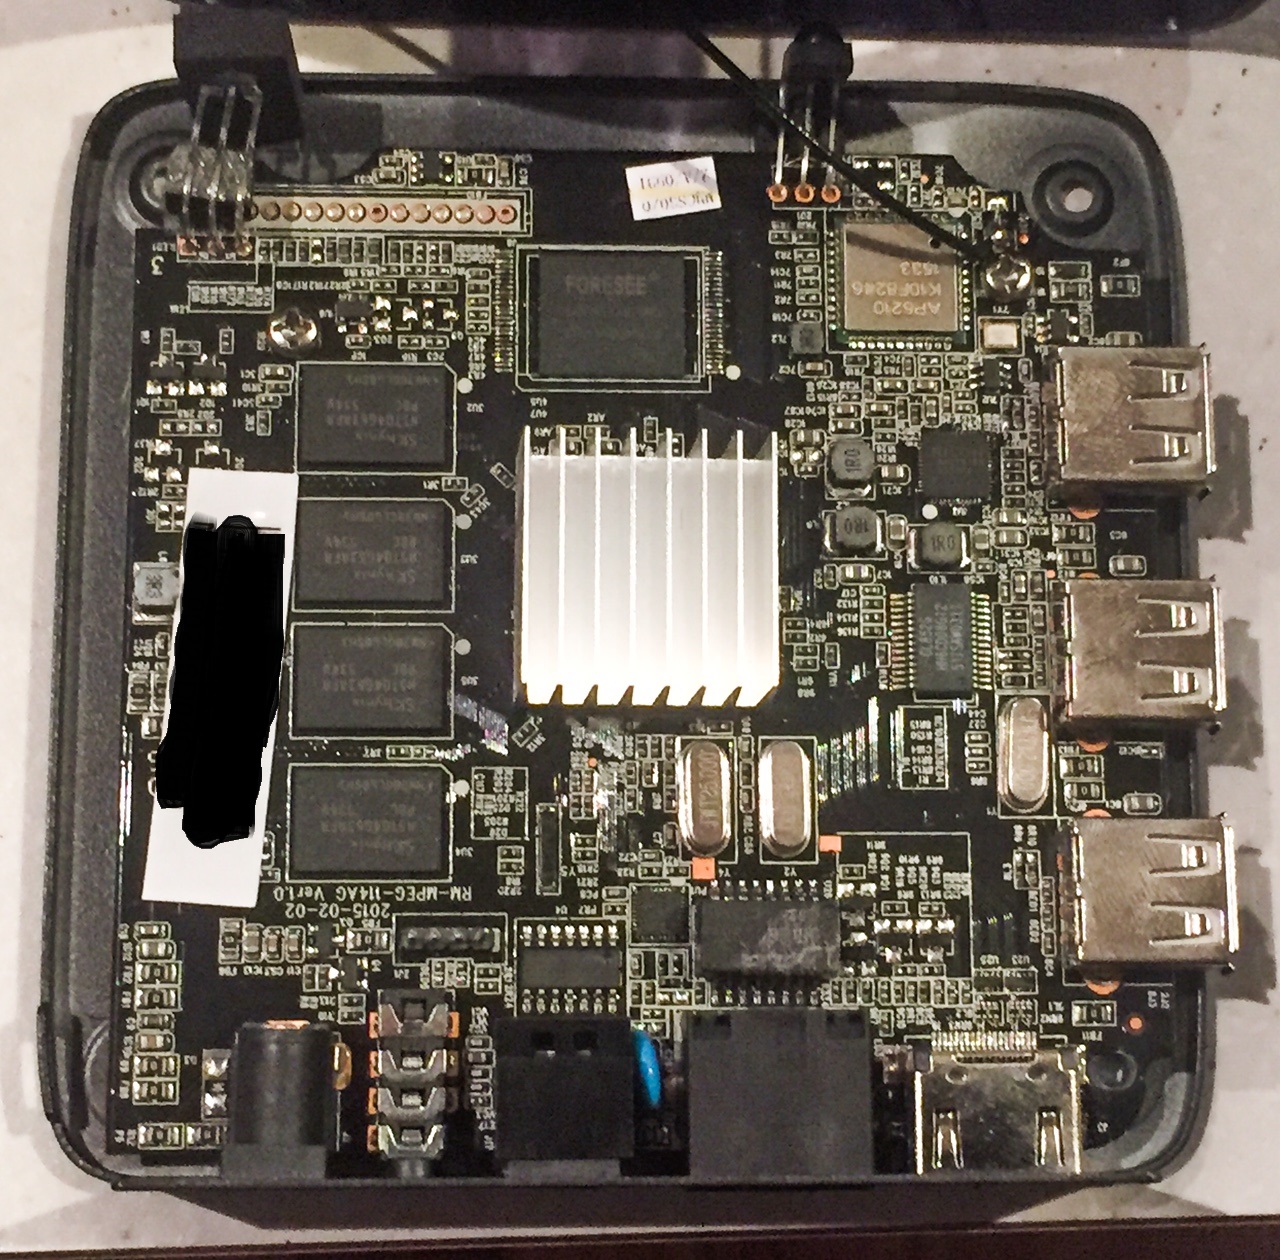
Inside Laser MMC-S30 Media Player