MKV Tools can convert AAC and DTS to Dolby Digital!

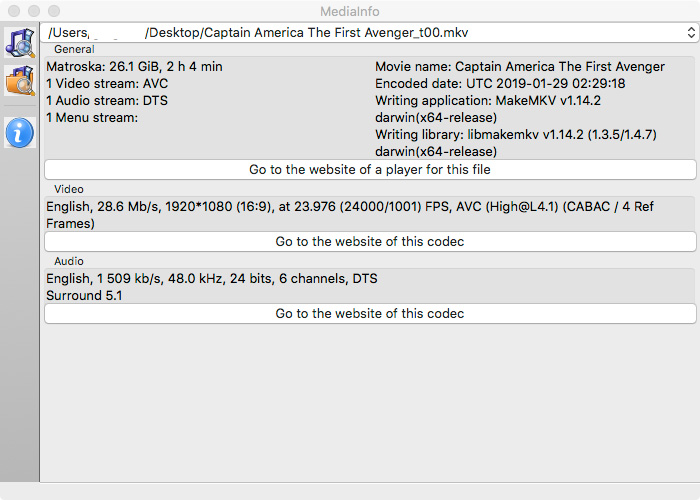
A lot of new TV’s these days do not support the DTS Soundtrack found in BluRay and DVD discs. I learned this the hard way when I got my new 65 Inch Samsung 4K TV. A lot of older audio equipment can not play AAC 5.1 either. I have ripped a lot of my Blu Rays to a network drive and it seems a large number of them have DTS. Usually, us Mac users are left out, but in this case we have an awesome tool available to us to fix this easily called MKV Tools. It works very quickly as it allows the video to “Pass Through” without having to be re-encoded. Only the audio is touched. As you can see in the below screen capture of my source file in Media Info below, the video file I am starting with has a DTS sound track.
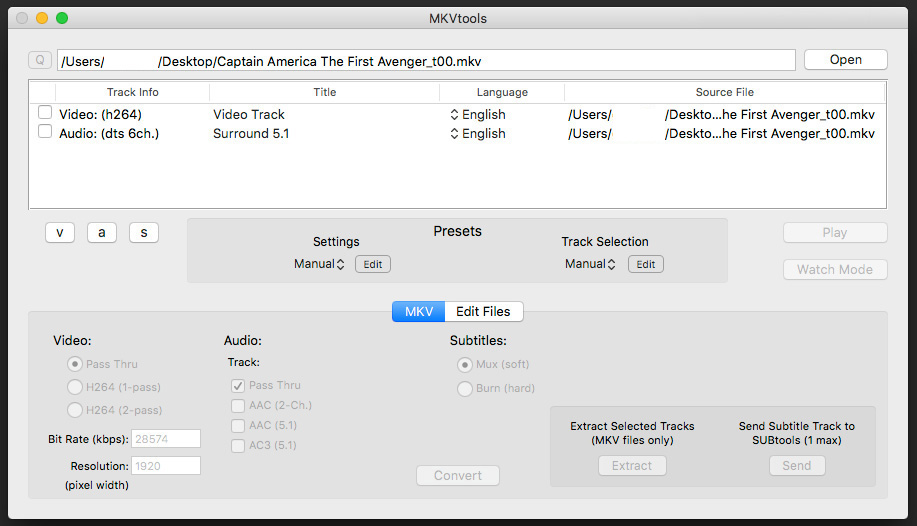
To convert it to a more compatible AC3 format download and install MKV Tools HERE. Once you have opened MKV Tools you will need to choose “Open” to import your video file, as drag’n’drop is not supported in the unregistered version. At this point you will receive another “Nag” window. Just wait a few seconds and you will be able to select “Register Later”, then you can choose your video file. Once the file is imported you will see the main window.
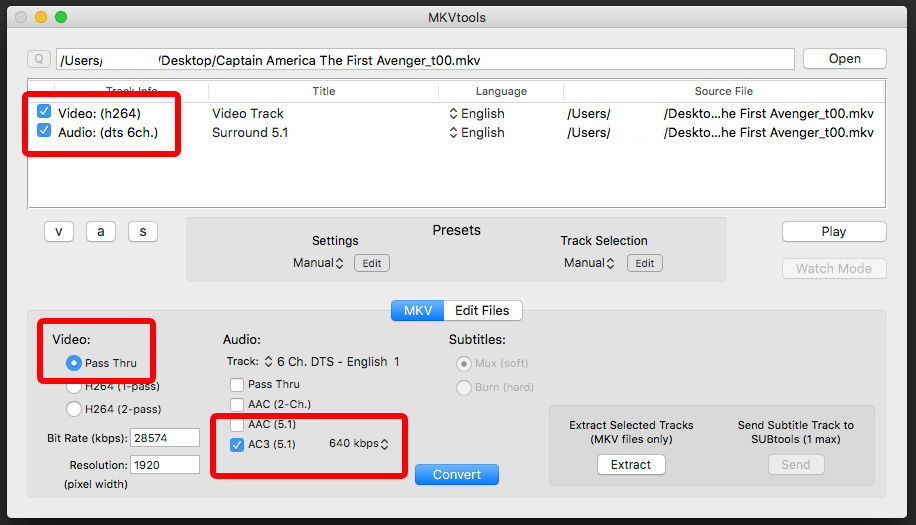
At this point you need to select the video and audio streams you need to work on, then you can start making adjustments.
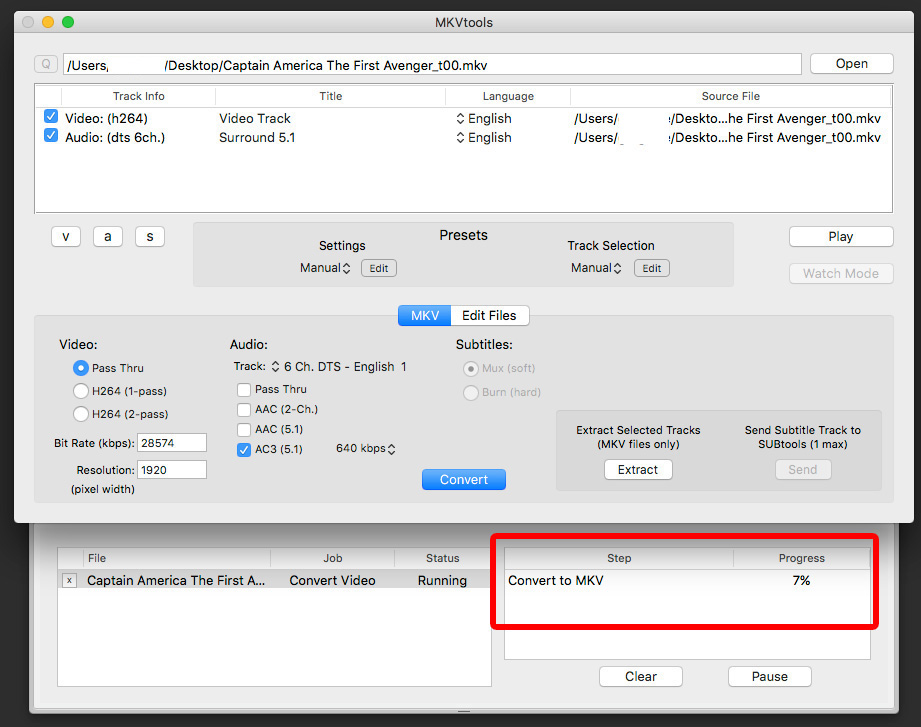
Once you have selected the Audio and Video channels, make sure video is set to “Pass Thru”. In the audio options, select AC3 (5.1) and deselect “Pass Thru”. Then set your desired bit rate. I prefer 640kb, but you can go down to 384kb comfortably without any real noticeable quality loss. Then, press the “Convert” but and MKV Tools will start converting your audio stream. A new tab will fold out underneath the main window where you can view the progress.
Whilst MKV Tools is not technically free, it is a bargain at $5.99. You can use it without paying to re-encode as many videos as you like, but given how powerful and convenient it is, and how little it costs, its well worth buying/registering in my opinion. I did!

