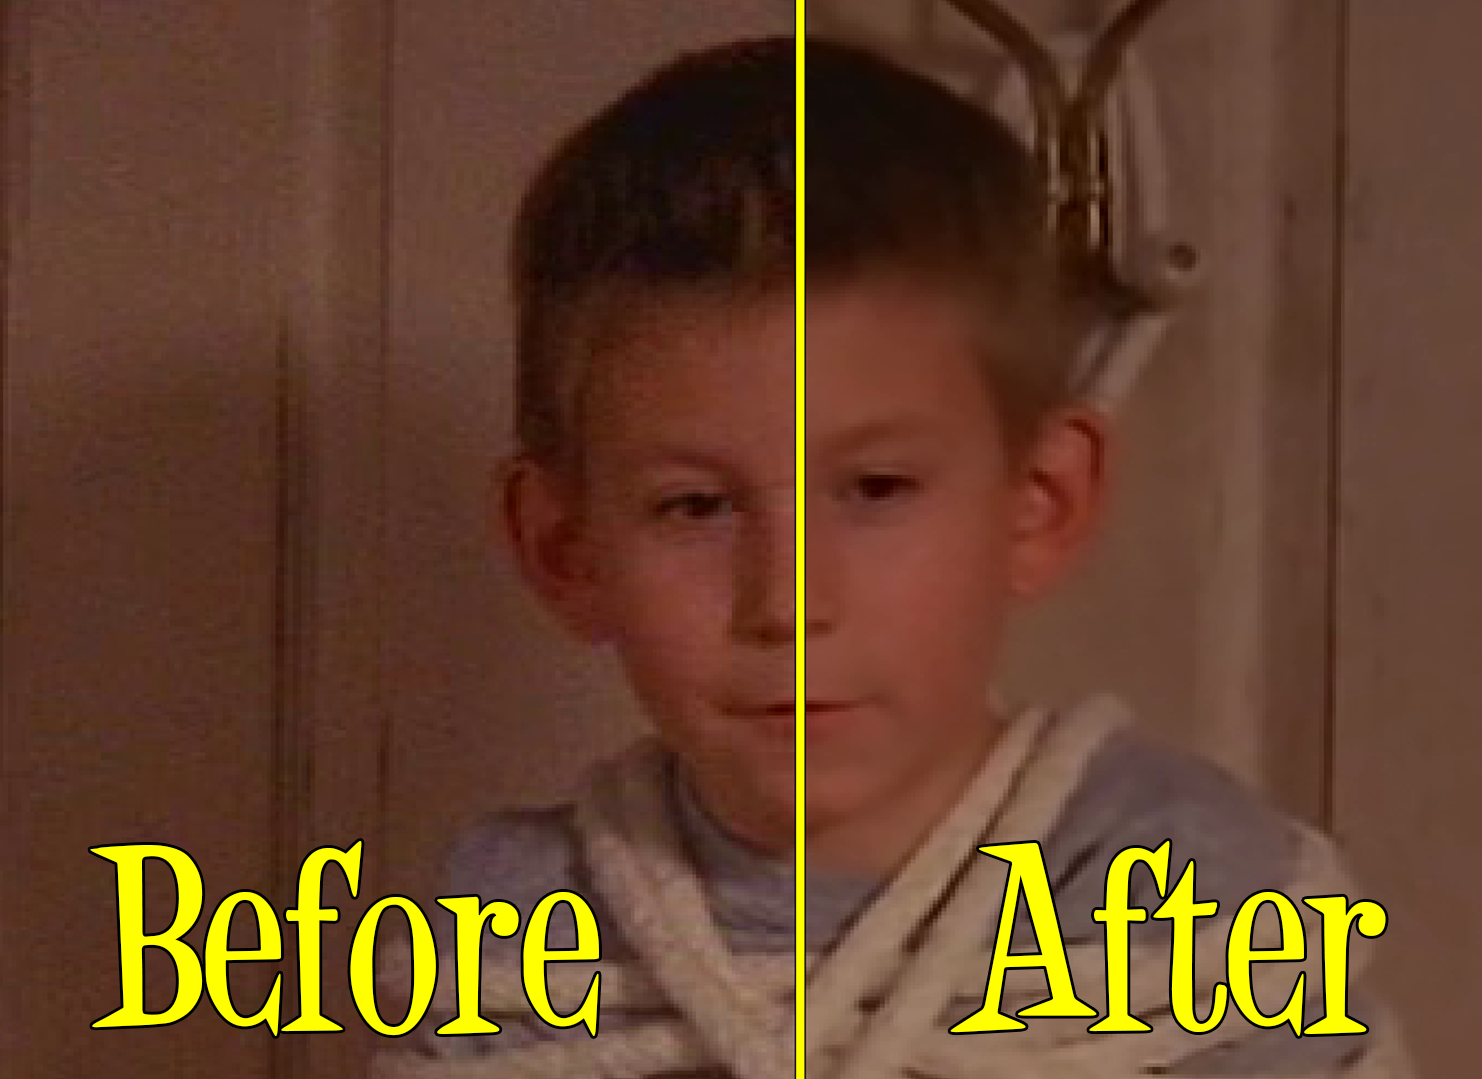
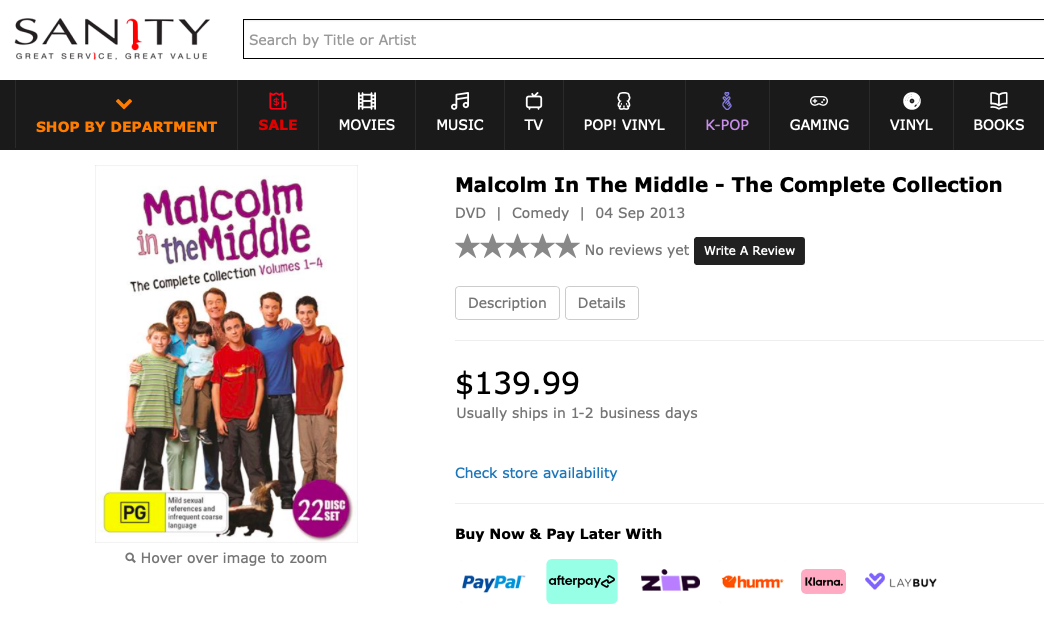
I recently purchased the box set of Malcolm In The Middle. I love this show! It was always so funny, and those kids, OMG what horrible kids they were. However, whilst the show was fantastic, the quality of the DVD video was horrible, especially when I viewed it on my new 4K UHD TV.
Seriously…WTF Hollywood?
I paid $140 bucks for these discs, and there are more artefacts in the video than even Howard Carter can handle! (A little Tutankhamun humour there)
Thankfully, we can fix this with a free program called Handbrake. At the time of writing the current version of Handbrake is v1.6.1. You can download your copy HERE.
As my WDTV Live Hub is a few years old now, and impressed greatly by what I have seen of the new H.265 video codec, I decided it was time to update to a new Media Player.
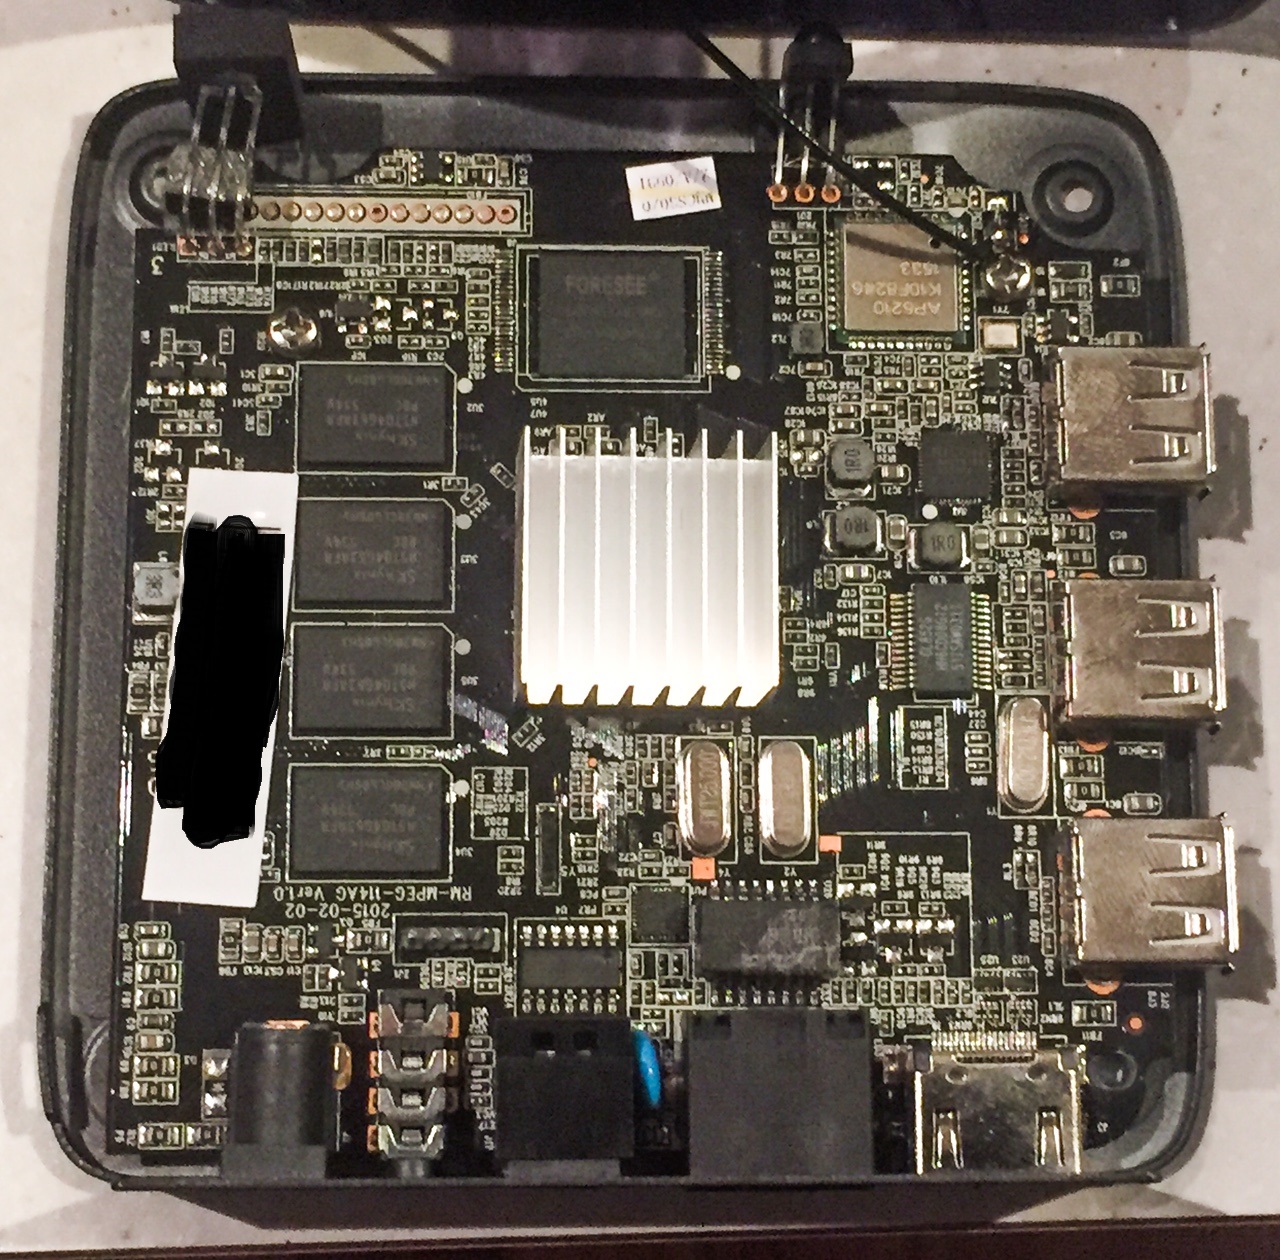
My first stop was Harvey Norman, where nothing of interest was found. Moving through the shopping centre the next port of call was Office Works, where the MMC-S30 was found. After reviewing the many logo’s on the box, and ogling it’s capabilities, the sale price of $179 was too good to pass up, and I brought it home.
The unit really does have a considerable amount of features. Quad core CPU, 8 Core GPU, Dolby Digital, DTS, HDMI, 3D, 4K, WiFi, Ethernet, Bluetooth… the list just goes on and on.
Un-boxing and connecting was pretty straight forward. With a big smile I plugged in both my USB WD 4TB drives, and still had one port spare! Too good to be true!
Now…
The unit booted up, and with a small amount of fine tuning (adjusting the scale and resolution to suit my TV, setting audio to SPDIF pass through etc) I was ready to dive in. After scrolling through the menu I settled upon the 7Plus Smart App to begin playing with. To my surprise, the supplied remote does not work with this (and many of the other) pre-installed apps. Closer inspection of the supplied instructions revealed that some apps need a mouse. There goes that spare USB port I was so happy about…now I have to go and buy a USB keyboard and mouse. In reality however, because the machine is running Googles Android operating system, most tasks require use of a keyboard and mouse. The operating system, normally used in phones and tablets is built for touch interfacing, and falls terribly short in a media player relying on a remote control. Play, Pause, and scrolling up and down through directories seems to be where the remotes usefulness runs out.
With a Keyboard and mouse plugged in to a USB hub, and the hub plugged in to that coveted 3rd USB port, I again began exploring the device. This time with a full set of capabilities. Navigation seems very simple and straight forward to me. Like a kid in a candy store, I went searching for my sample H.265 1080 videos. Upon launching them, the machine played them back effortlessly and smoothly. I was pleasantly surprised. It also coped well with my MP4 files.
Feeling game I delved into the Google Play store, and set about downloading some apps. Although my keyboard worked flawlessly elsewhere, I had considerable trouble typing in searches. It appeared as though each key I pressed was stuck down – “aaaaaaaaaaaaaaaaaaaaaaaaaa”. I ended up having to use the mouse to click each letter. After some time I managed to get my search term typed in – Tunein Radio. The app downloaded and installed, but flatly refused to play. My second choice for internet radio was 181FM’s own app, which downloaded and played, but repeatedly quit/crashed after about 15 mins.
The unit comes with an old version of XBMC installed, so I was quickly and easily able to download and install the latest “Jarvis” version of Kodi. SuperRepo also installed well, and before long I was flicking through channels and enjoying the benefits of the 10/100Mb Ethernet connection. The unit handles Kodi very well. The only issue here again was “sticky” keyboard behavior, which is odd because other than the Google Play store, the keyboard works well with every other aspect of the software
Next on my list of things to do was add some new files. This is where things turn bad for me fast. Being used to the WD TV Live Hub’s always on file server capabilities, and given the device has wifi and ethernet, I went looking for it on my home network. It was nowhere to be seen. I scoured the settings, and nothing I could do made the unit appear on my network. It seems odd to me that a machine with so many capabilities doesn’t come with a server option? I expected there to be several solutions in Googles app store, and there was, but nothing that worked as easily and efficiently as it should. Wifi File Transfer and ES File Explorer were the best of what I tried, but neither allowed me to upload new files to my USB drives from my computer.
Further research into this revealed that Google removed the ability to write to external drives in Android Version 4.4, which coincidentally happens to be the version of Android running on this device. My understanding is that writability been restored in later versions of the operating system, but until LaserCo releases a firmware update, it looks like this may not be possible.
In an effort to try and buoy my spirits, I decided to check out and admire the quality of some of the 1080P episodes of Arrow I have. This is when the MMC-S30 REALLY got on my nerves. The episodes are encoded with DTS sound, and the device played them back easily. My gripe however, is that a DTS logo is superimposed over the video in the top right hand corner. I thought this logo may disappear after a minute or so, but it didn’t. It was there the entire time the DTS file was playing.
As I used the machine more, I found myself getting frustrated with it. It always shows subtitles, and the subtitle button doesn’t seem to work with its video player app. I had to manually turn subtitles off with the mouse in each new file. There are also no fast forward or rewind buttons on the remote, only chapter skipping. Very basic and vague instructions were not helpful.
I posted on LaserCo’s sparsely utilised forum about setting the machine up as a file server, but have yet to receive a reply. I also sent a question to LaserCo’s support service about “Rooting/Unrooting” the machine. Whilst I did eventually get a reply from them, the procedures they outlined, and the firmware file the made available for download did not successfully root the device.
Snooping around on 3rd party web sites I learned that the MMC-S30 will not play Netflix in HD, and that it is also a re-branded clone of the many cheap Chinese players that can be found on Ebay for $50-$80.
And then it happened……
About a week after buying the machine, I disconnected it, put it back in the box, and pined for the many hours I lost trying to get to like this machine. I had had enough.
The bottom line, the hardware side of the MMC-S30 is great. But the Android operating system when applied to this media player is clumsy, unintuitive, buggy and frustrating. Unless a OS update is soon released to address some of these issues, I would pass on this machine. It’s not quite there yet.
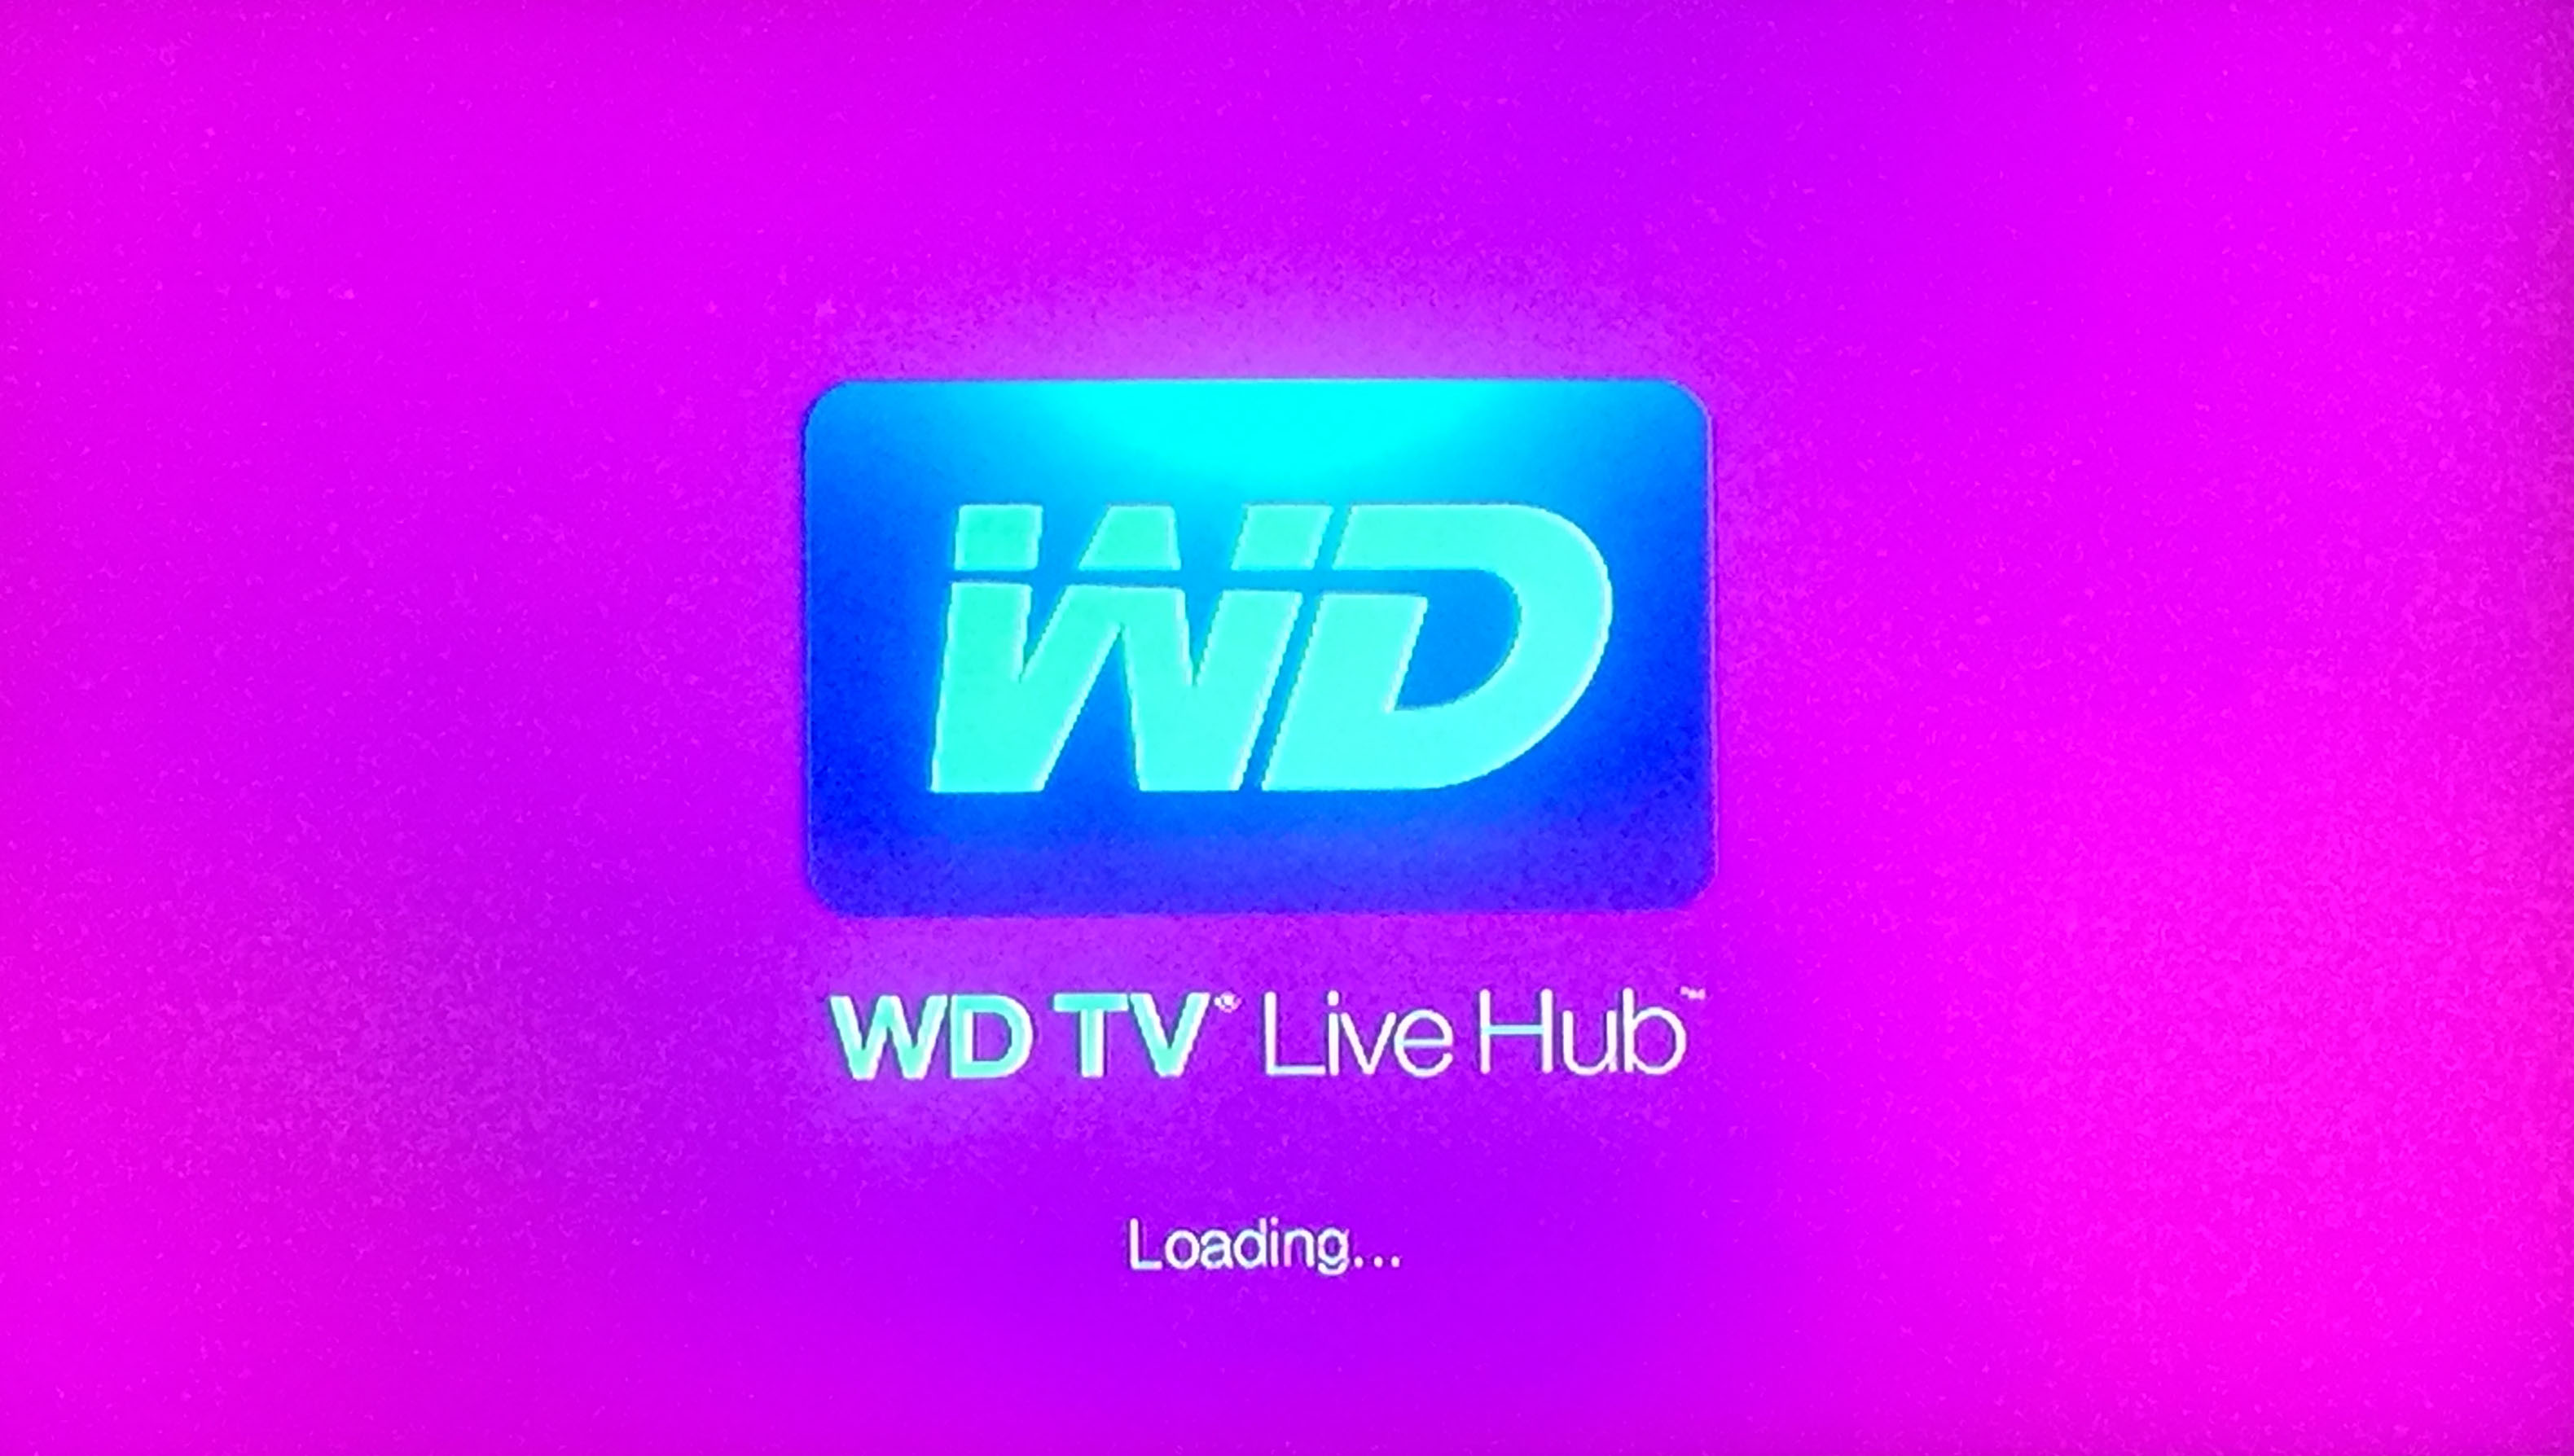
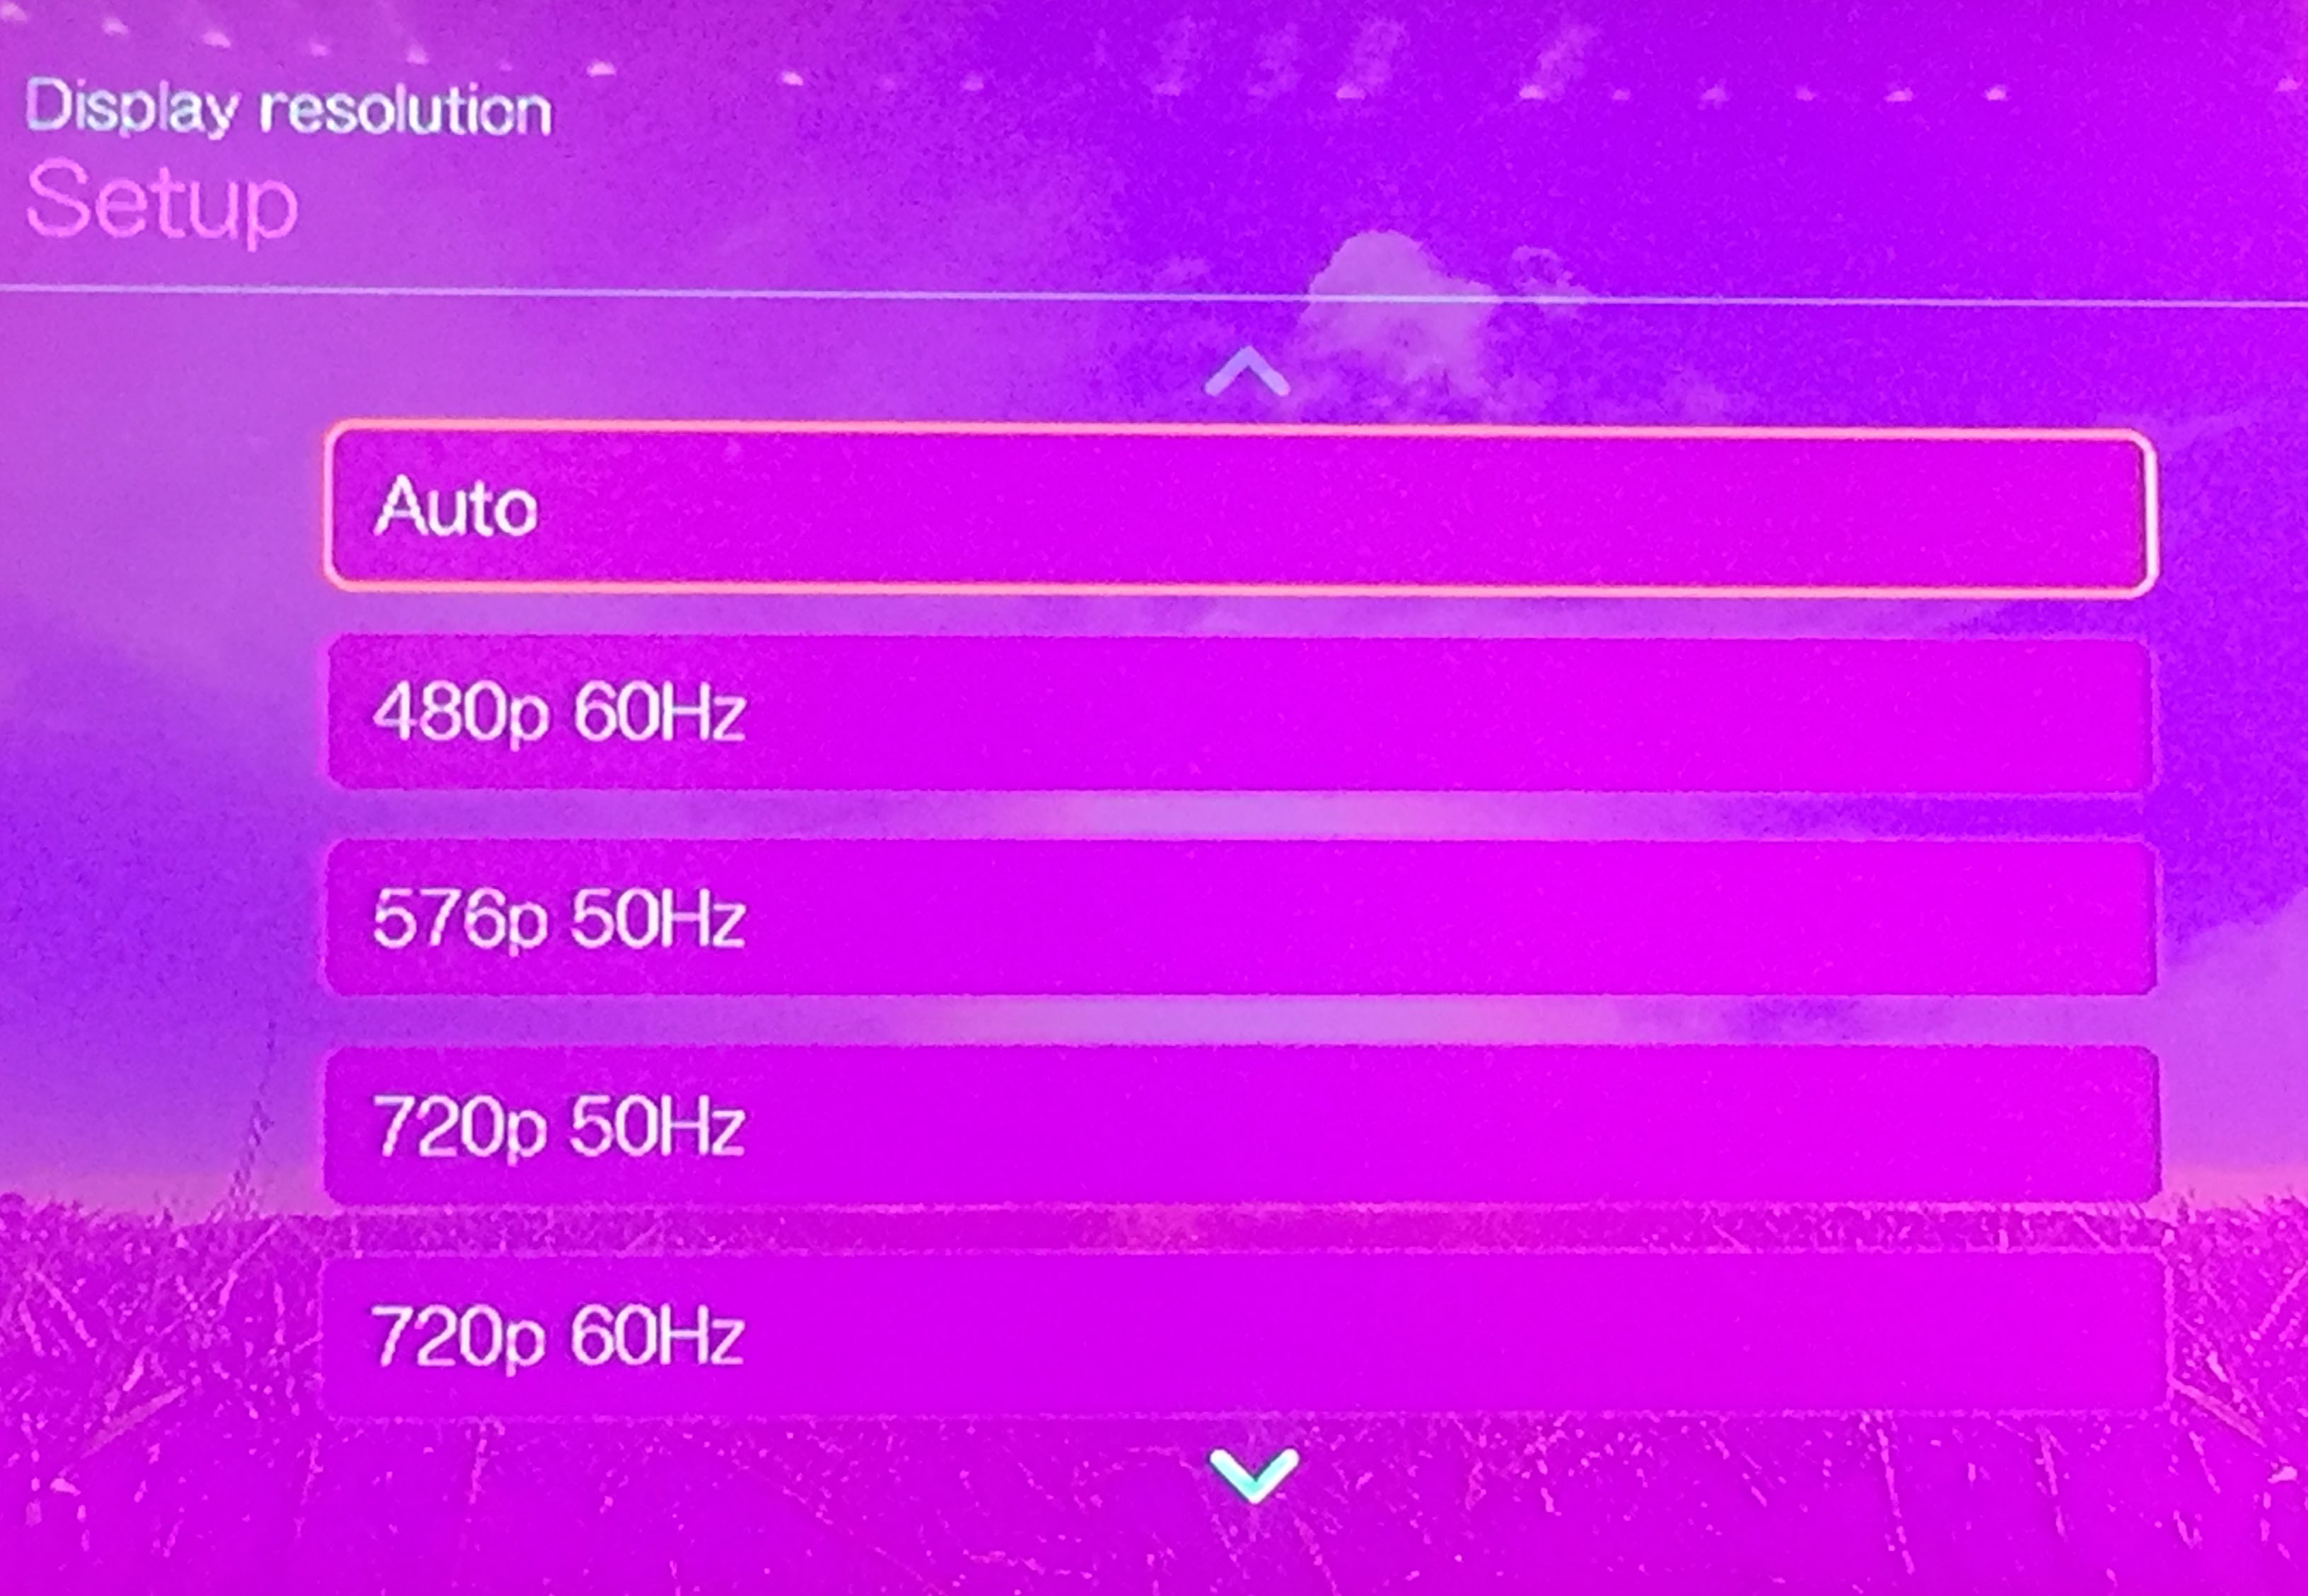
If the power goes off, or I need to reboot my WDTV for any reason, when it comes back on my screen is always tainted with a pink hue, it seems to be called the “Pink Screen Issue”. From what I can gather, its caused by a mismatch in frame rate when using HDMI. Here’s how I fix it on my unit. I hope this works for you as well.
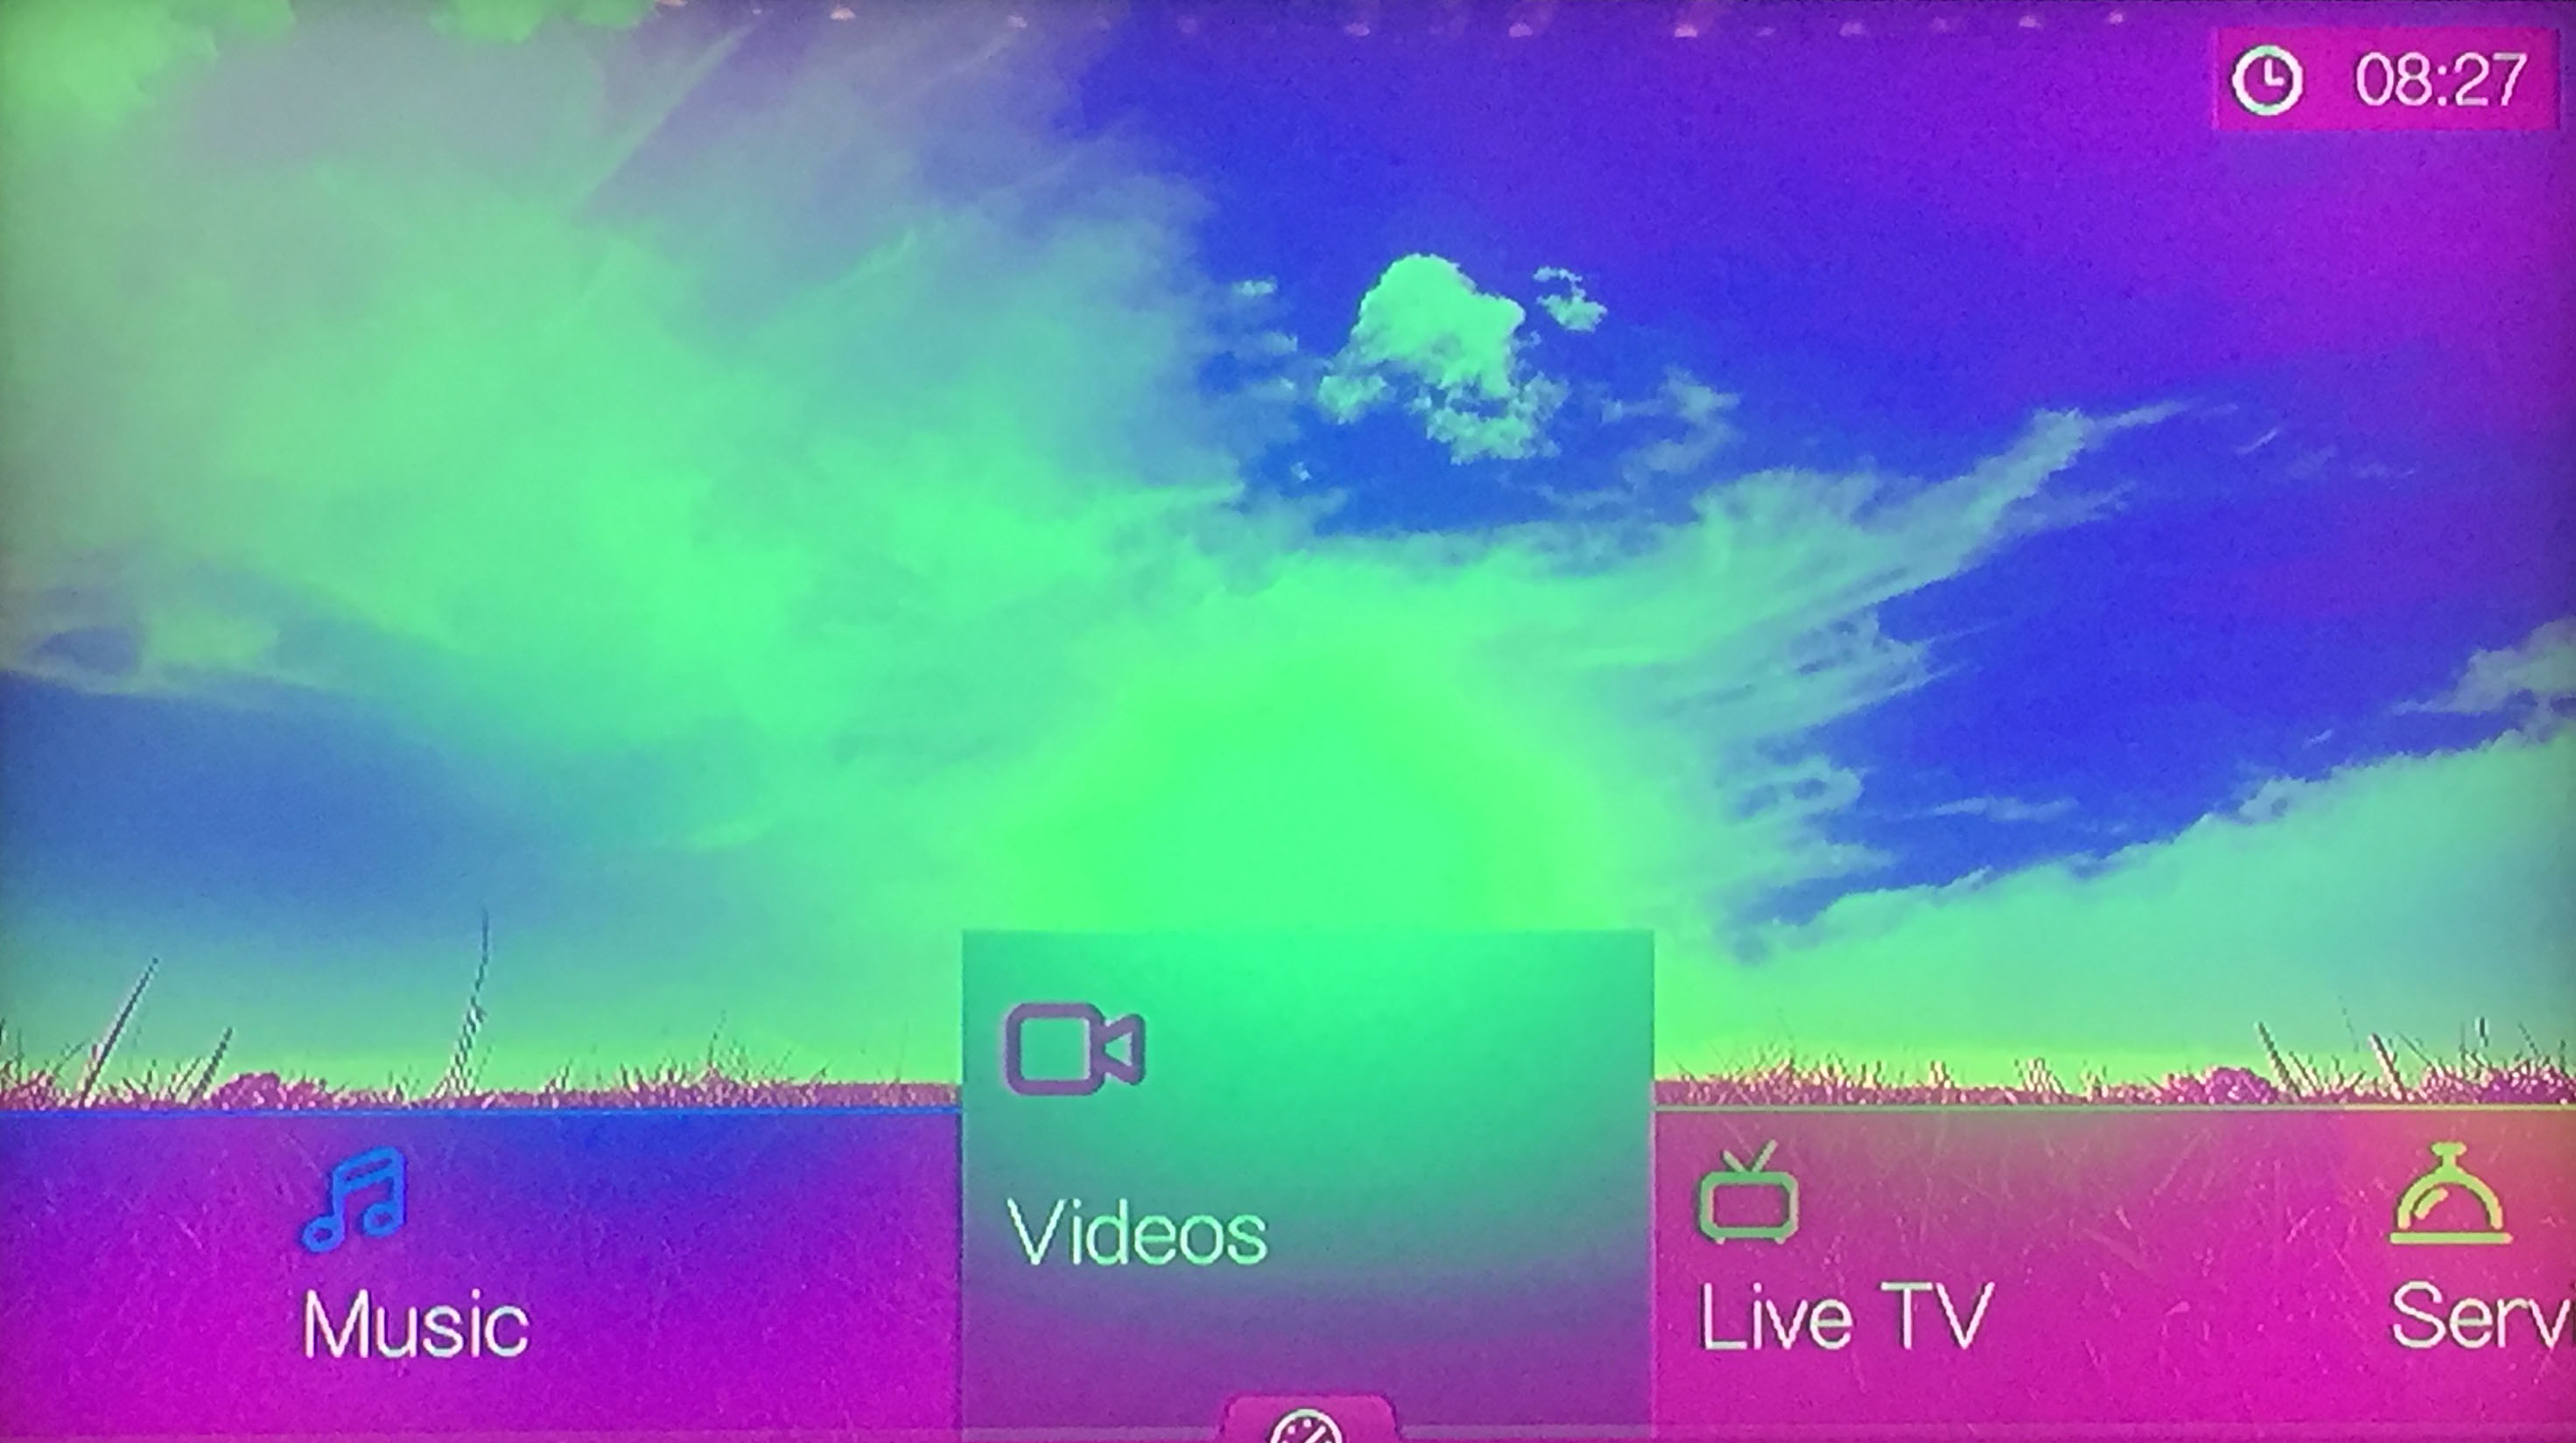
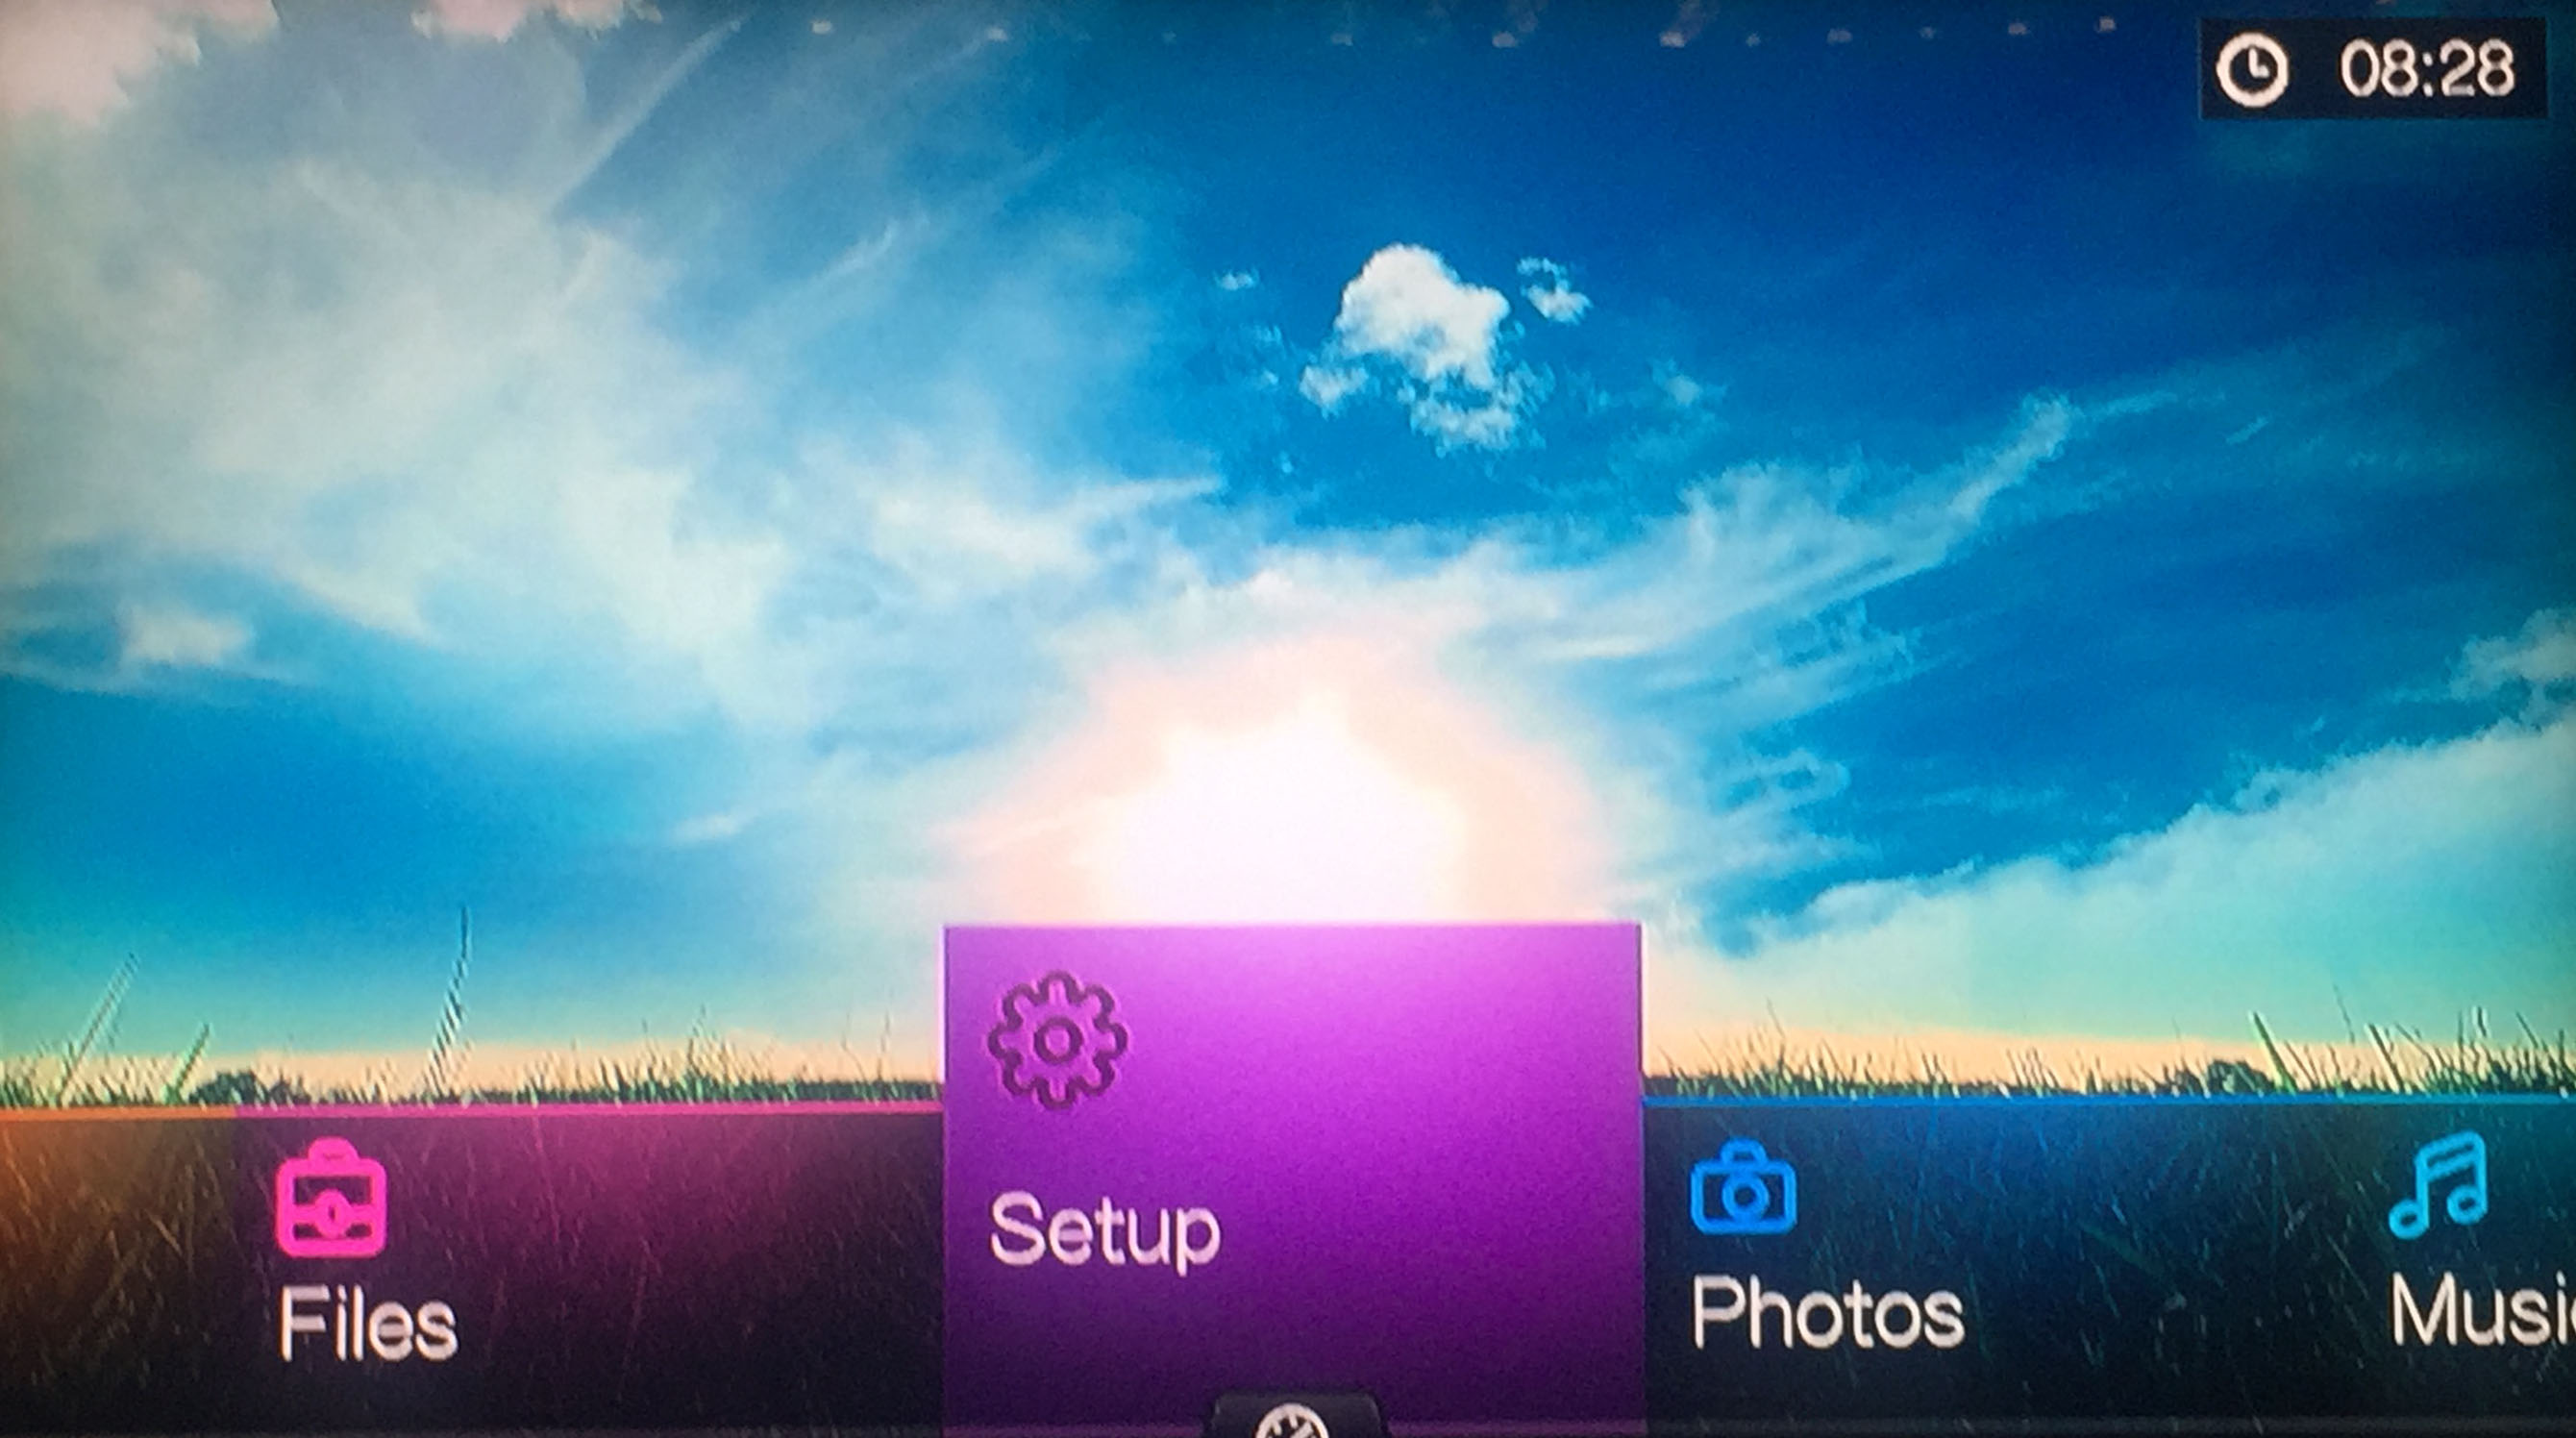
Start at the home screen
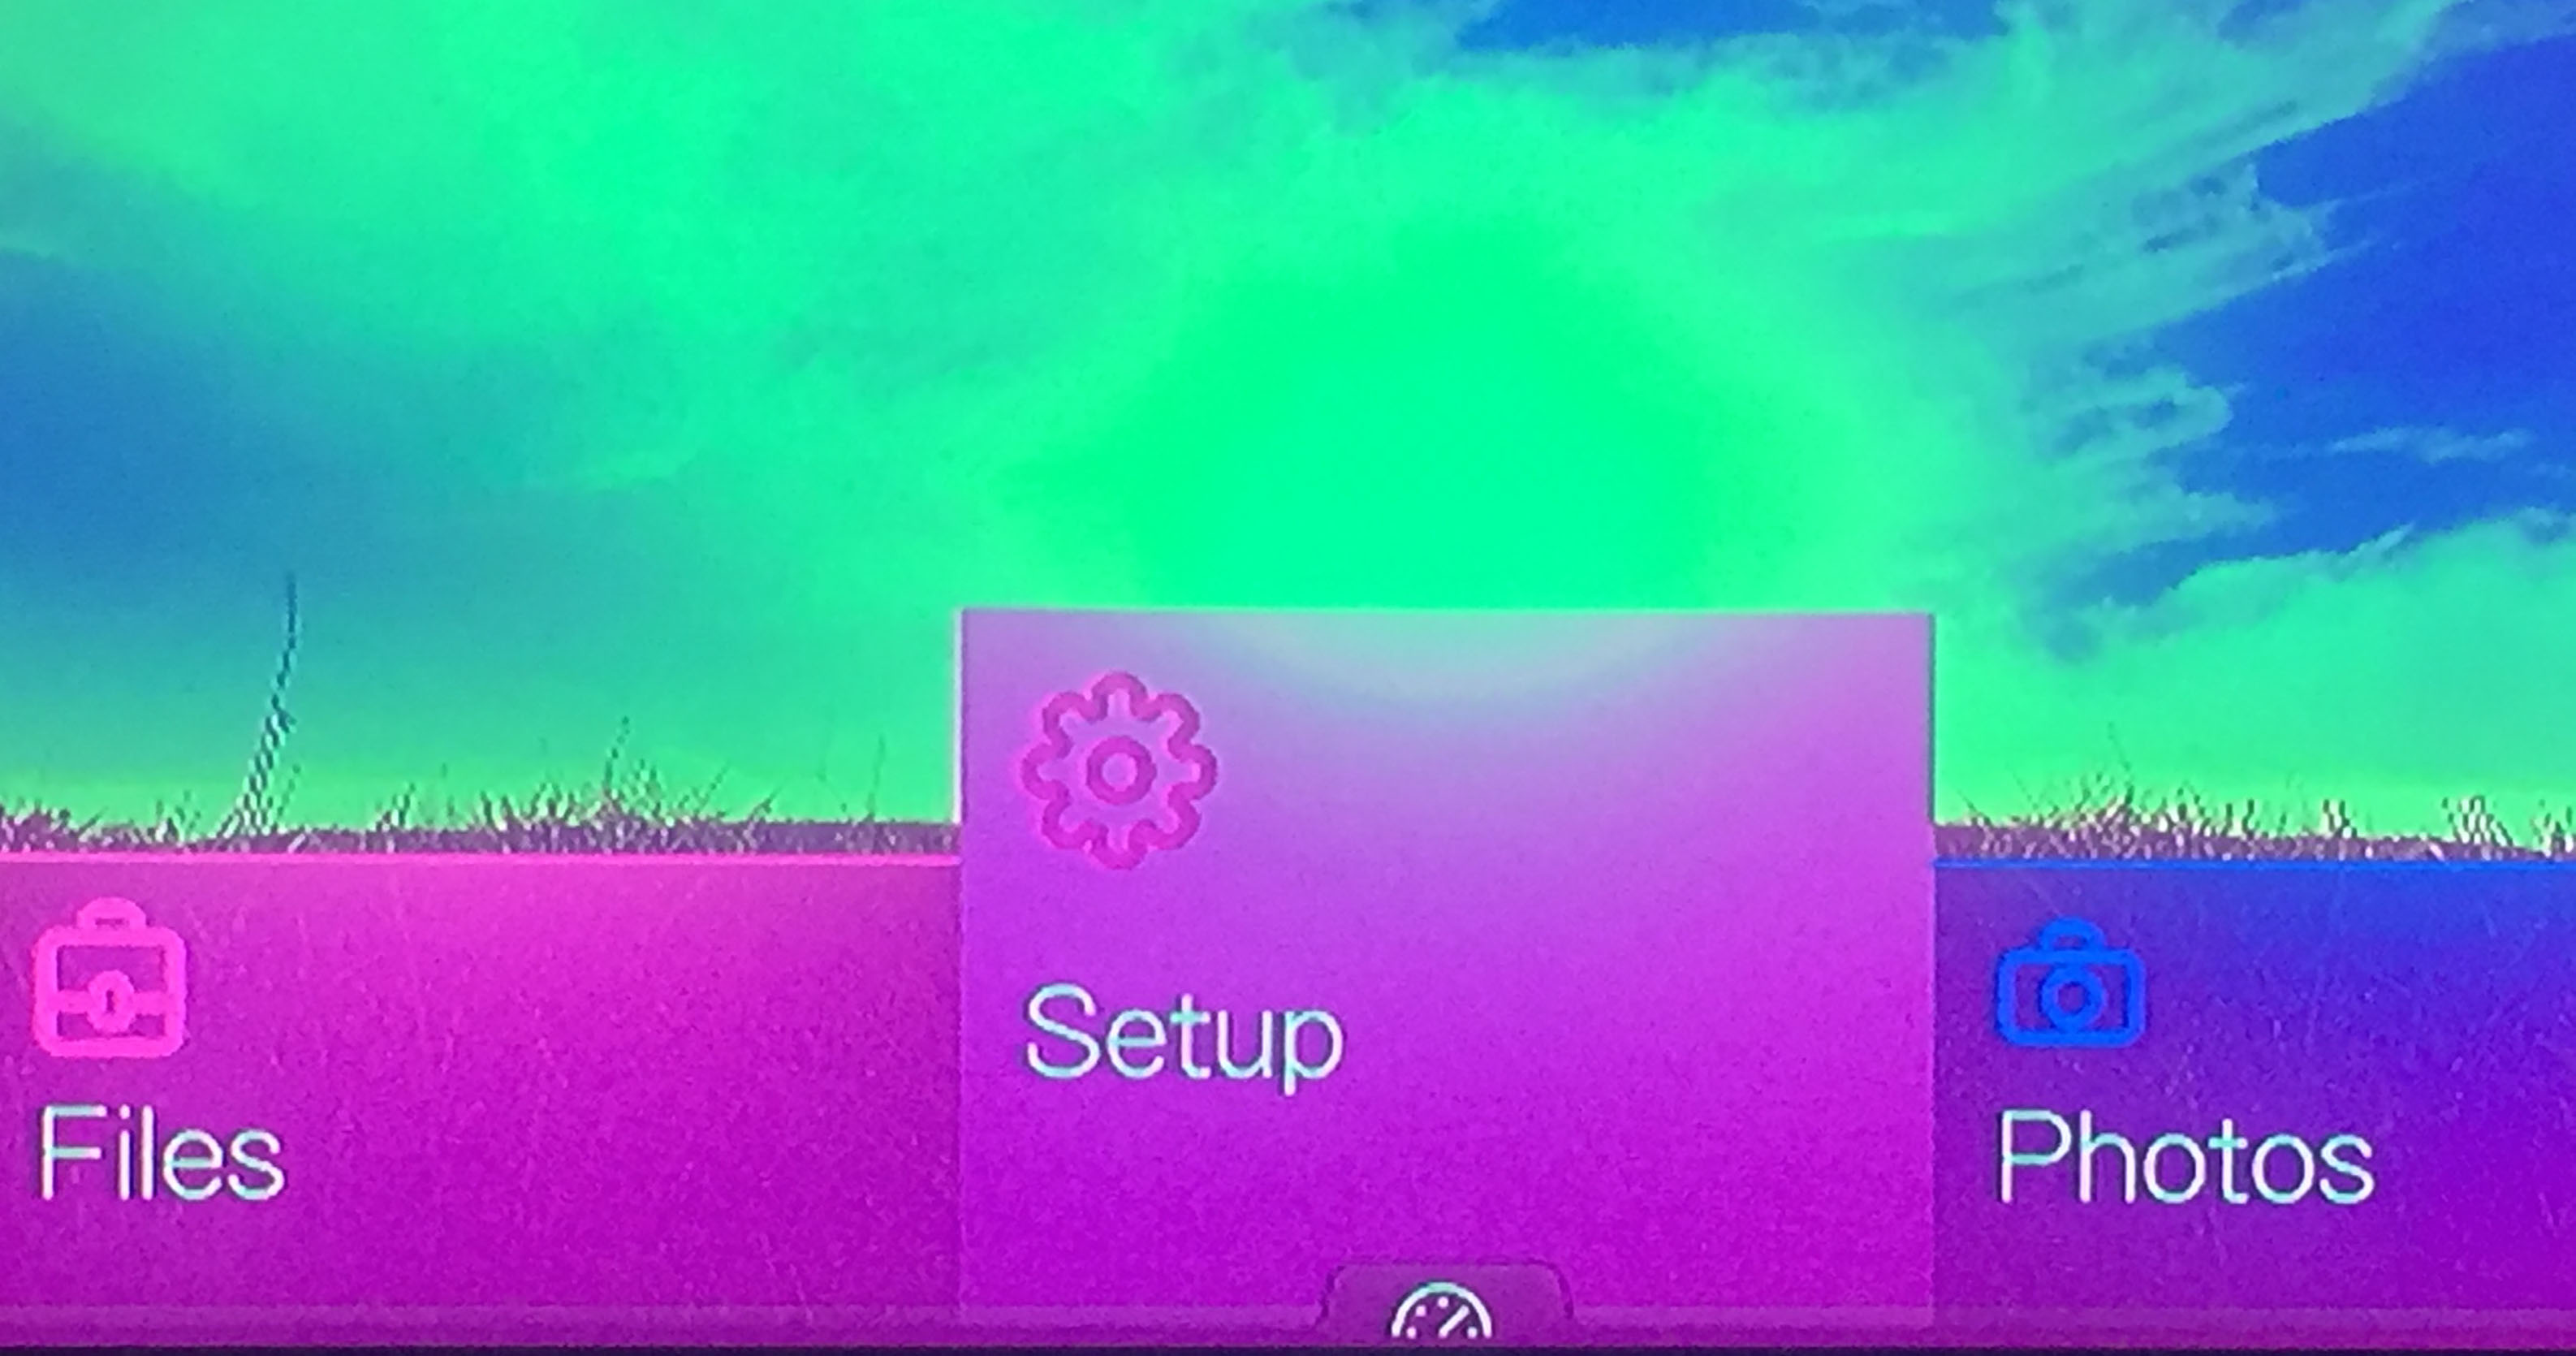
Scroll through and select the “Setup” option
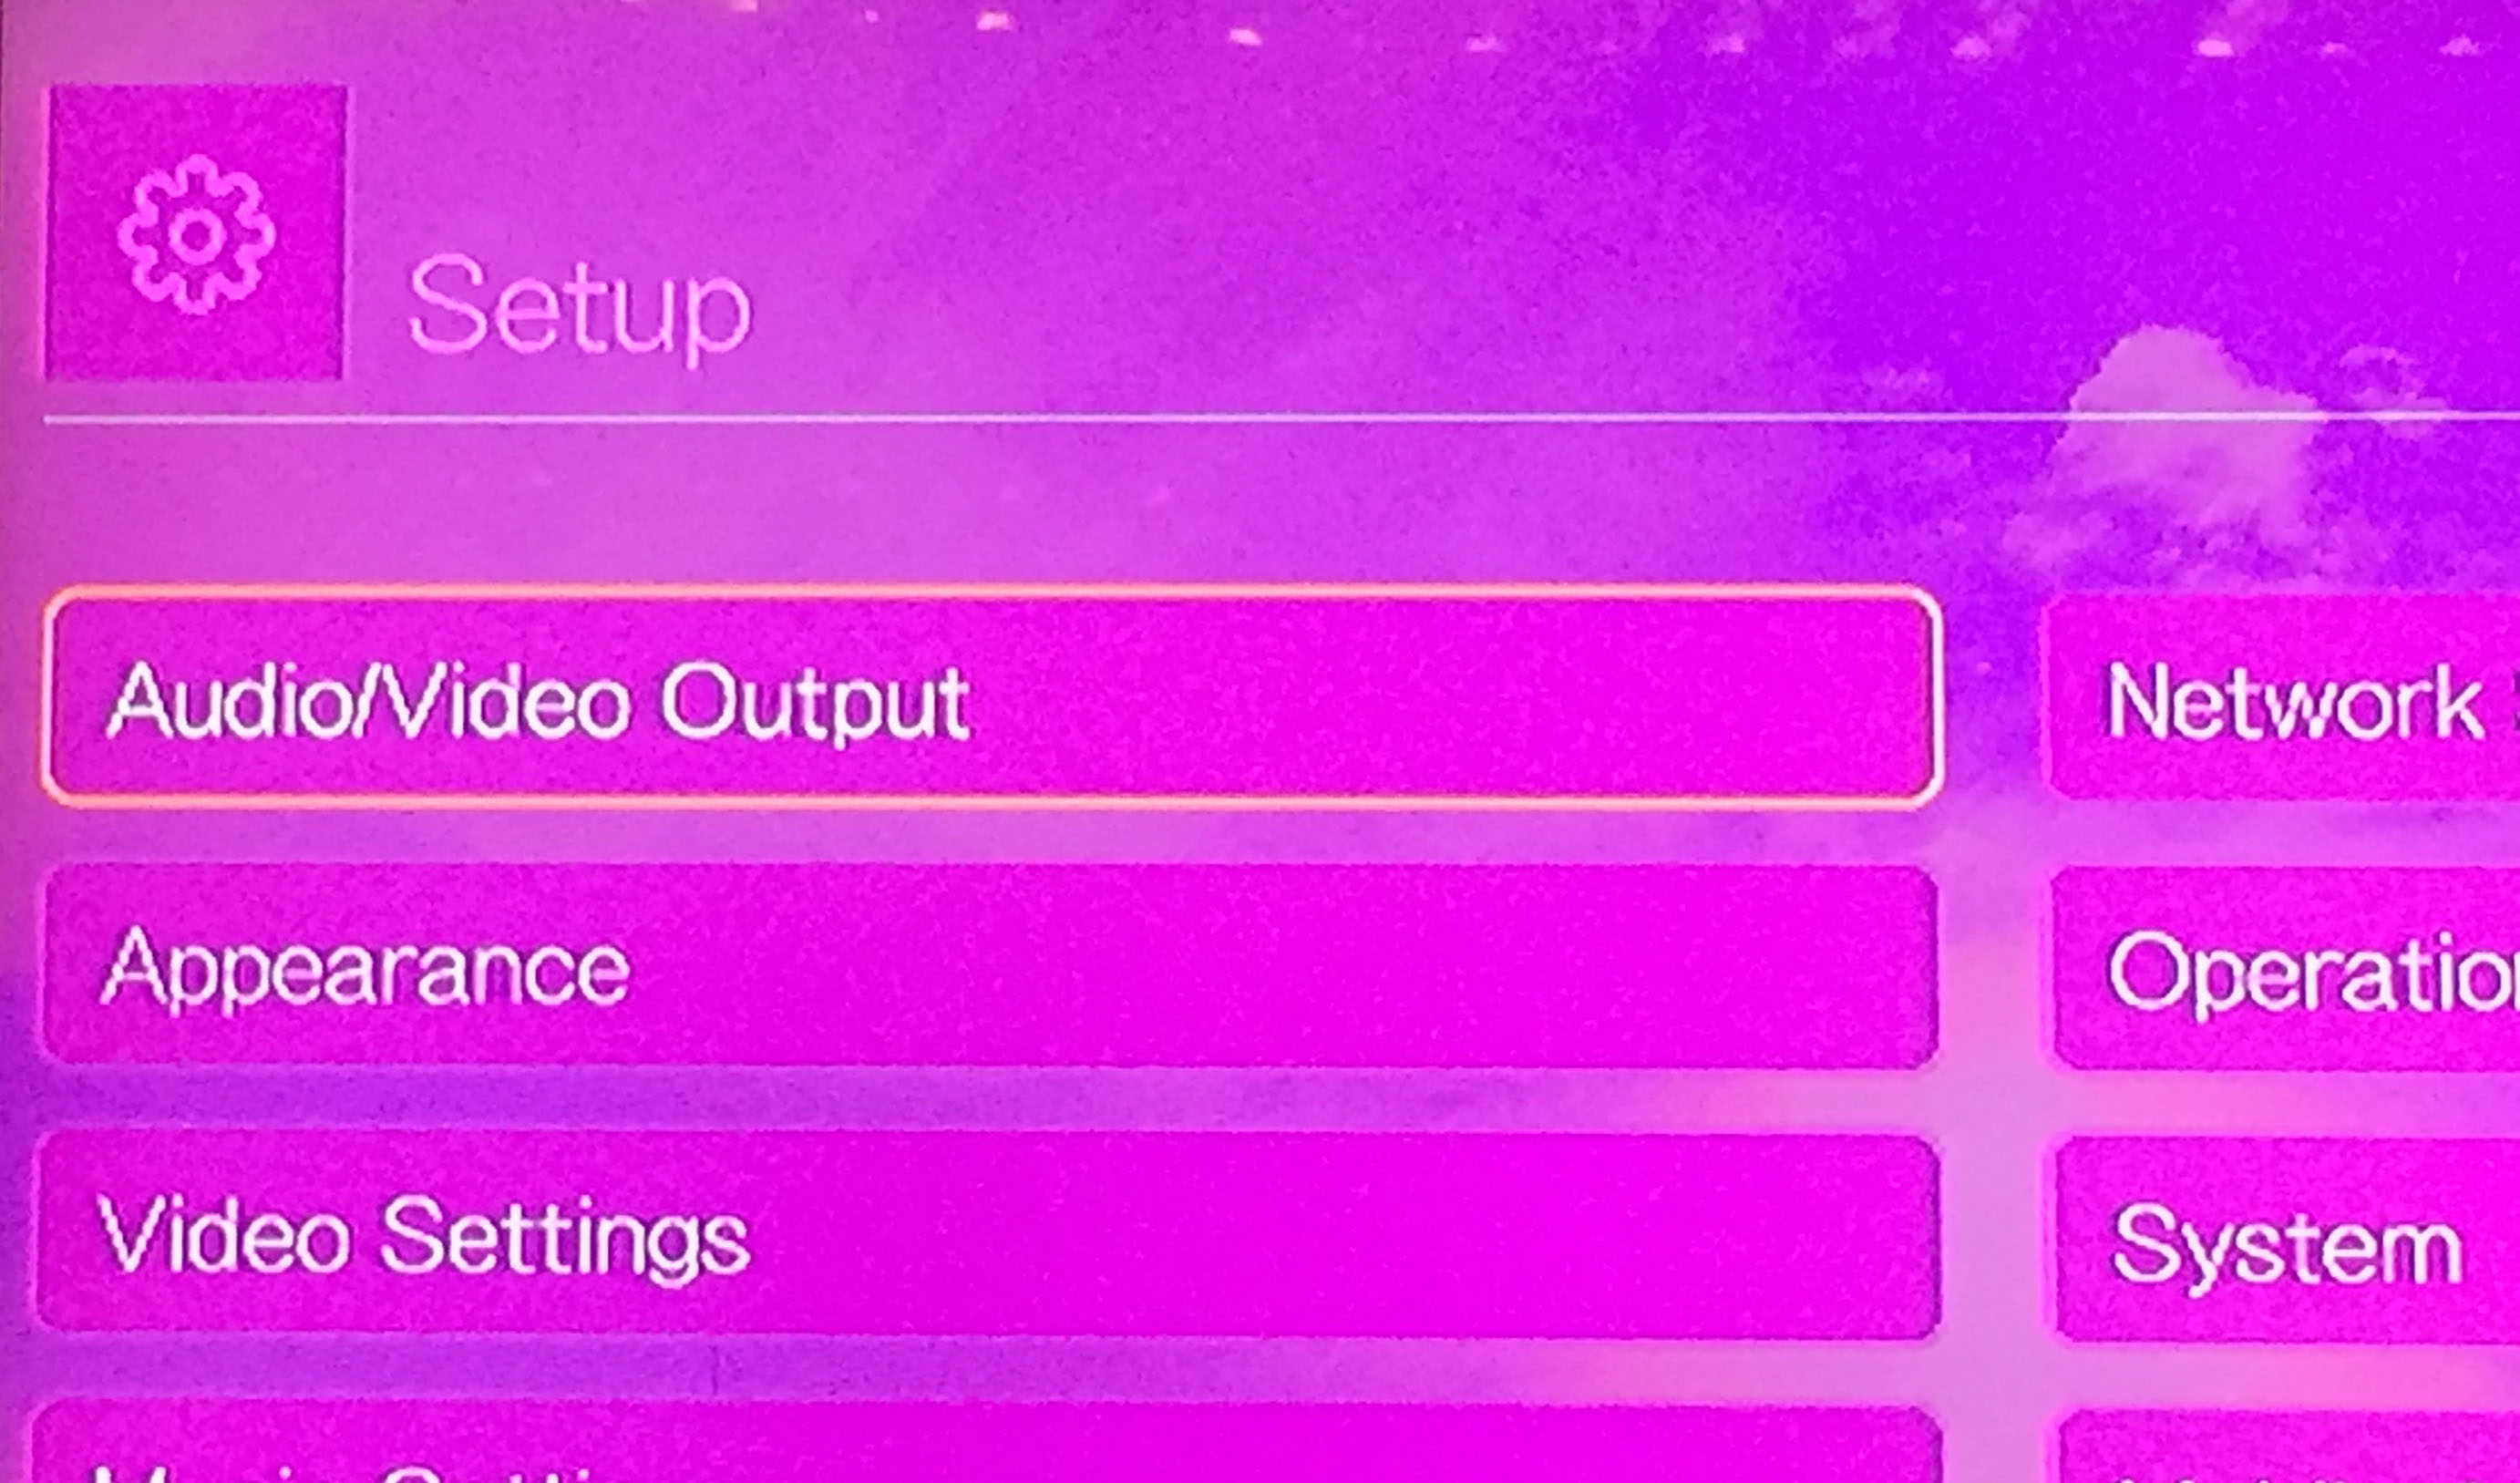
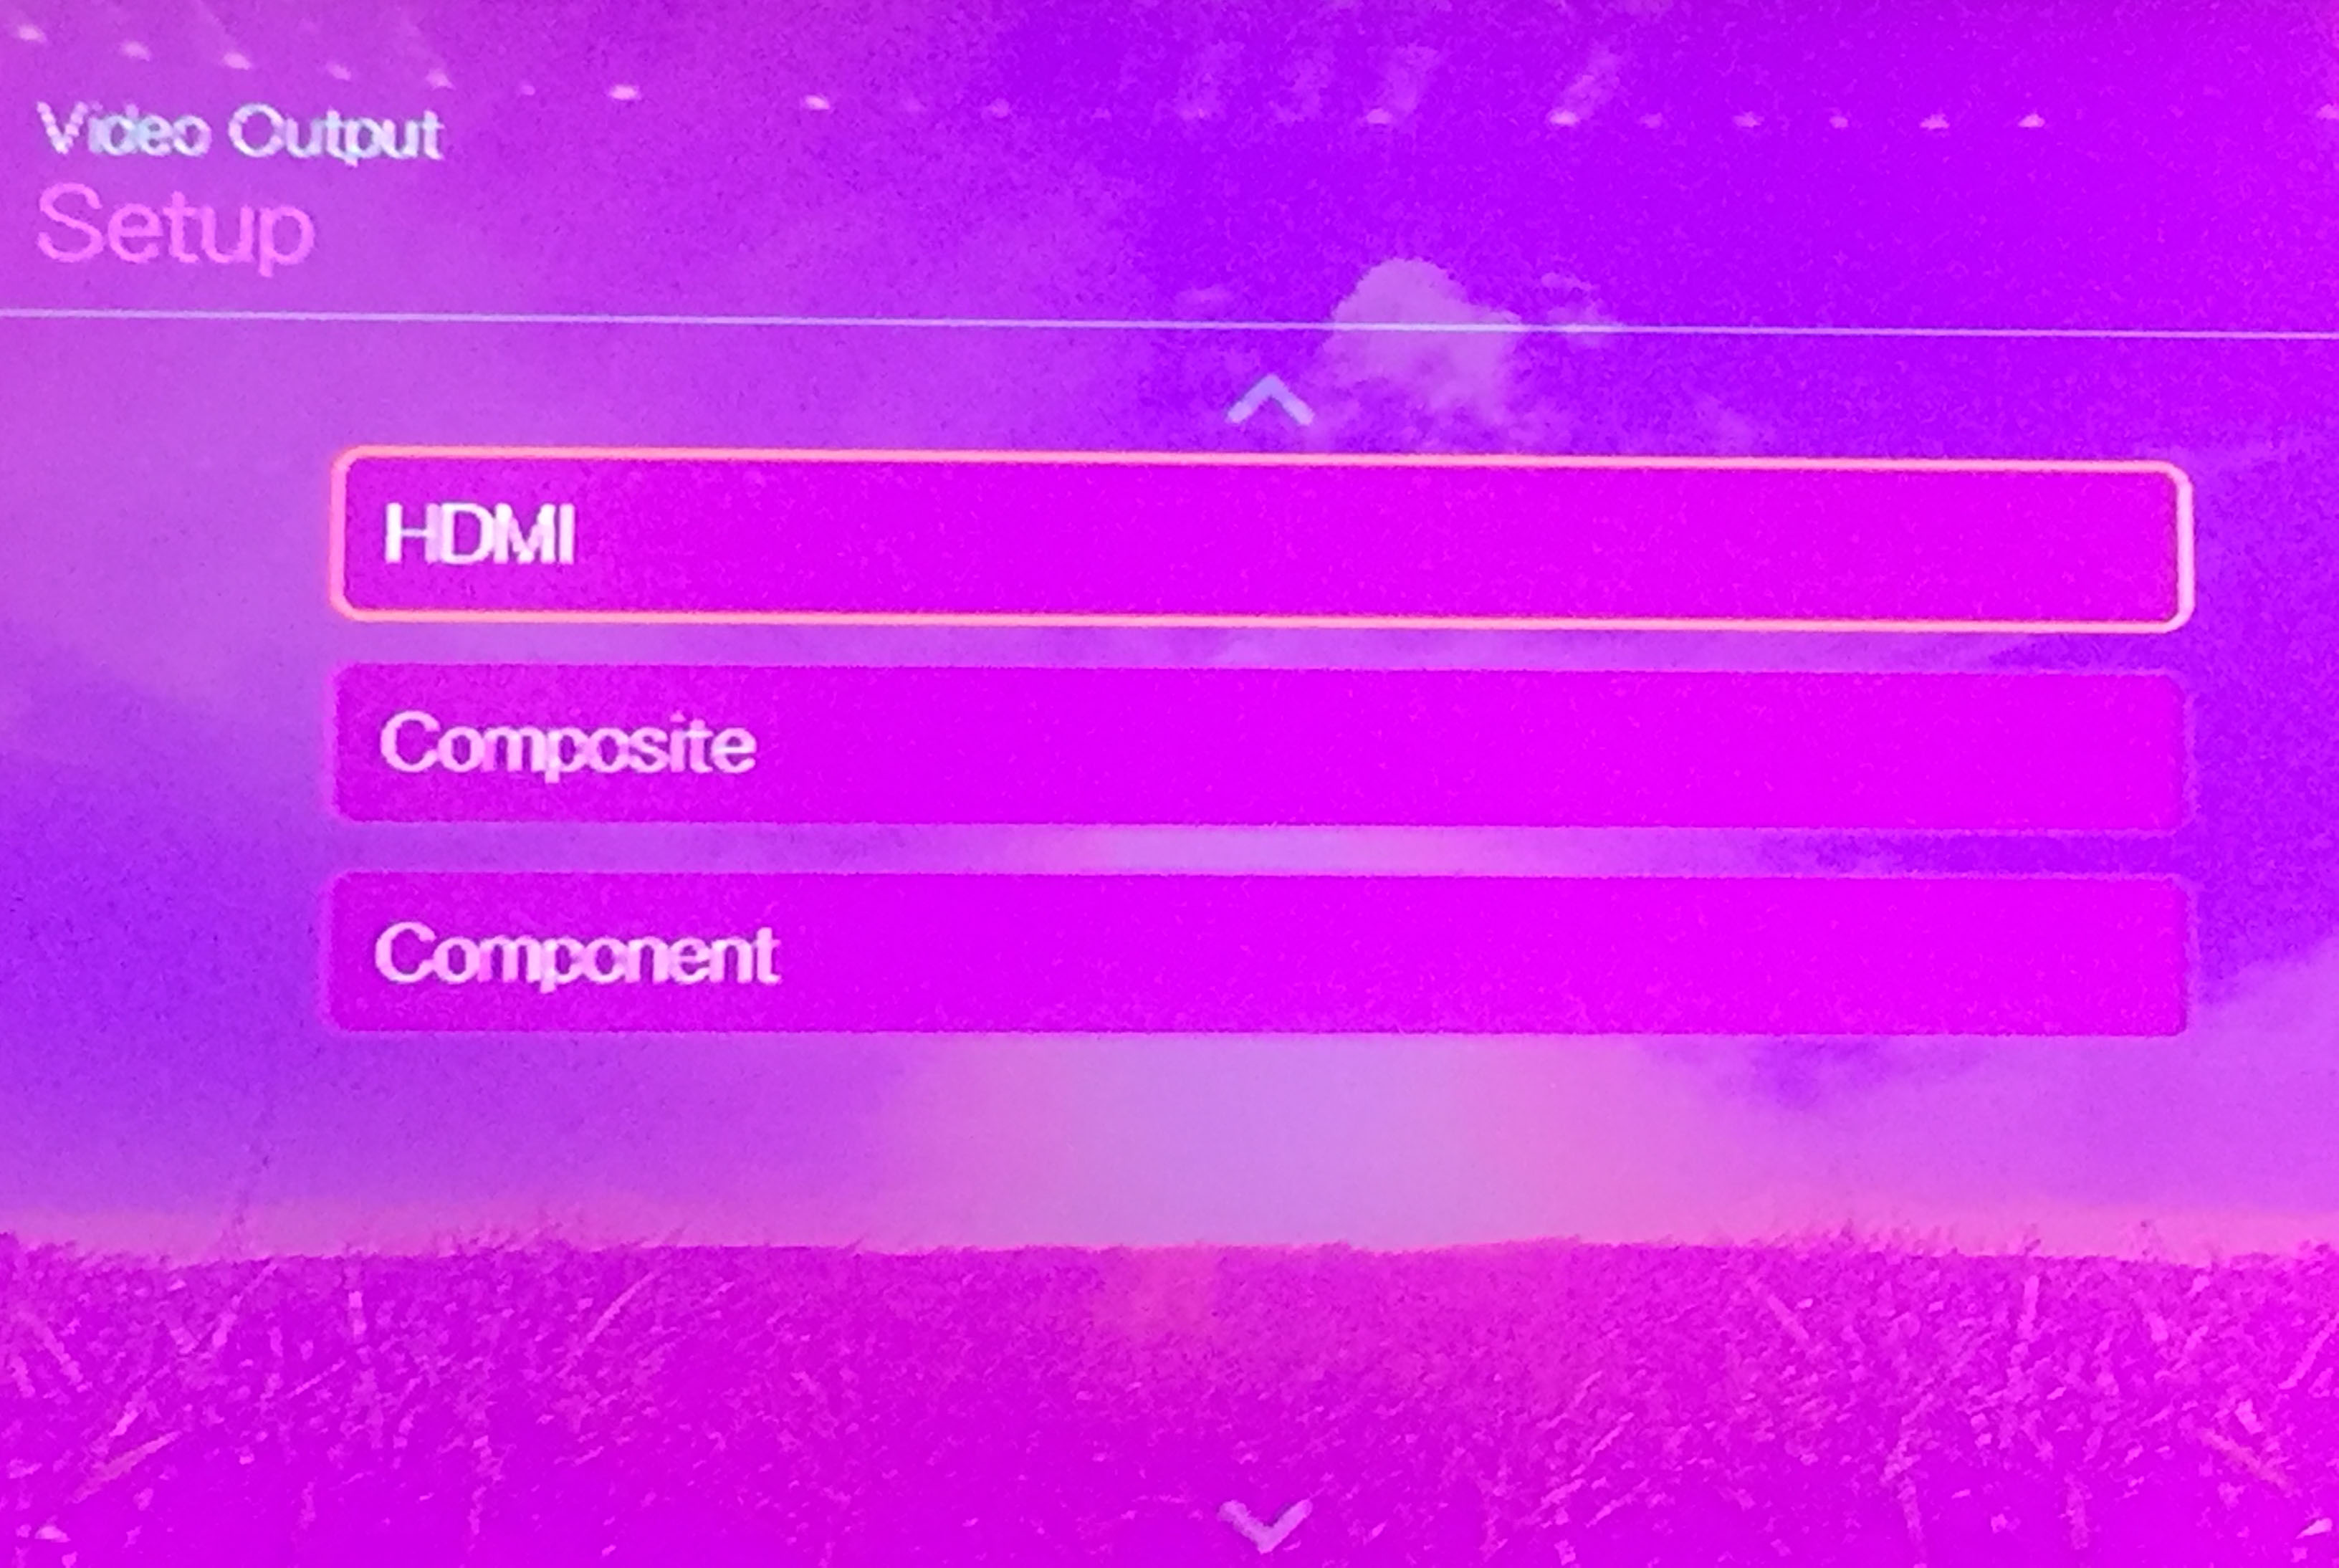
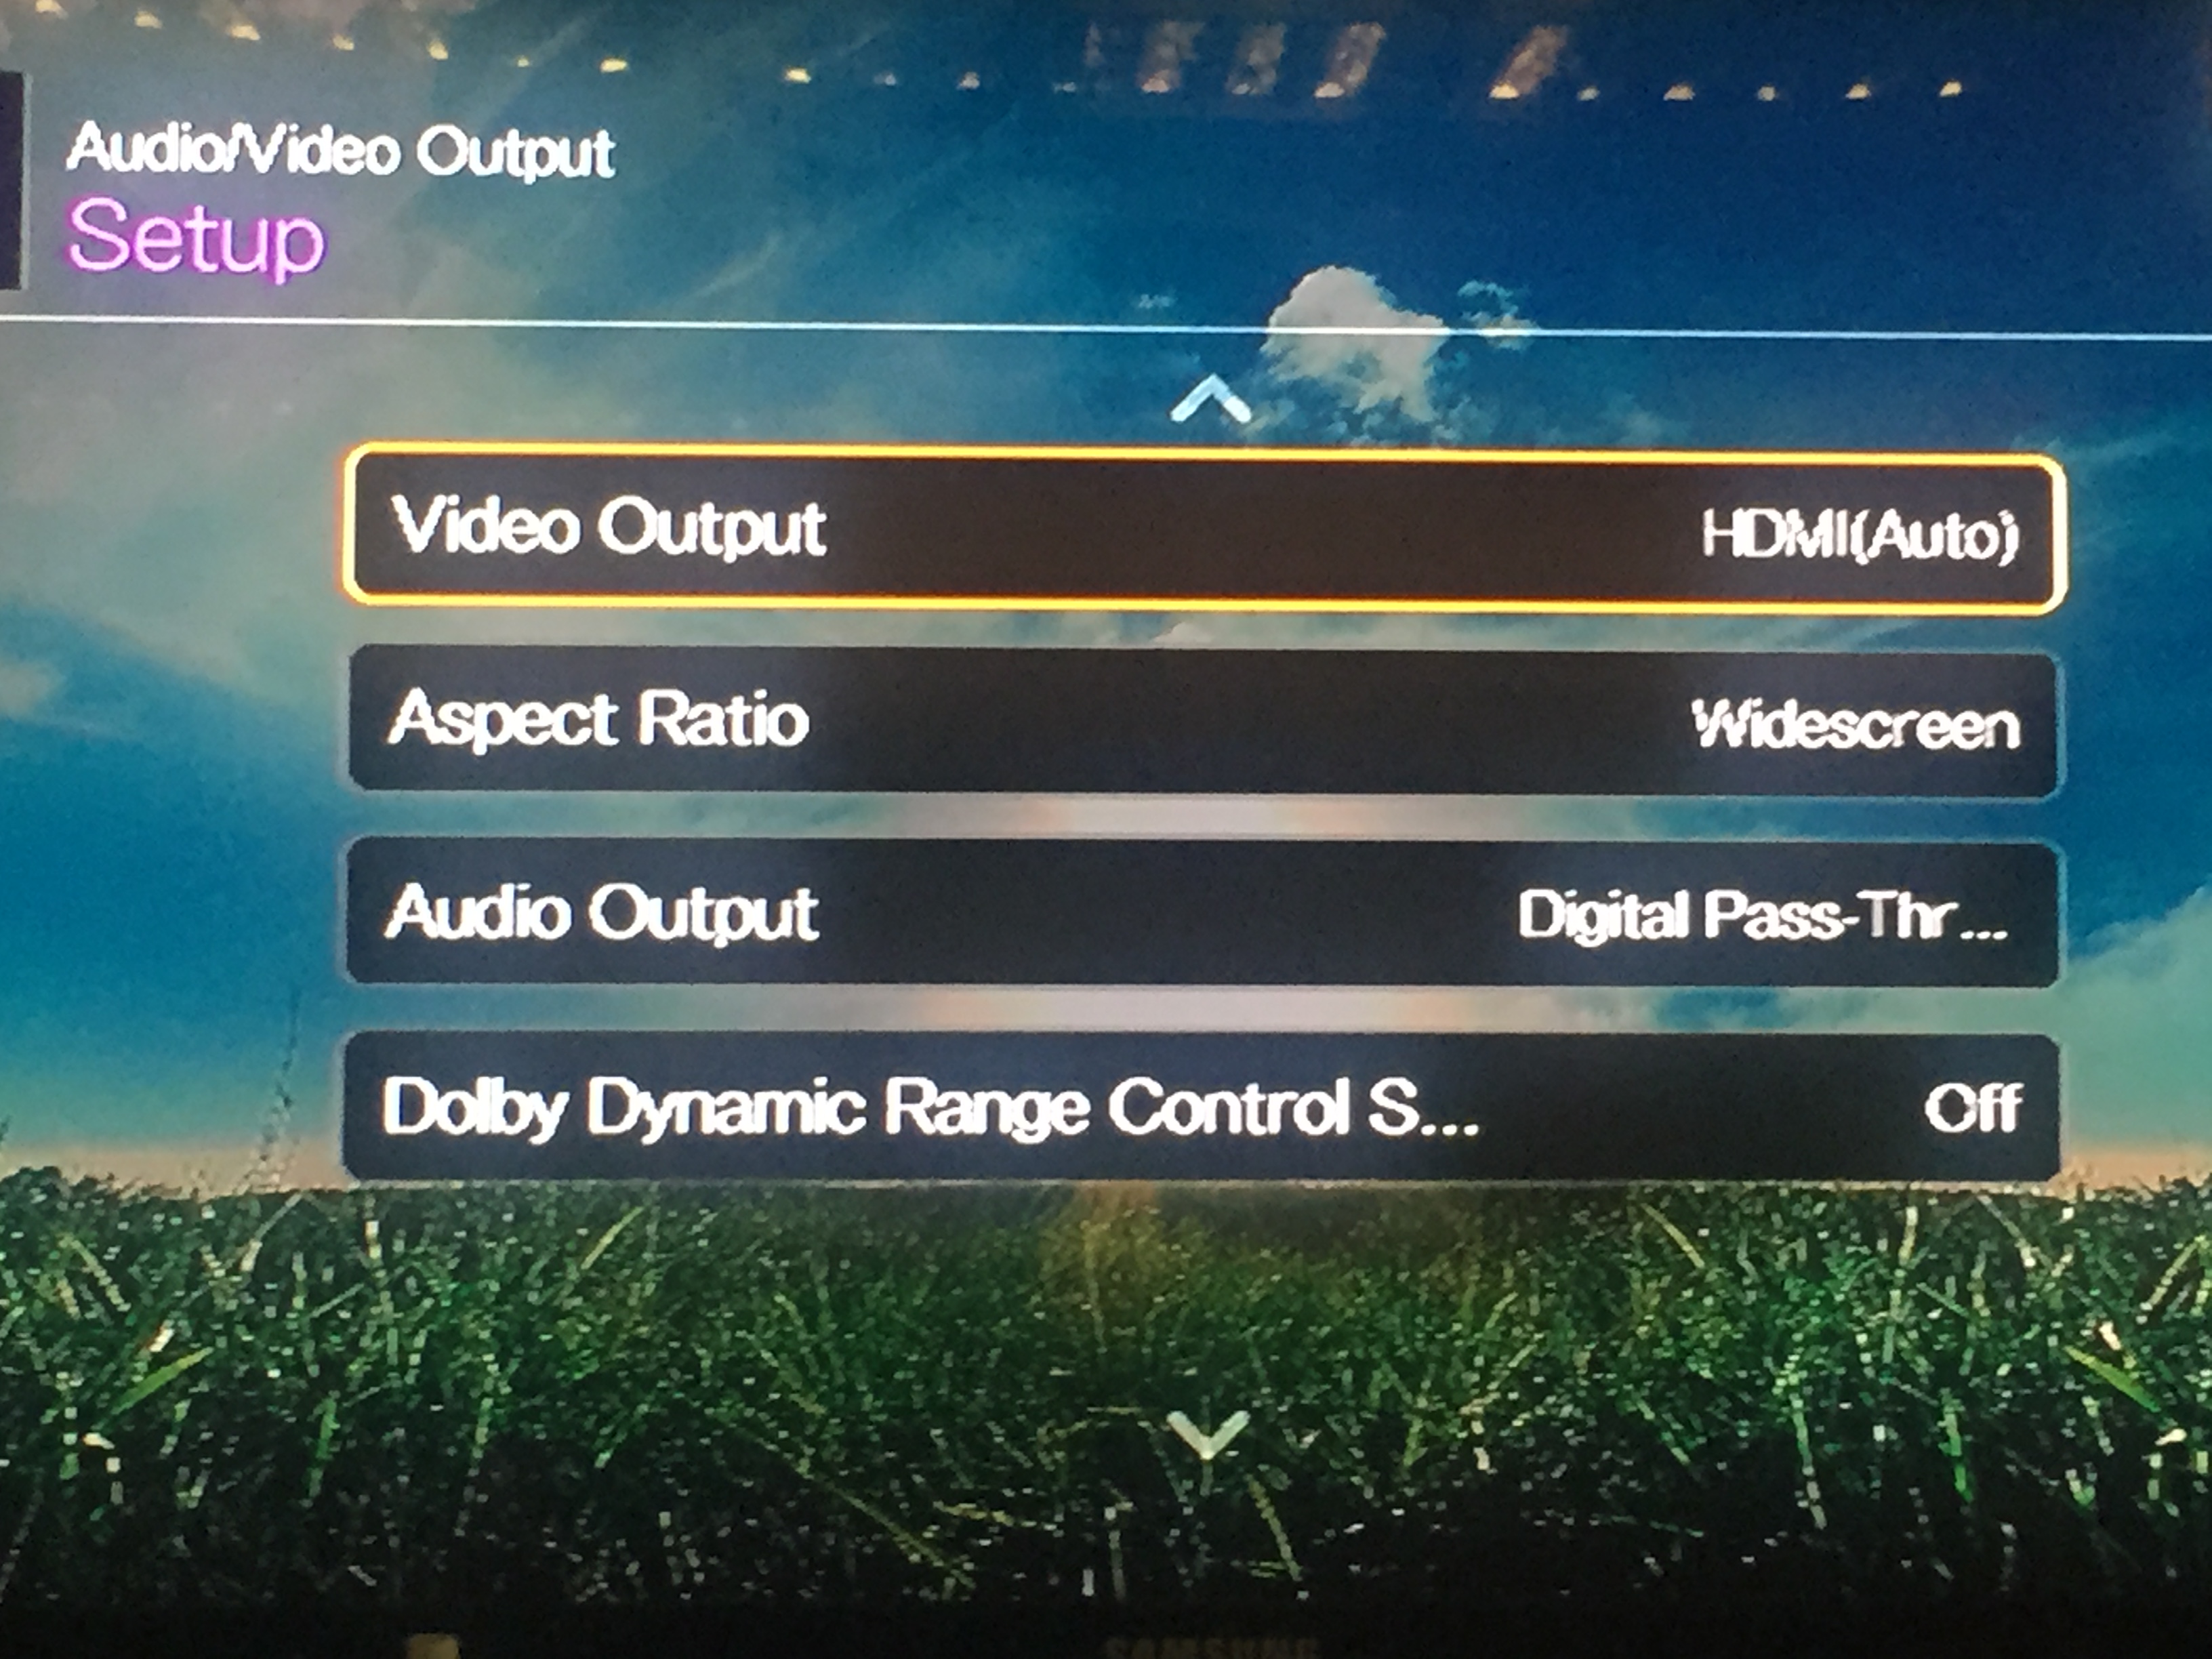
Then select Audio/Video OutputThe next step is to select HDMI
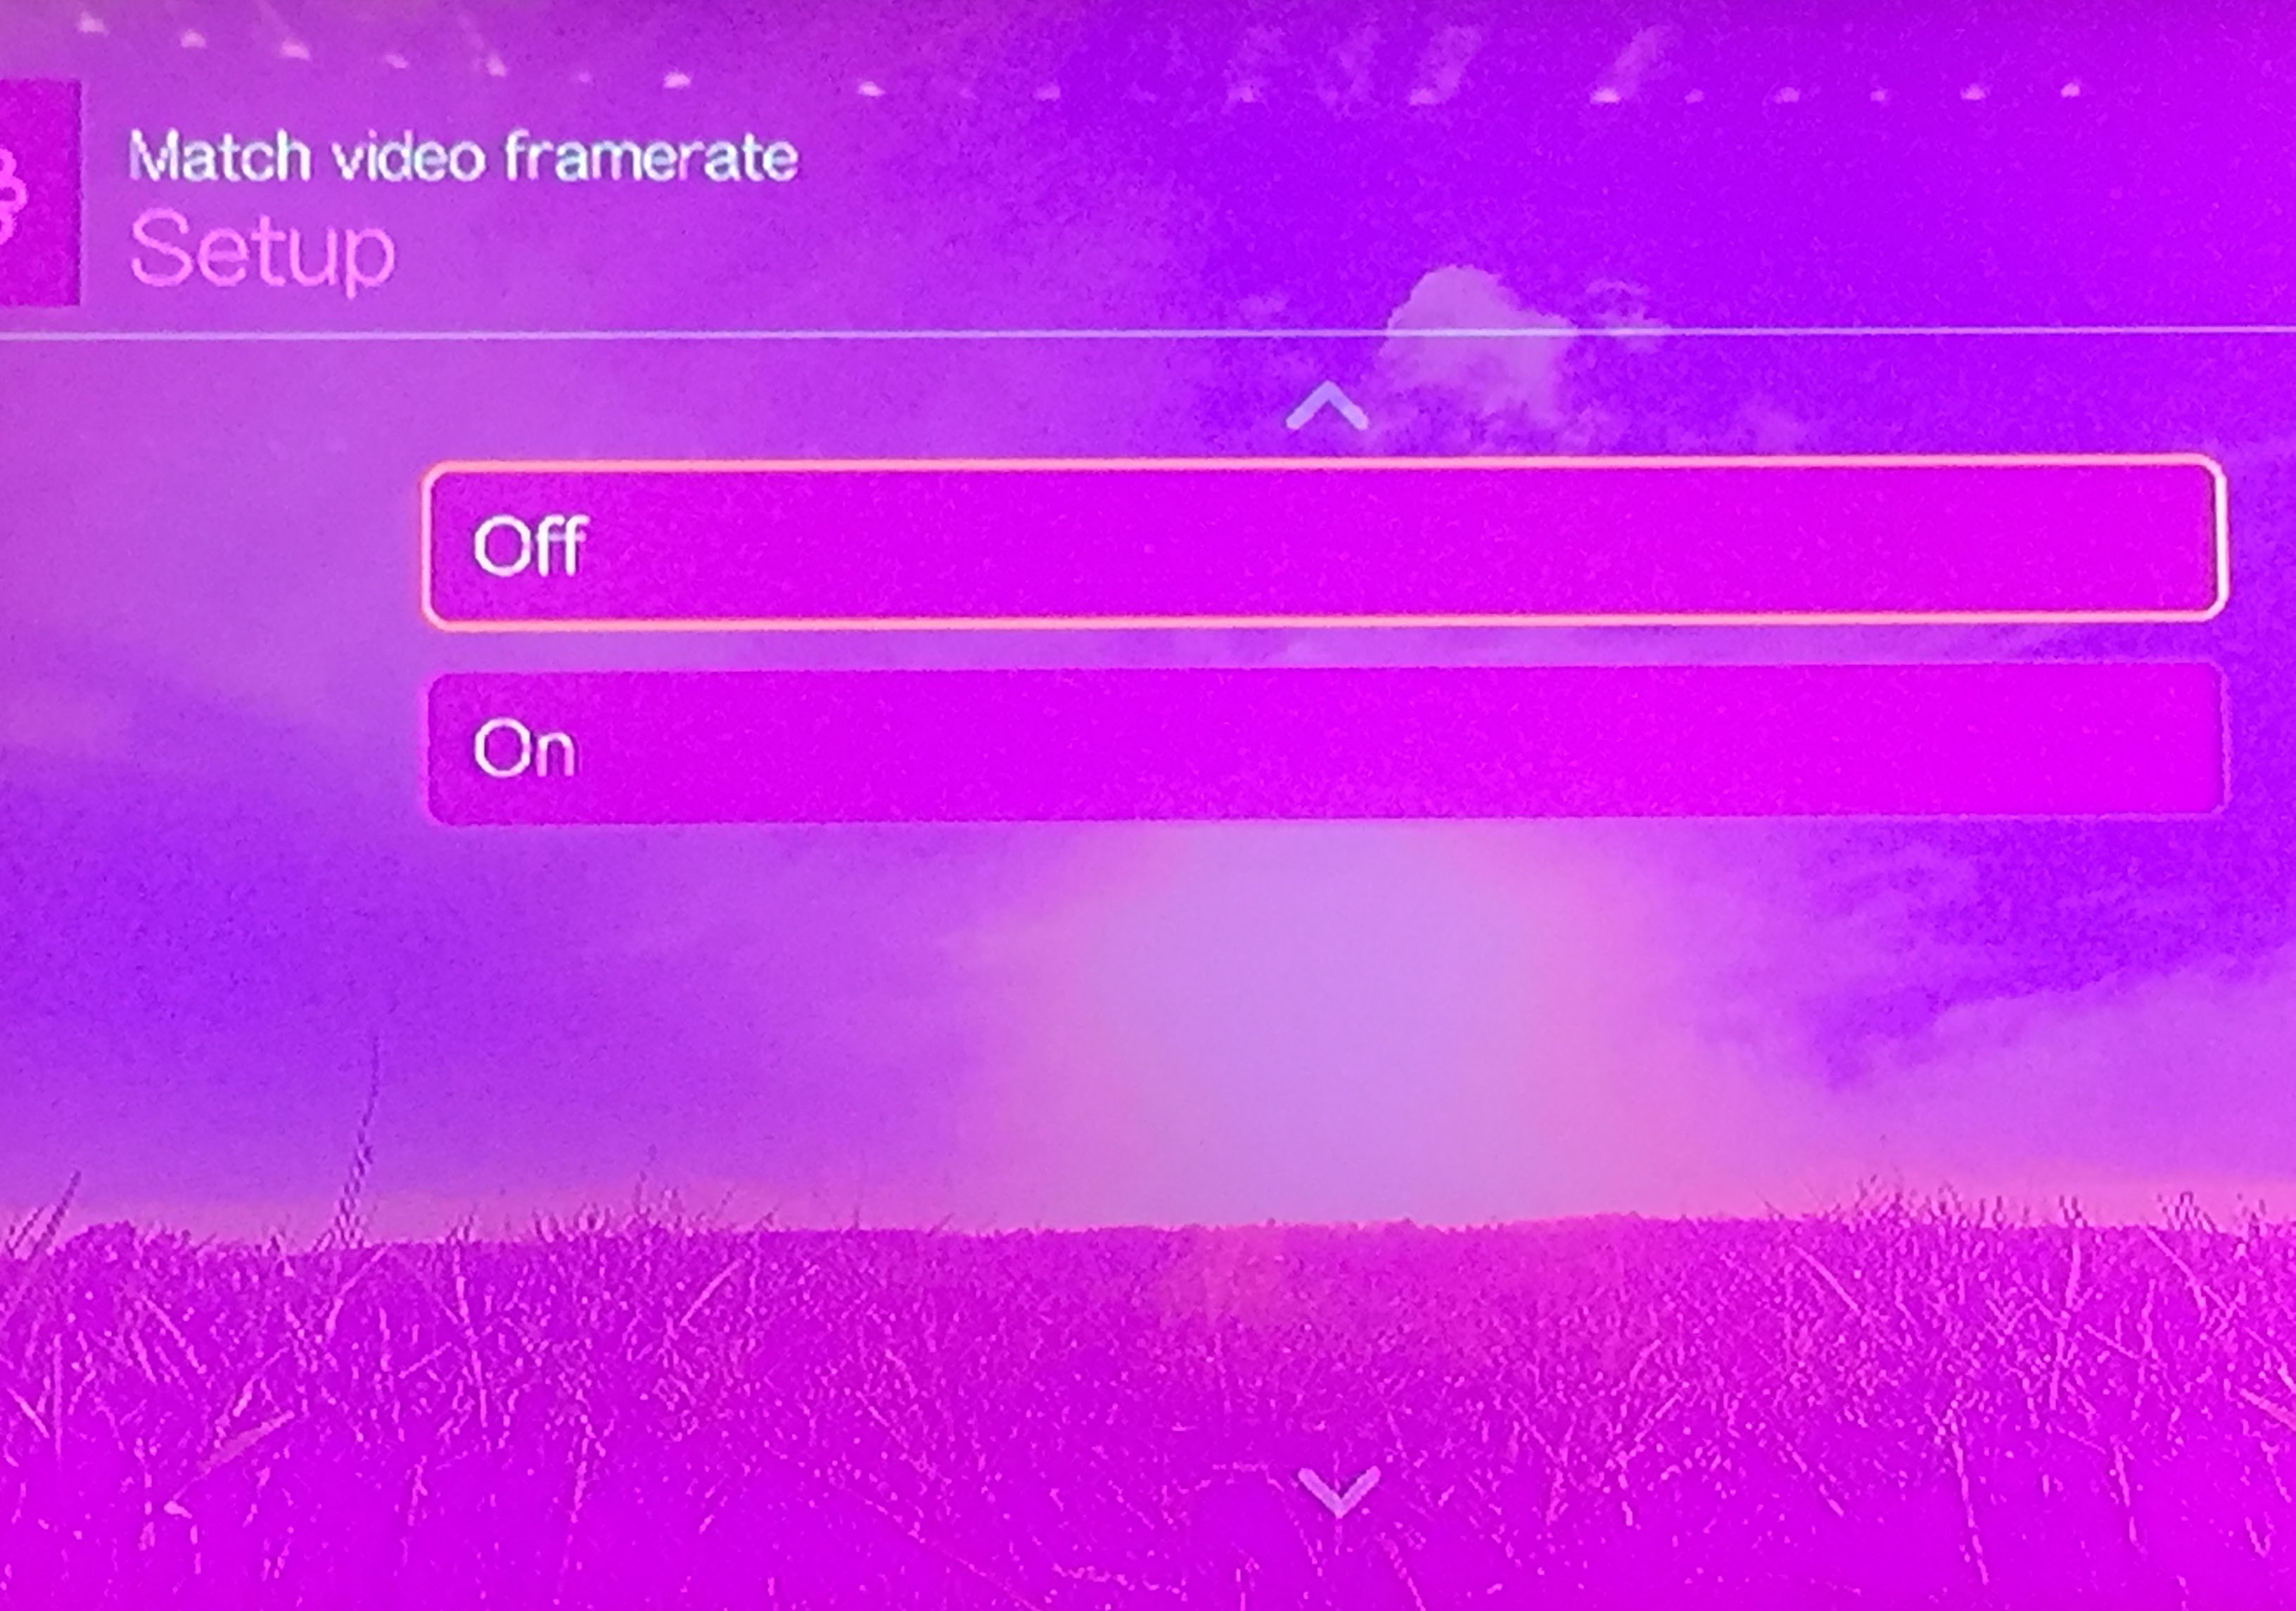
Now select AUTO
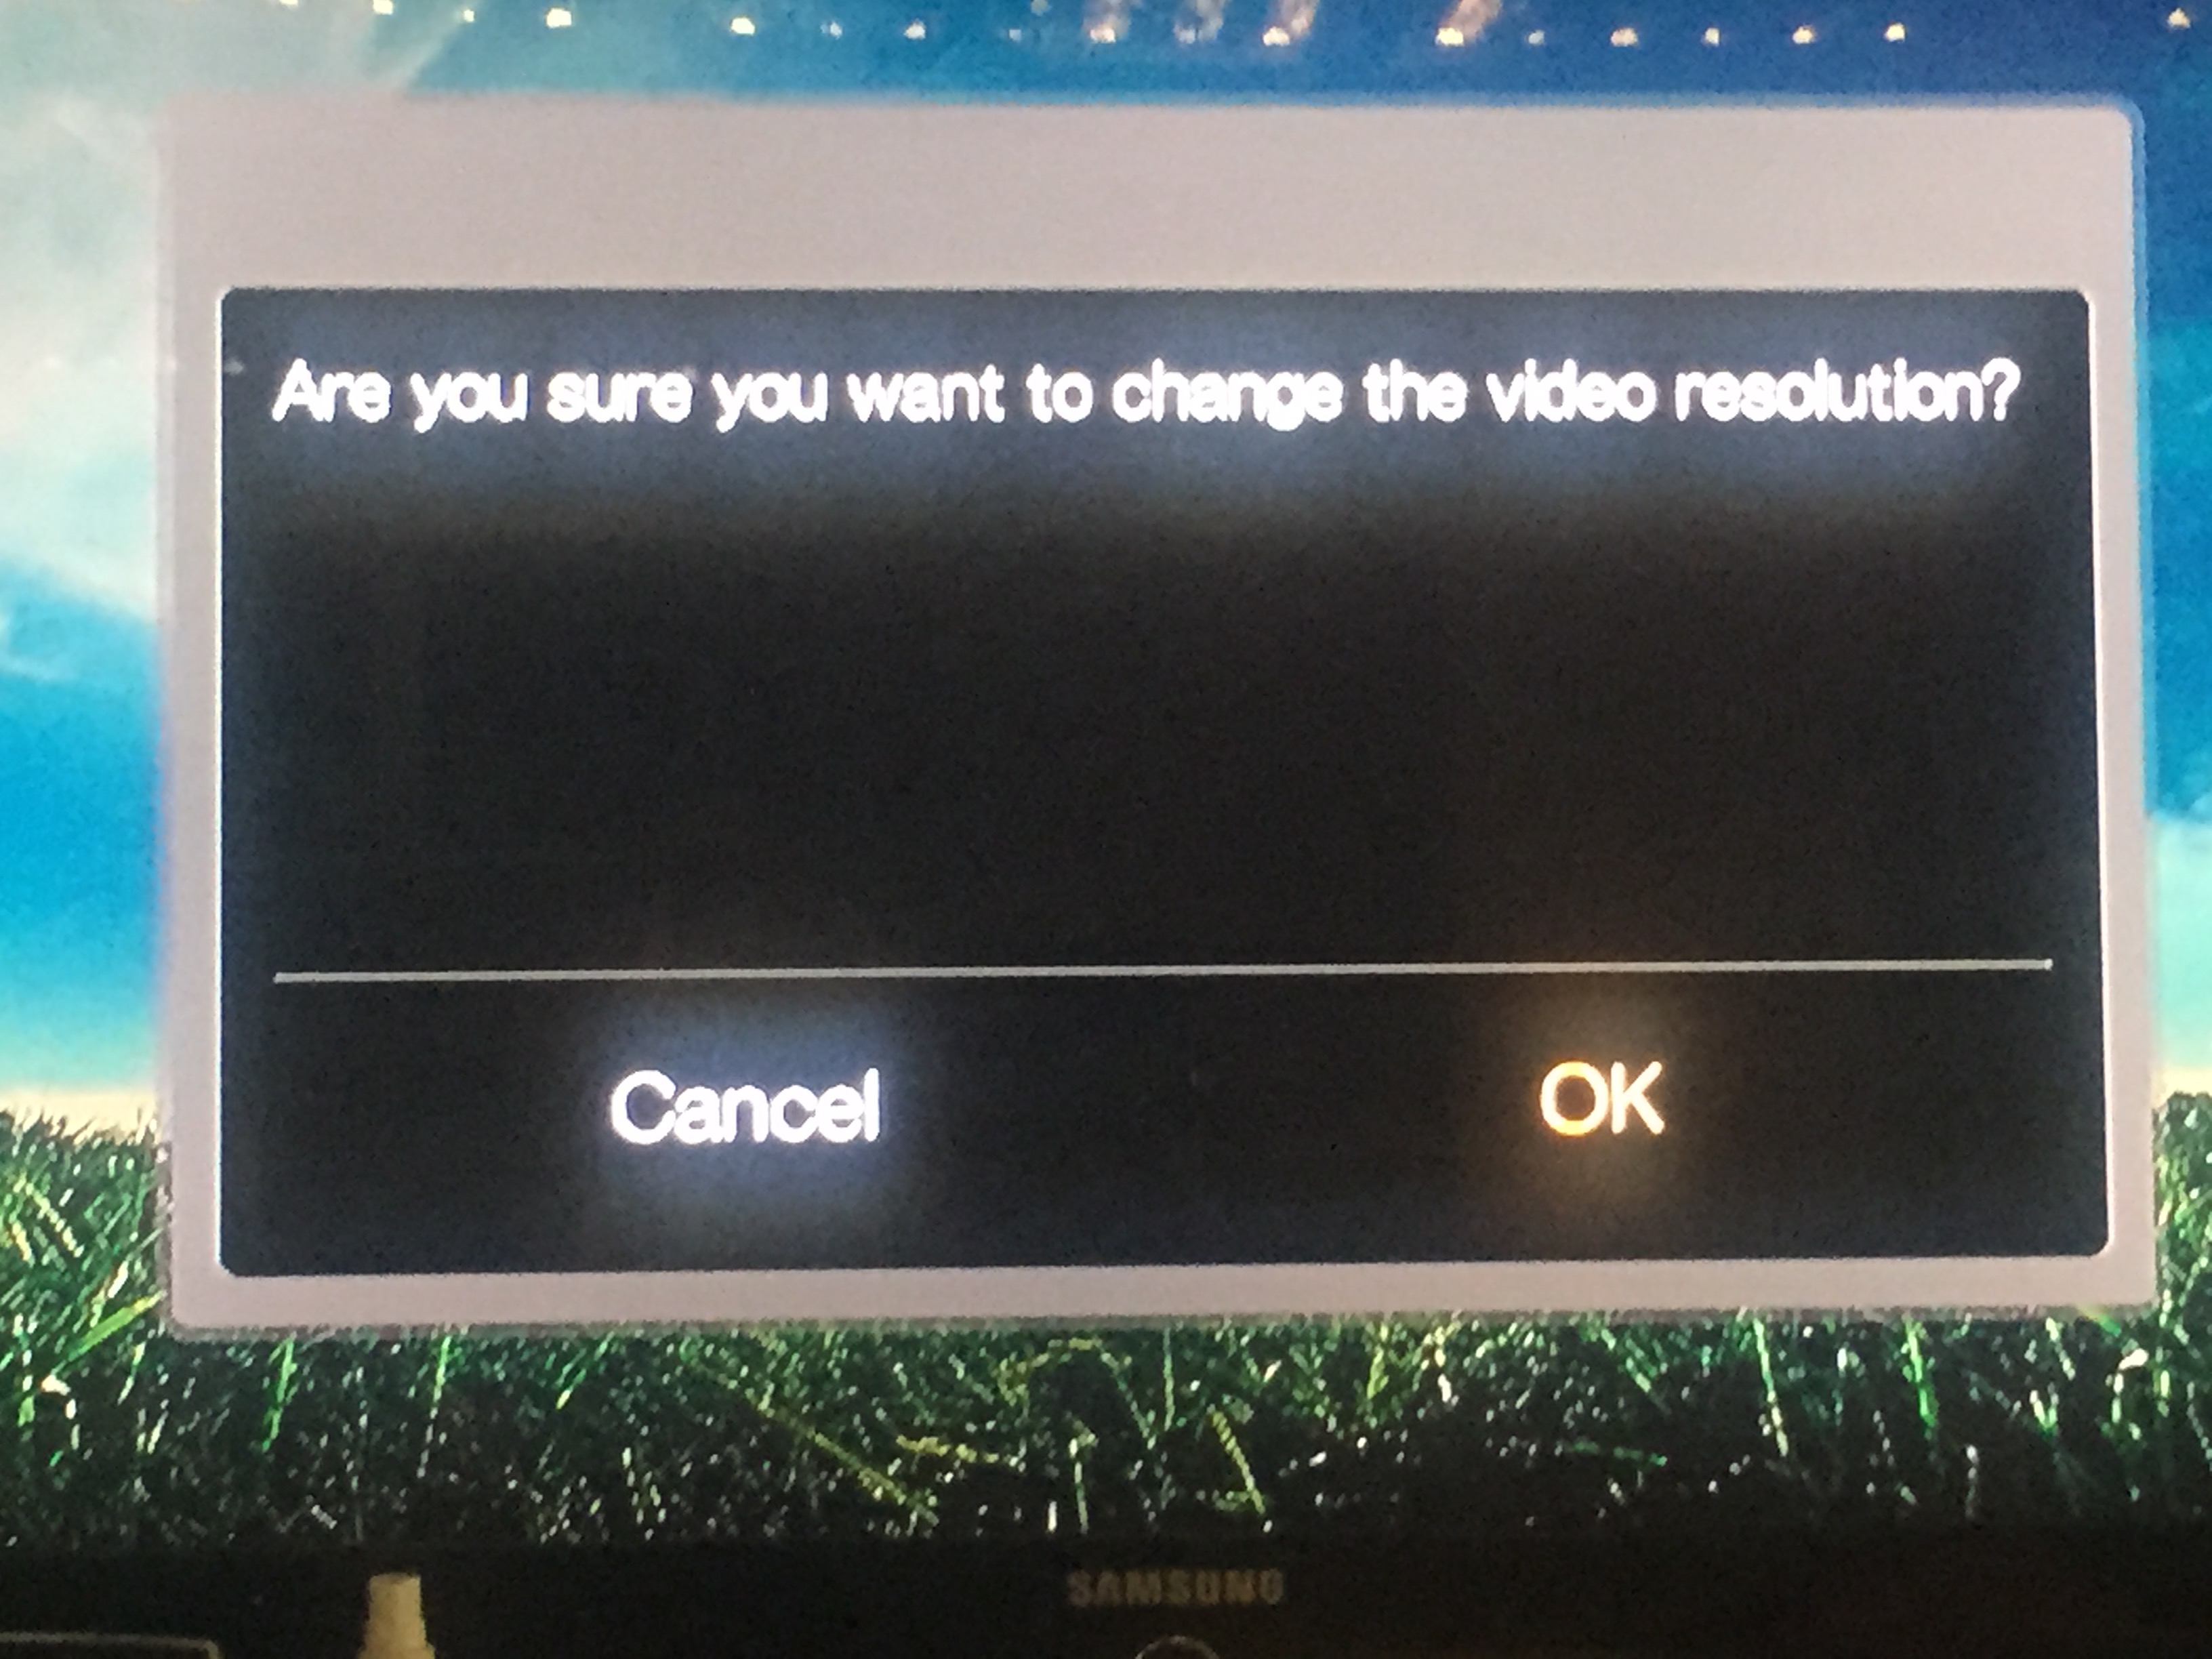
Next, choose OFFPINK BE GONE! Click OK to save the changes
Close out of setup by pressing the Home button on your remote
The quickest and easiest way I have found to keep my video library under control is by using an automatic file naming tool called Filebot. You can view the website HERE.
From the creators website:
FileBot makes organizing your movies and TV shows a breeze! We’ll automatically match your files with information from various online databases. How you want your media files to be named and organized is completely up to you. Our groovy format engine supports pretty much anything!
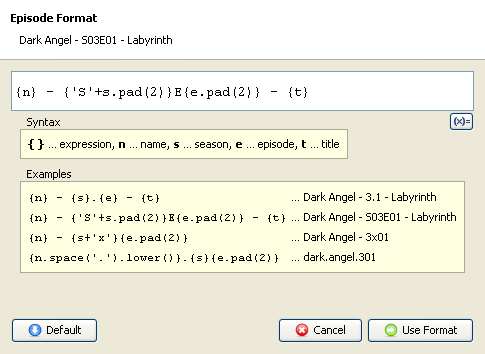
What I like best about it is being able to customize the output in anyway you please. I arrange my files in folders, so I have no need for the show title to be in the filename, I just like the season and episode number, as well as the episode title. But you can make your filenames include pretty much anything you want by adjusting the output formula.
Heres My Filebot Formula {s00e00} - {t.replacePart(' Part $1').replaceAll("&", replacement = "And").replaceAll("'", replacement = "").replaceAll("!", replacement = "").replaceAll(",", replacement = "")}
Also from the Filebot website, here are some sample naming options:
{n} [{y}] {vf}{af}The Man from Earth [2007] 720p 6ch
Filebot is free to download and use from their website HERE. MAC USERS – If you try to download Filebot through the app store it is not free – It costs $4.99US, but you can get the latest version for free from Filebots Sourceforge file repository HERE. Just open the folder for the latest version and download the app.tar.gz version of the file.
Smartphones, iPads, Laptops, Desktops, iTV’s, Game boxes, it’s amazing how many different ways we can watch video/tv these days. I, like many other people get most of the stuff I watch from the internet, and for the past few years have had to jump through a series of hoops to download my content, convert it to suitable formats, and load it onto my devices. Recently I was made aware of a piece of software that simplifies, and streamlines the whole process, called Wondershare Video Converter Ultimate.
Available for Windows and Mac, Wondershare Video Converter Ultimate has some really nice features to make your life a lot easier. Not only can you drop videos you already have into it and re-encode them into a format suitable for any of your devices in 2x clicks (1 to pick your device, another to start the conversion), the software can even download new content for you from a number of sites, and format that for you as well!
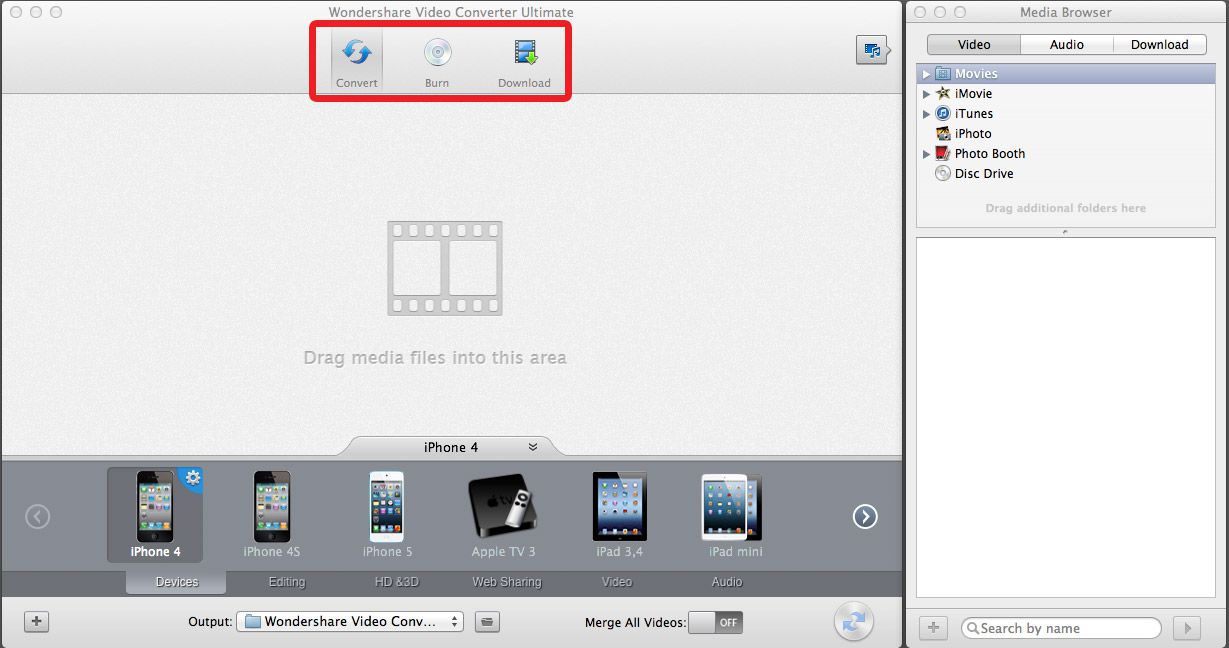
To get started, there are three buttons at the top of the main window. The CONVERT button allows you to convert your video to different formats for different devices (which you can select by clicking the appropriate picture at the bottom of the screen), and you can even make your own custom profiles. The BURN button takes you to a screen where you can simply drop your video files in, and press burn, and the program will author and burn a DVD for you. The DOWNLOAD button allows you to navigate to media you want to keep, and it will download that media for you, and save it to your local media library, where you can use it later in either the Convert or Burn areas of the program.
A friend of mine has a music video on Youtube that I really like, and I wan’t to put it on my iPhone so I can watch it, but I also want to be able to listen to it as well. I can do that easily with Wondershare Video Converter Ultimate.
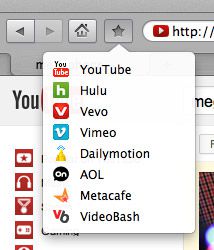
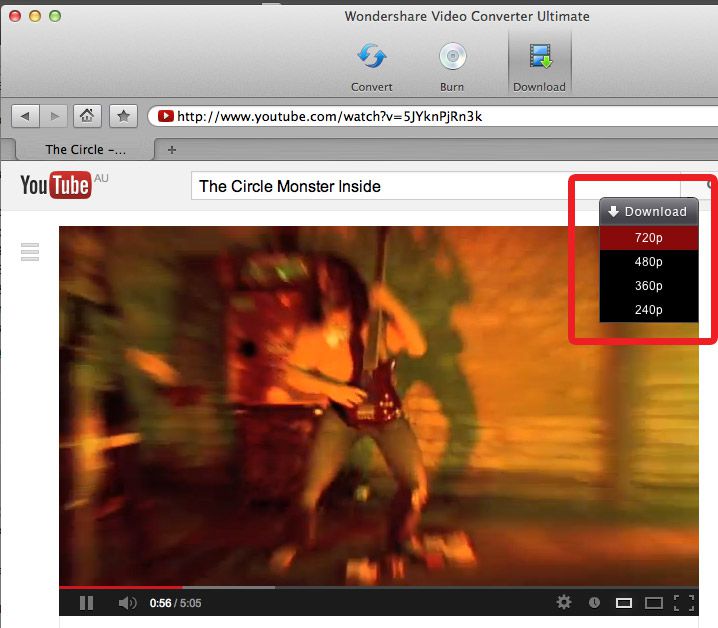
Clicking the Download button takes you to a Web Browser inside the program, and there are some bookmarks already set out for you to help you get started. In this case, I am going to navigate to Youtube.
Once you have found the file you want to download, click the download button at the top right of the window, and select which definition version you want.
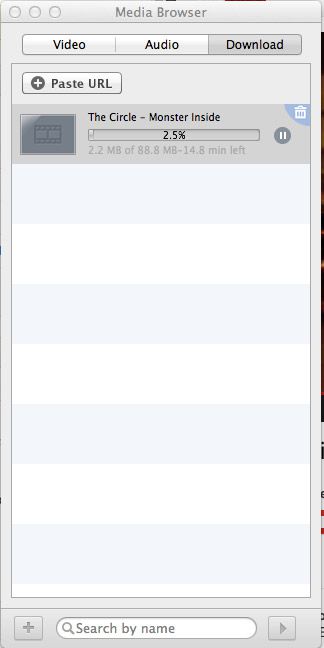
The video will now start downloading in the media browser.
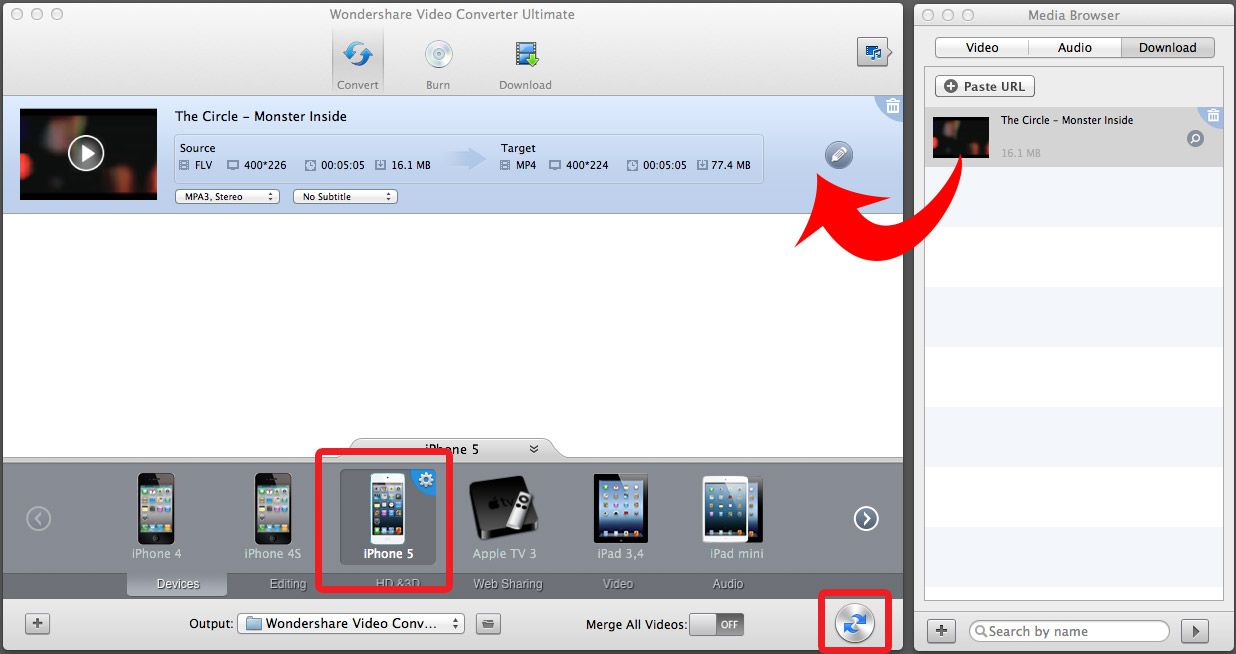
Once the video has completed downloading, you can then switch to Convert Mode, and drag the downloaded video into the convert area. Select your conversion profile from the categories below (In my case, iPhone 5), and then click the convert button.
Once converting begins, you will see a progress bar. You can also tell the program to automatically add the newly converted file to iTunes when its done!
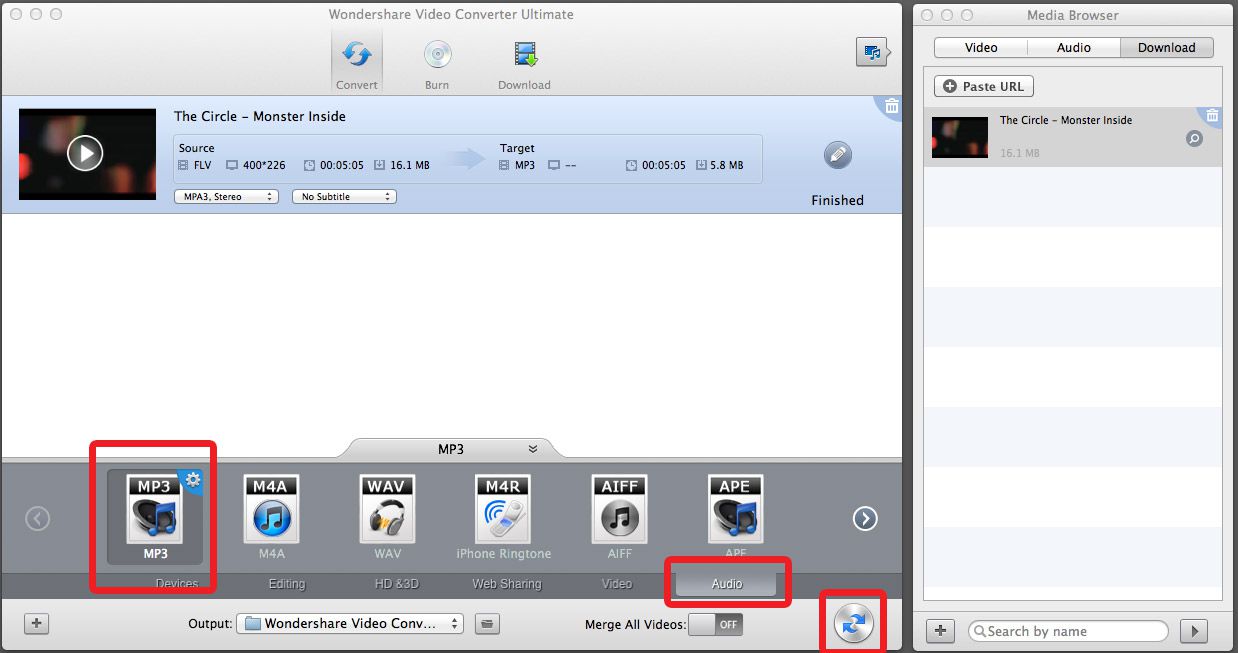
That’s how easy it is to add a video, and now lets extract the audio out of the video to a MP3, so we can listen to it, and put it in a playlist with our other favorite music. All you have to do to make the same file into a MP3, is click AUDIO at the bottom of the profiles area, click the MP3 icon, and click the Convert button again, and Wondershare Video Converter Ultimate will now make the video into a music file.
You can then load it onto your MP3 player!
Wondershare says:
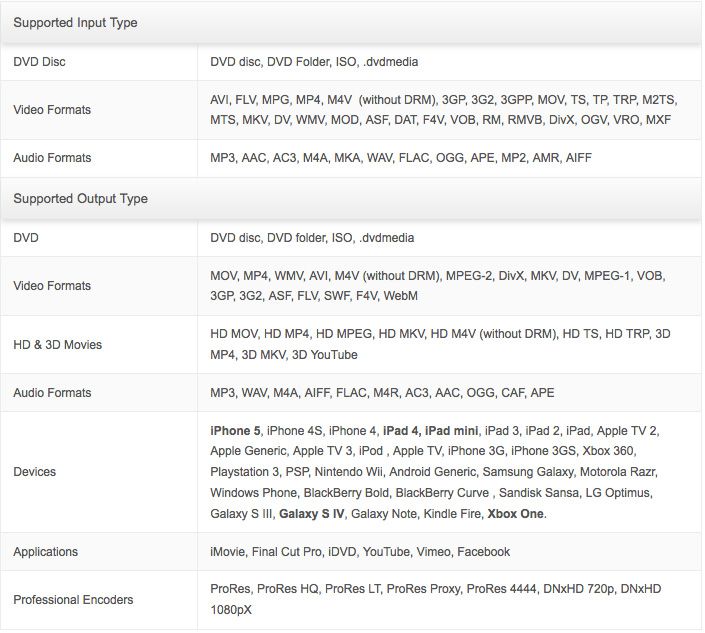
“anyone can easily convert video to 158 formats, including MOV, M4V, MP4, WMV, MKV, AVI, XviD,MPEG, DVD-Video, FLV, 3GP and load more–perfect to fit your iPad, iPhone(iPhone 5 included), iPod(iPod Touch 5 included), android,windows Phone,PSP, Xbox 360 and a rainbow of other devices.”
Below is a list of all supported formats.
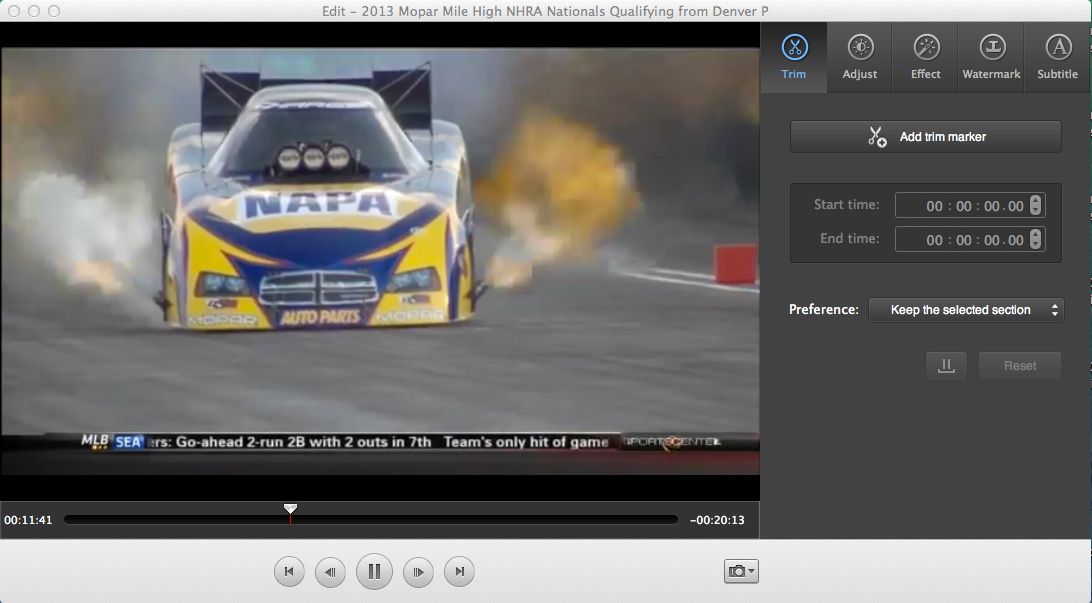
Some other cool features I really like is that you can also crop your videos so they fit your screen better, you can trim out unwanted stuff from your videos (like commercials), you can merge multiple videos into one file, perform color corrections, De-Interlace, and a swag of other really cool tweaks.
You can download your free trial of Wondershare Video Converter Ultimate for Mac or Windows HERE.
You can also purchase a license key from Wondershare for $59.95 – A small price to pay for such a great piece of software!
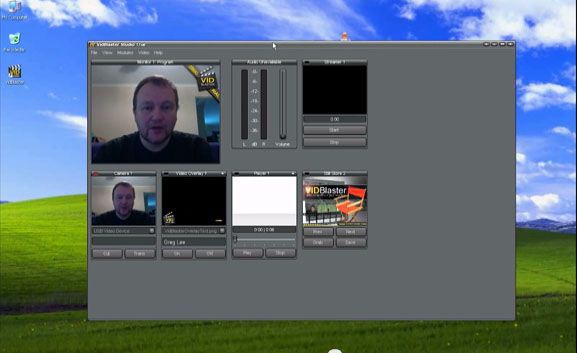
PART 2 – Installing Vidblaster, Connecting Your Webcam, Switching and Interface Basics
In this tutorial I show you how easy it is to install Vidblaster in both Mac and Windows, and get started with some basic switching between modules, adding a title, playing a video and showing a picture.
Note to Pros – These articles are aimed at beginners, who wish to spend little or no money until they have a grasp on the topic, and are hoping to learn how to get started quickly and easily, using equipment they most likely already have.
httpvh://youtu.be/wk7UC-ZVHeI
You can download a free unrestricted trial copy of Vidblaster from vidblaster.com
Part 1 – Selecting Video Switcher Production Software – The Heart of Vidcasting – VIEW HERE Part 2 – Installing Vidblaster, Connecting Your Webcam, Switching and Interface Basics – VIEW HERE Part 3 – Adding Additional Cameras – VIEW HERE Part 4 – Mixing Audio, Mics, and Avoiding Looping in Software – VIEW HERE Part 5 – Desktop and Browser Capture – VIEW HERE Part 6 – Connecting Guests Via Skype – VIEW HERE Part 7 – How To Make A Lower Third Overlay – VIEW HERE Part 8 – Adding flair with Effects, Soundboards and Chat Streams – COMING SOON! Part 9 – Green Screen/Chroma Keying and Virtual Sets with iClone – COMING SOON! Part 10 – Recording and Streaming – COMING SOON!
We use cookies on our website to give you the most relevant experience by remembering your preferences and repeat visits. By clicking “Accept”, you consent to the use of ALL the cookies.
This website uses cookies to improve your experience while you navigate through the website. Out of these, the cookies that are categorized as necessary are stored on your browser as they are essential for the working of basic functionalities of the website. We also use third-party cookies that help us analyze and understand how you use this website. These cookies will be stored in your browser only with your consent. You also have the option to opt-out of these cookies. But opting out of some of these cookies may affect your browsing experience.
Necessary cookies are absolutely essential for the website to function properly. This category only includes cookies that ensures basic functionalities and security features of the website. These cookies do not store any personal information.
Any cookies that may not be particularly necessary for the website to function and is used specifically to collect user personal data via analytics, ads, other embedded contents are termed as non-necessary cookies. It is mandatory to procure user consent prior to running these cookies on your website.