
Disclaimer – This article is reproduced and translated here from the original page by Tsukurimaseu (We think). This article appears in Japanese HERE and was translated (Poorly) with Google Language Tools. Even though the words might not always make sense, this is an extremely detailed build, and the pictures tell the story.
— Introduction —
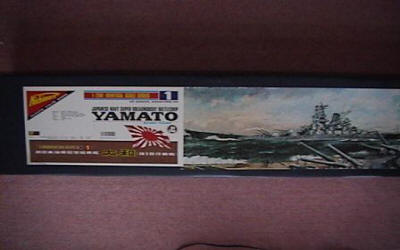
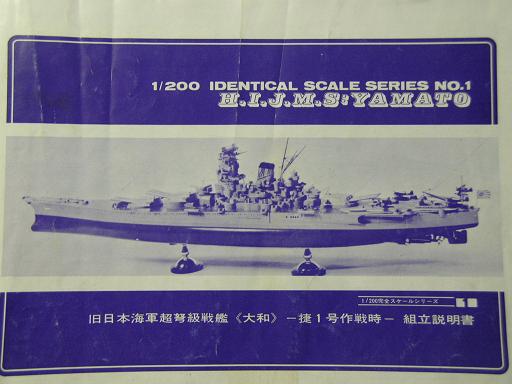
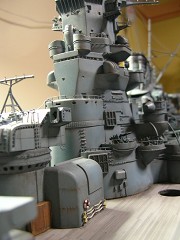
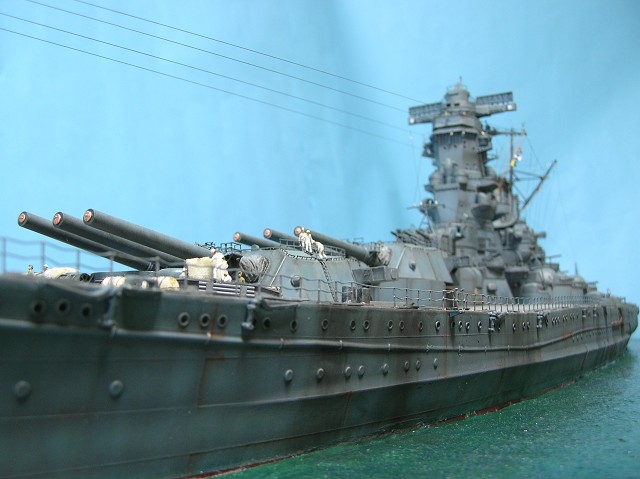
1 / 200 Yamato model Nichimo Corporation.
1m30cm greater length is about looking at the boxes in.
Once the stuff I want to make.
This model is the assignment of the size, perhaps because the old design to the fine details,
Representation is not much.
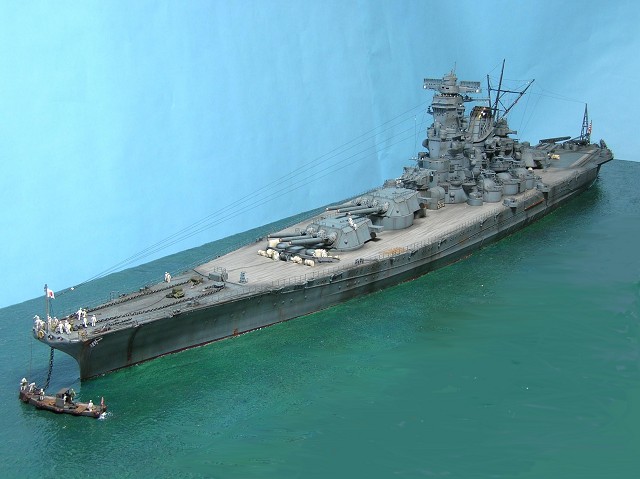
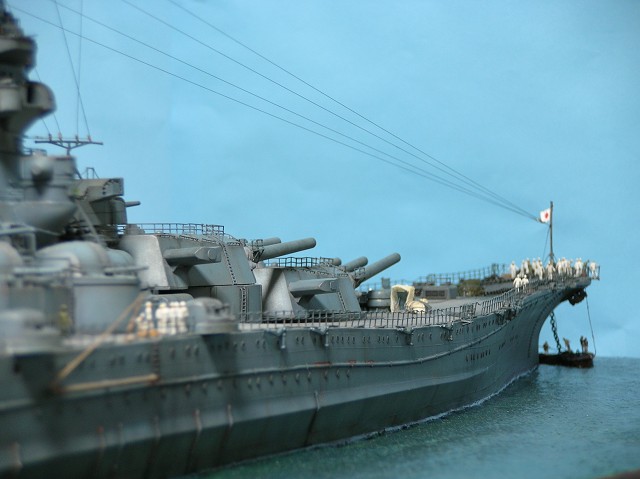
1944 to make six small offices around the image to be anchored off my Wu Mon,
I want to see.
Year 1997, I thought Heisei make this model one day to buy a 11 to 16 years from July at a time and rest for a little assembly.
This time, I had to put in the memorial and creating websites, I also have an expert, I think into the group.
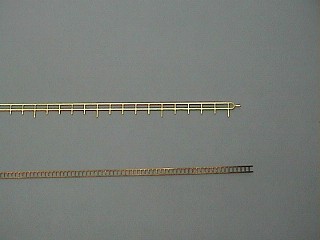
Metal parts sold separately
The ship model is essential, and metal parts. The optional 1 / 200 should I buy for Yamato-etched parts, a fence and ladder Toriaezu bought by mail order since there is no budget, but try to make the finish.
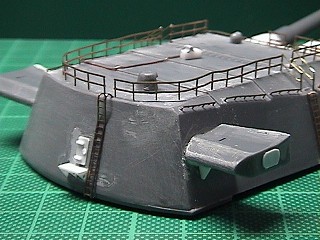
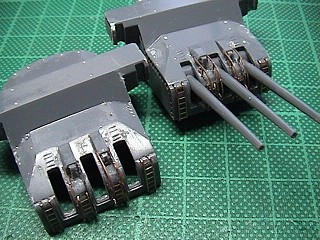
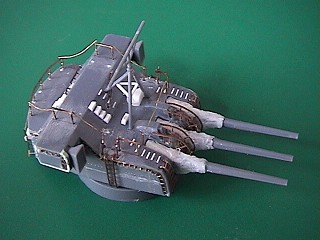
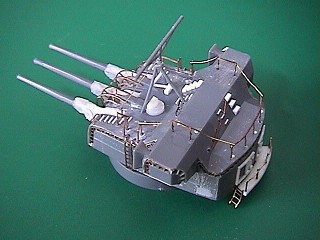
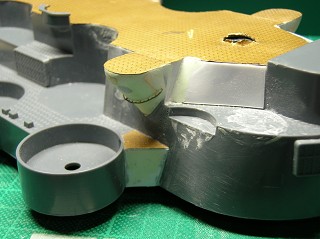
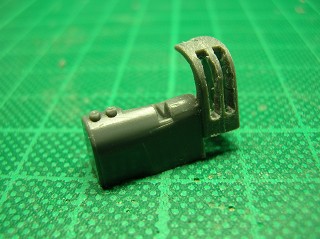
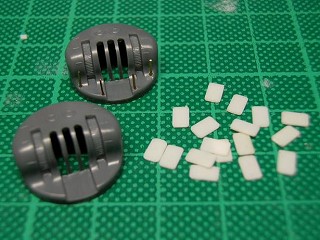
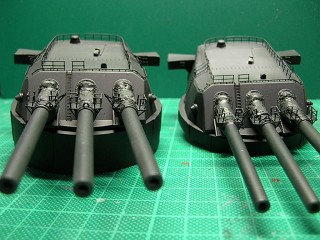
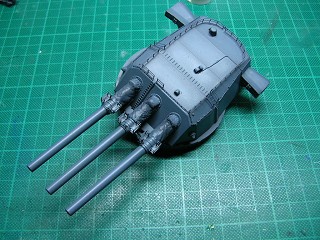
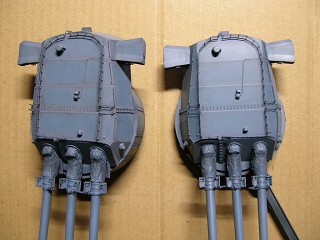
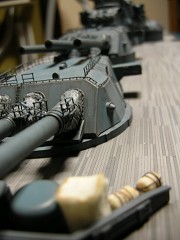
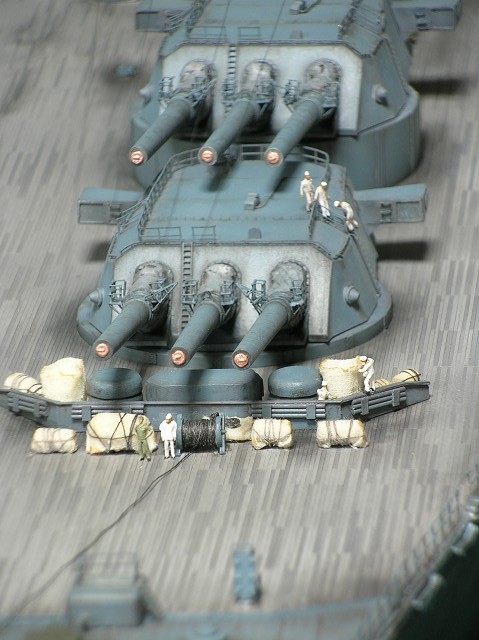
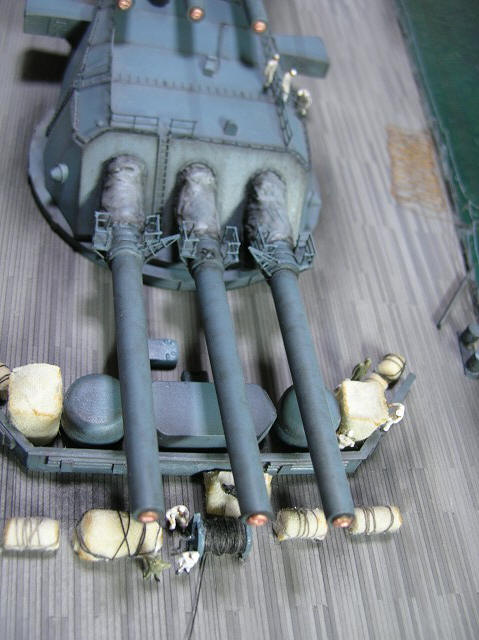
Gun
The rear portion of the door, so there is no material remains more mysterious. I was not sure I want to part with a winch on the door, only to Tokimashita door.
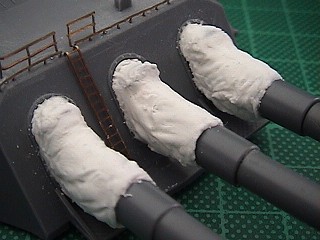
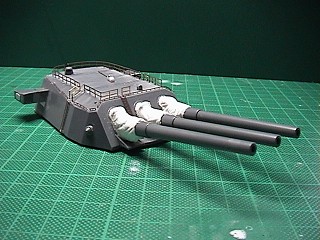
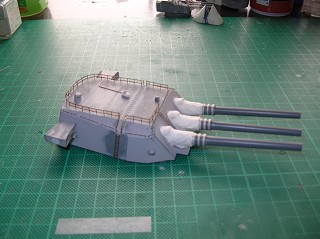
Gun
White areas (except the blast) is a plastic school year, the gun-mounting brackets (3-stripes) is in Masukinkutepu仕上Gemashita.
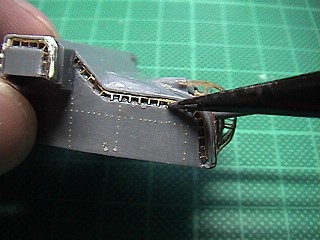
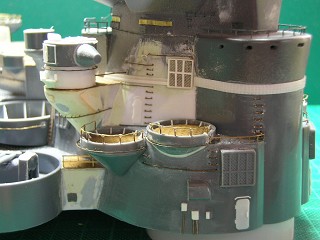
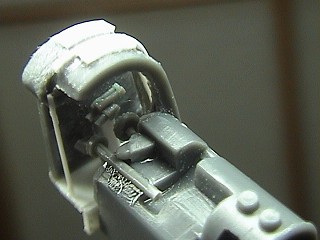
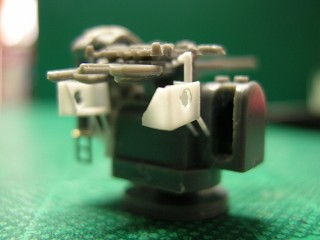
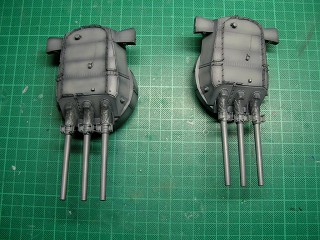
Vice cannon
Bracket portion of the horizontal (covering insulation) is cut in half the ladder to embed. Takes a fine effort.
Vice-gun emplacement
Fitting the front part (except the blast) has processed the fence. I thought part of the solder joint We leave here, then stopped completely stopped in bond epoxy glue. Other plastic rods, plastic board made.
Gun mount, the plastic plates to doors and vents were added.
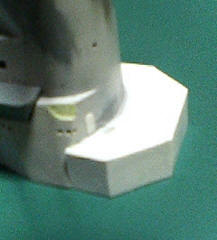
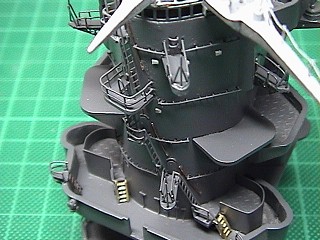
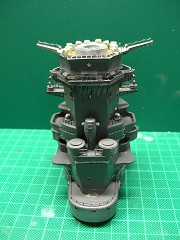
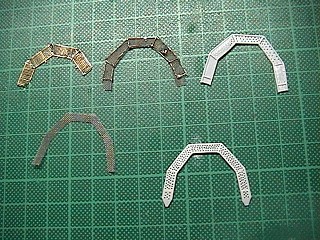
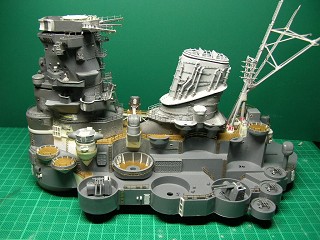
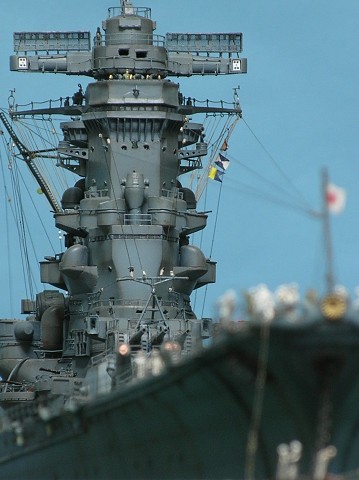
Bridge before
Made and excited to come in earnest. I hate the photo (left) this part of the Showa bridge 19 years after the big four because I like the expansion in January.
Photo below left (air defense command post) windbreaking the plastic plate is a telescope with two copies of this kit takes a piece of putty in the things I was with silicon rubber pieces.
In the photo right below, the change is important to make this part a little later on so I gave struggling with bringing the white portion vents. Paste from behind the plate glass instead of the clear plastic window frame making.


I saw on 9cm making the binoculars, and reworked a bit too big because of poor balance.
Douri was originally part of the system, the upper part of 1 / 700 waterline parts set (W23) and using the davits.
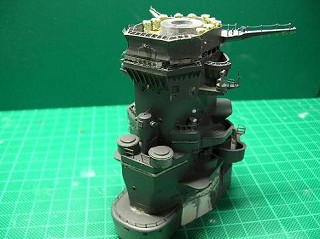
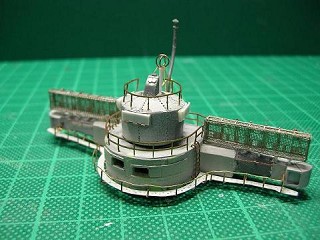
Bridge before
Back portion is different, so Yamato and Musashi, you can add a ladder for the Yamato, the transfer on a single antenna, the signal portion of the deck is made by own little changed. There are various theories as I saw it this way. I want to install the central structure is made at the time I’d like finer parts yet.
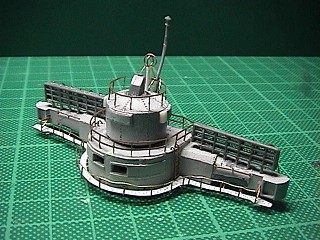
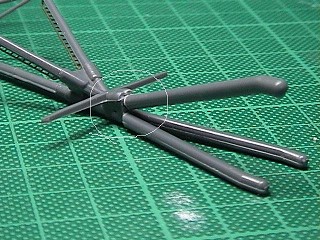
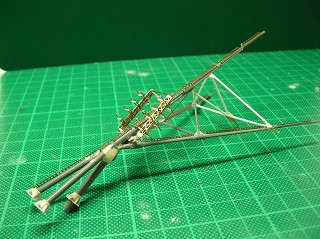
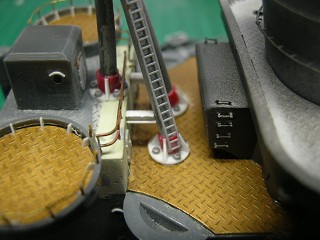
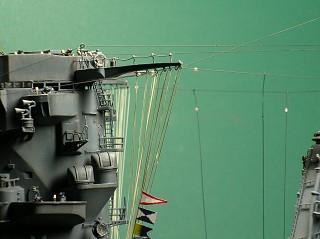
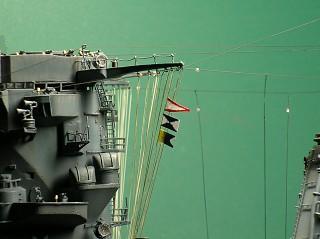
Antenna
I tried to make the radio antenna tip faith in genuine parts, buy parts convincing thunder etching, the wire tension after installation, I tried to make copper wire and handrails.

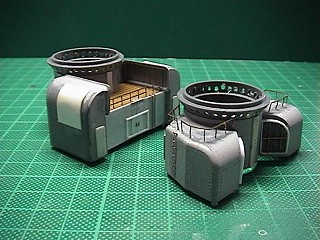
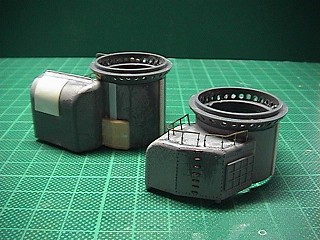
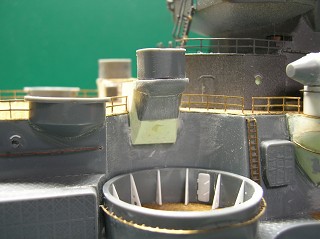
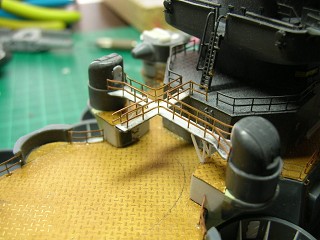
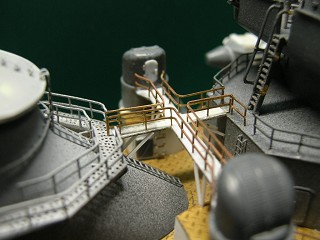
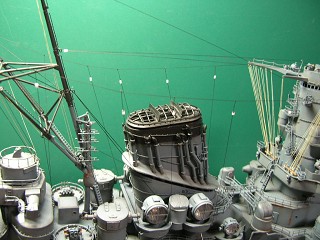
Chimney
The center of the photo on the left, the color we have made to make a connecting bridge is like a plastic plate is good too. Photo below right is a ladder Kemashita making each room to open up the chimney head.
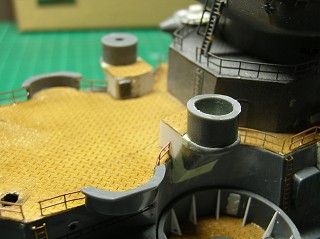
Chimney
Re-create the steam has greatly divided and rain cover. Red arrow-shaped portion of the circular (dish) should stick to things I like is the shadow of the circular Erurashii According to the whistle. The clue here is like the whistle. 150cm searchlight, install, so you want to light later.
Mast
Base of the left (white enclosure) is I tried to look up and down and doing different materials.
Below are two pictures like Showa and the state of the renovated 19 years, saw the central portion of the radar antenna with a nut-etched parts used in the foundations. (For Gundam)

After bridge

Replacing bridge
4cm in front of the mast mounting and additional parts, skid plates Rimasu throughout.
Replacing bridge
Bridge during the installation, try scraping the surface of red on the top and bottom. Rework a bit high for vents located here because of the work consists in the way I gave the gun emplacement, remove tears.

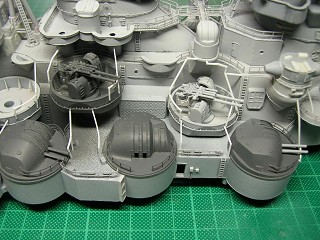
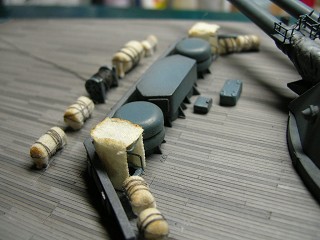
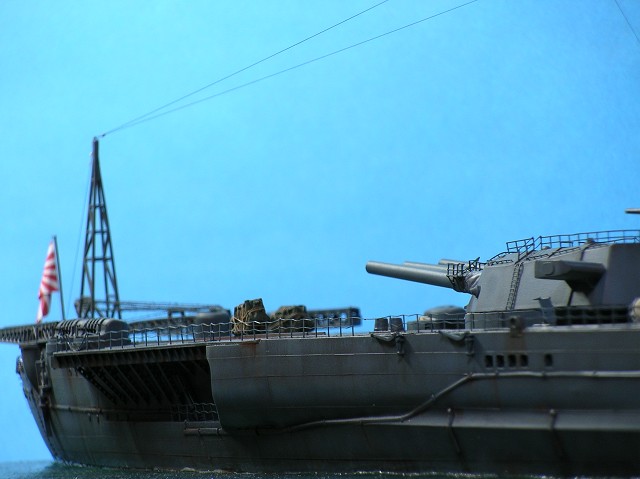
12.7 mm AA
Try to twist. Now 12 is the same thing, will not make it in six invisible layer over the shield.
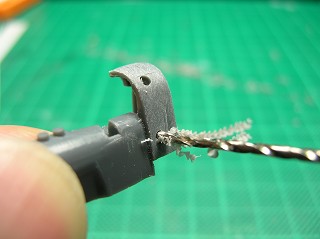
On the left is 1 / 700 dress-up parts of the ship’s waterline. This part is so pretty Yes, binoculars and the gun handle, and triple Chrysanthemum Throne, made a chair.
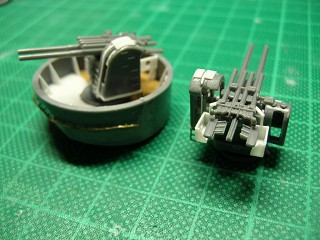
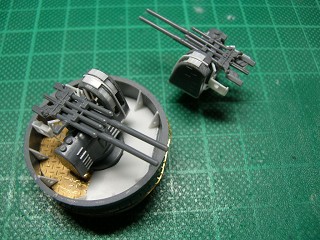
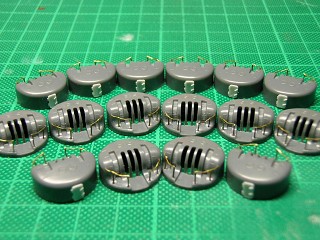
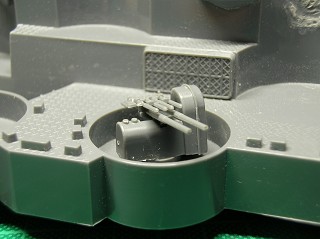
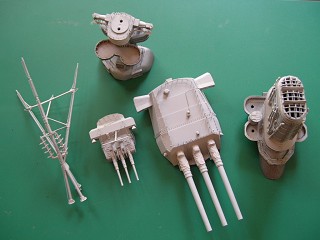
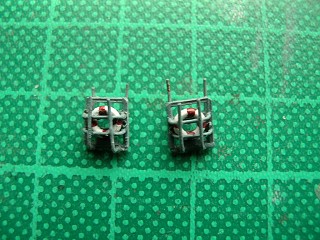
3 × twin 25mm gun shield
16 creates a set of doors and handrails. That it is harder, make better endurance.
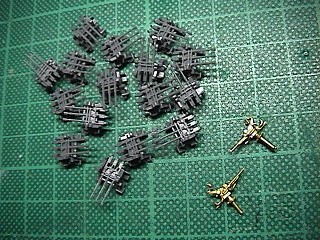
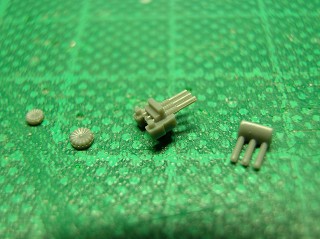
25mm and 13mm guns guns guns type 93
13mm machine gun parts kit guns 4 guns? Bought the metal parts.(Full size)
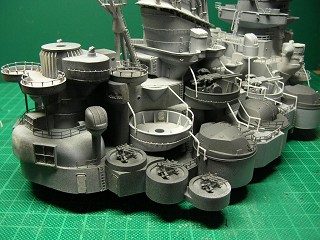
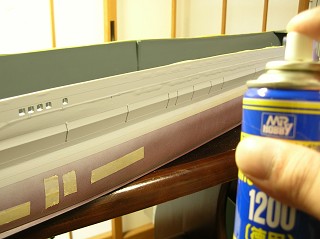
Before assembly, once Surfacer 1200 lightly second clue.
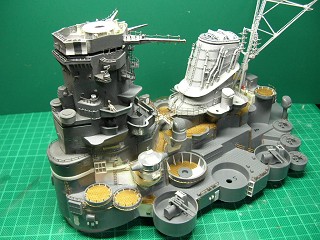
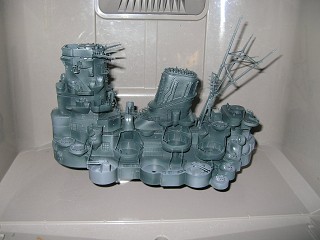
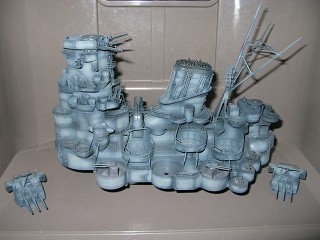
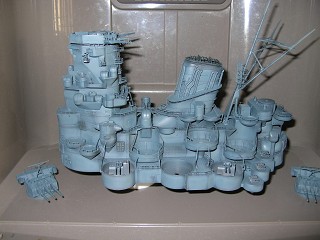
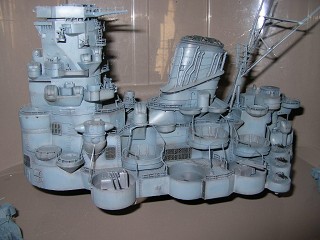
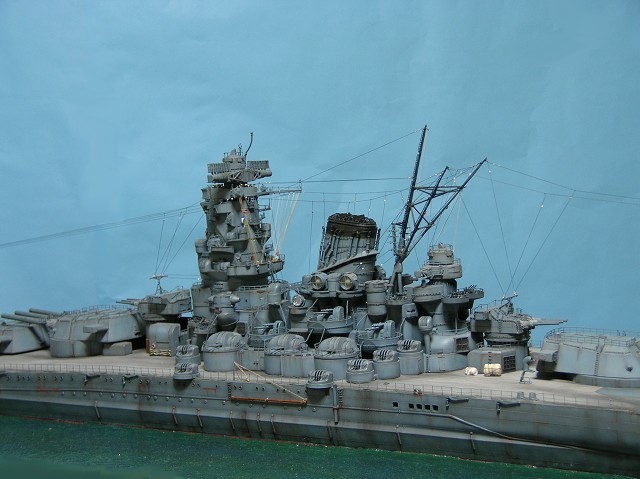
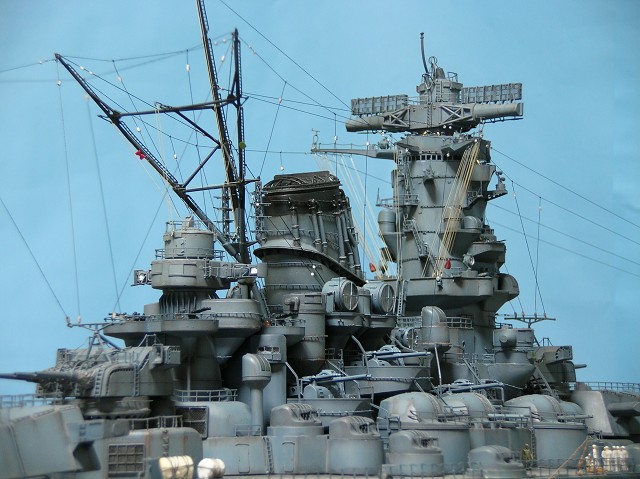
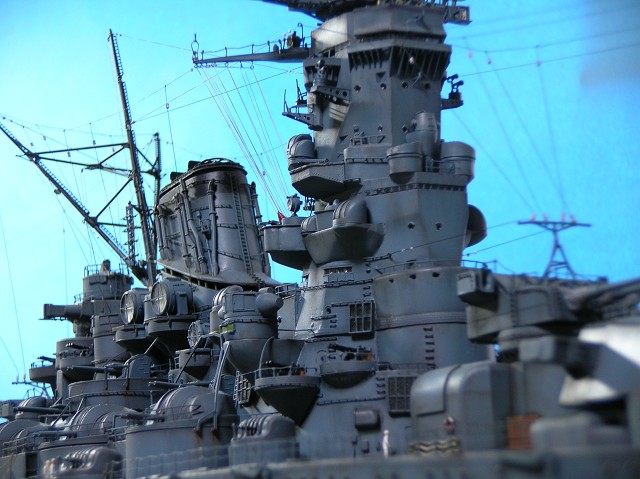
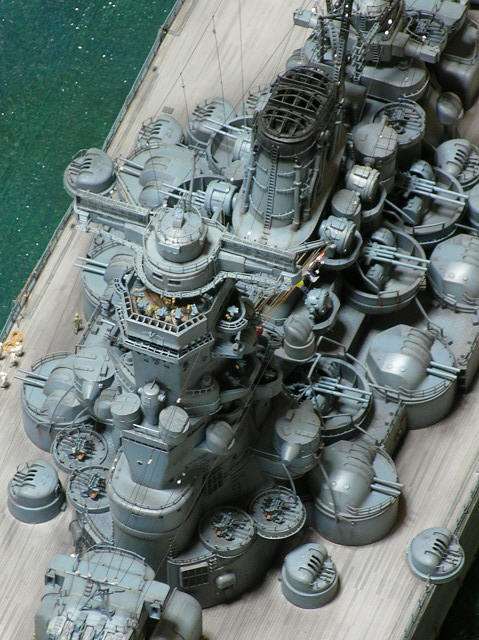
Contact structure, chimney, mast, sail and paste the post.
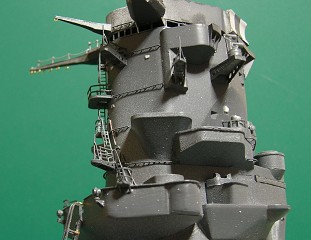
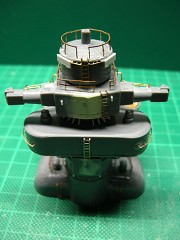
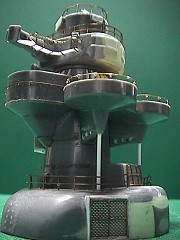
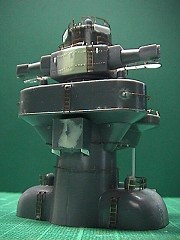
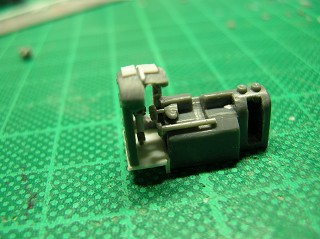
Contact structures
This part is probably the有Tta Bridge. I became worried that there is no detailed literature available, I decided this. Parts of the original photo on the left (gun control tower), but try to rebuild from this part.
High control tower has been remodeled in the patty and the plastic plate.
The Bridge was like this.
Is a digression, 1953 film “Battleship Yamato” has been walking or riding on this. A little different.
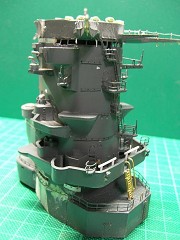
After that, just merged with the chimney.
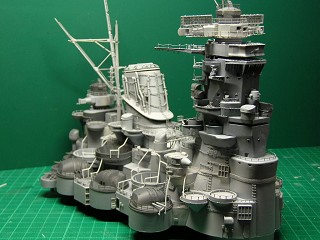
Mast
Because there is a structural part of the back fence and increase the bolts a little remodeling.
Surfacer clue where lightly before you install the bridge behind.
0.5mm plastic rod in the gun industry make a stop limit, I tried to move up to fill the high-angle gun restrictions like the photo.
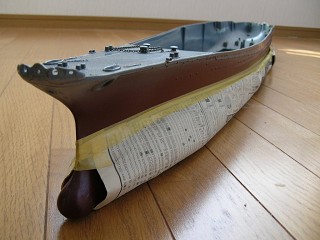
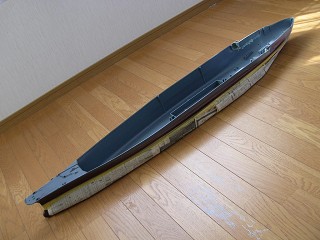
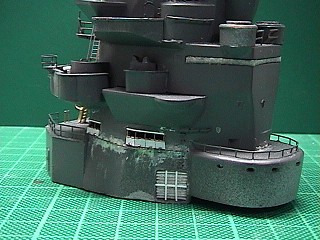
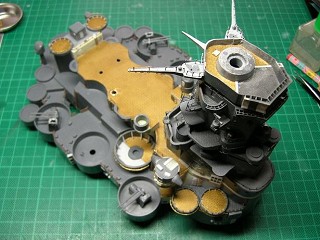
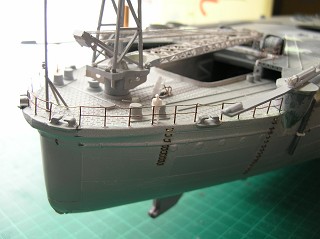
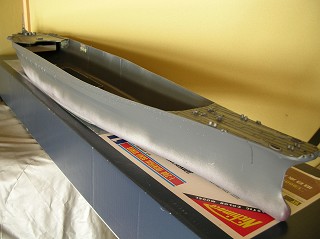
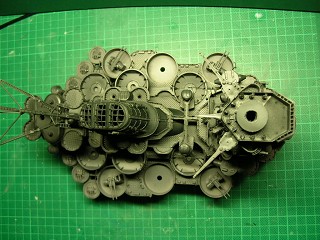
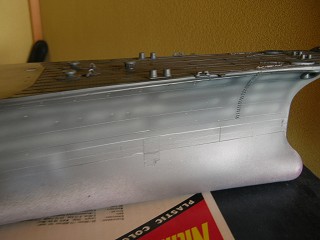
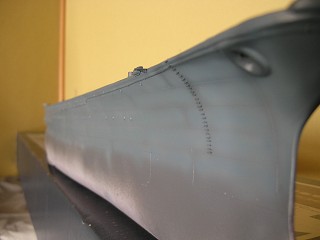
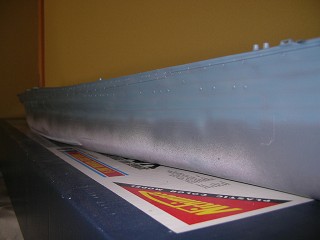
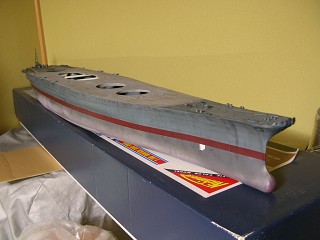
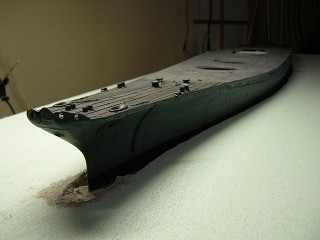
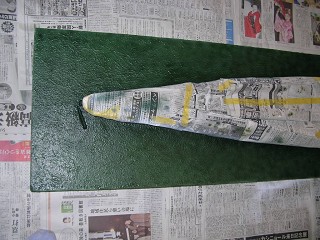
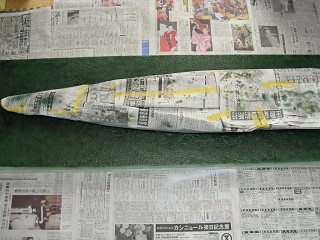
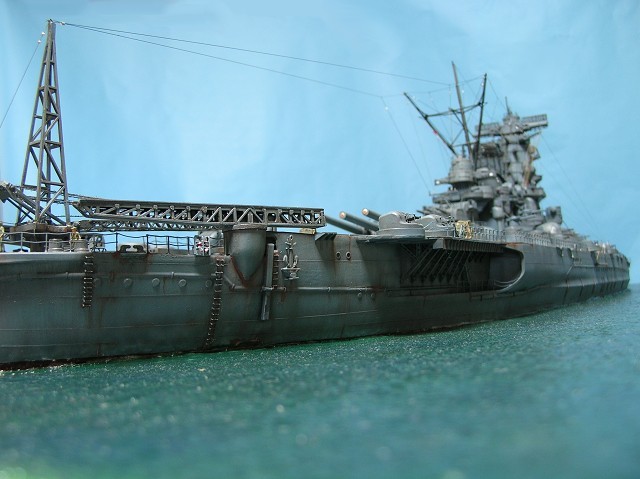
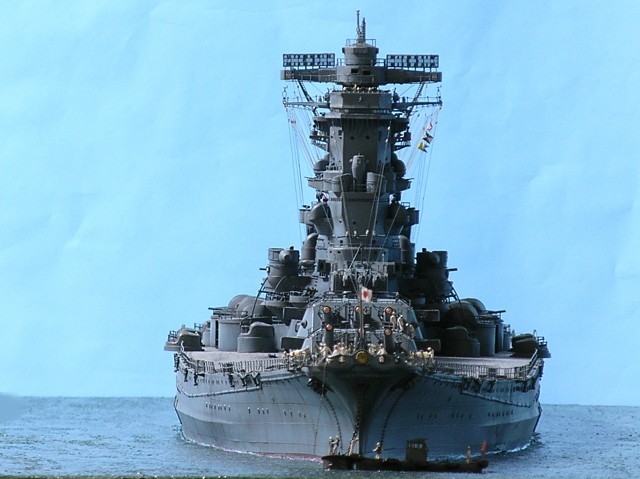
Hull
Hull finally Karemasu carry away. Length is 1m30cm Yes I want a large place.
Low color is put in the waterline ship parts.
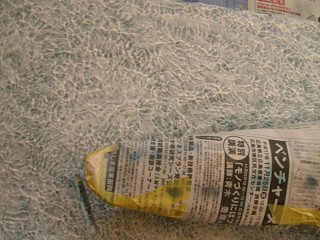
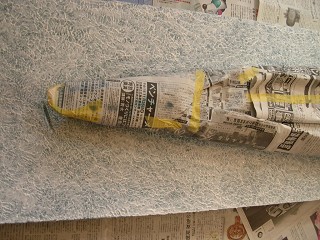
Look at the representation of the plate.
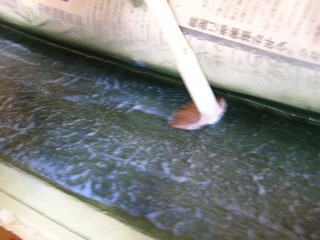
Until the thickness and repeat it several times to paint the putty material melted. (Overall 3 to 5 times)
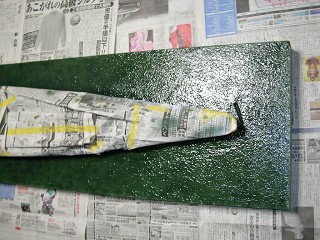
Surfacer spraying finish clue. When: This is only a starting point for a considerable time, consider how little good.
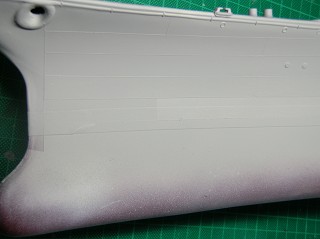
Is difficult to understand, also contains a vertical bar.
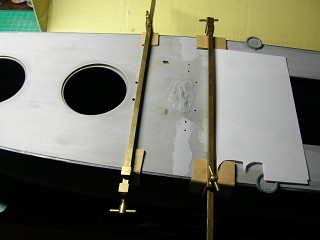
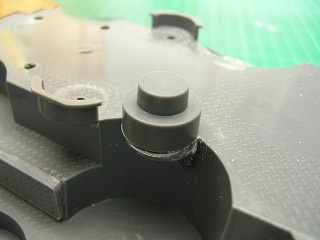
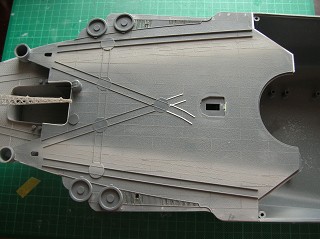
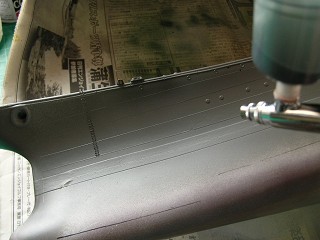
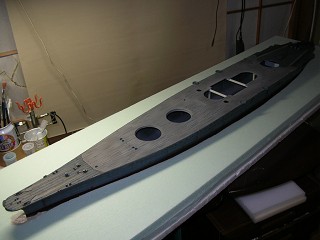
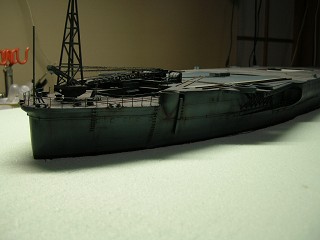
Deck
When pasting the deck, so there is a gap and tighten the clamp accepted. “Caught in the past here is a place that once repaired the cracks.”
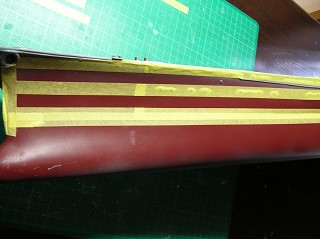
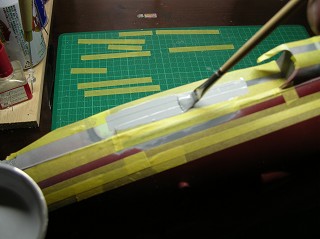
Emits the feel of the deck plate. Color Navy (1) and painted surfaces, and paste to put masking tape lines 1mm Kegaki senses.
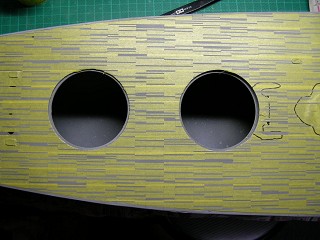
5m (1 / 200 in 2.5cm) in the sense of lay boards, watching a little balance Gimasu masking. After Ida, and painted a dark color for the color mixing warship,Gimasu a little more. Repeat.

Hino trees issued a weathered feel.
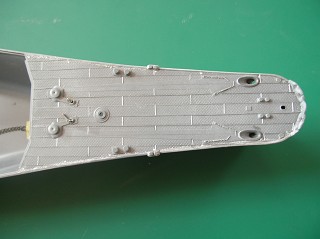
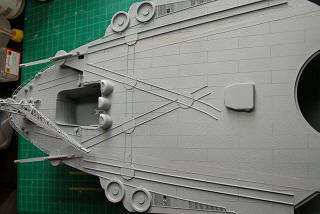
The foredeck.
The toffee-like stretching a liner plate.
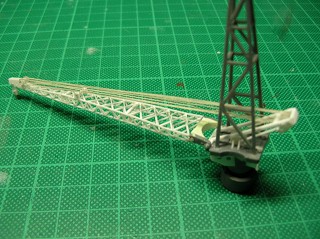
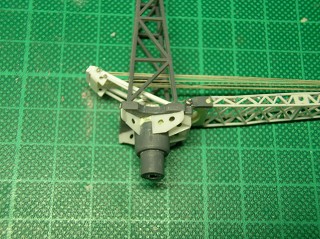
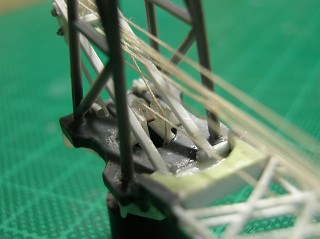
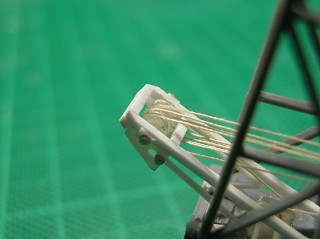
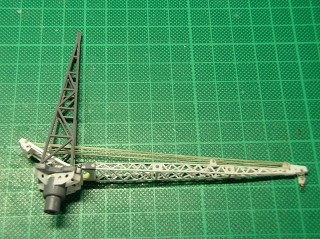
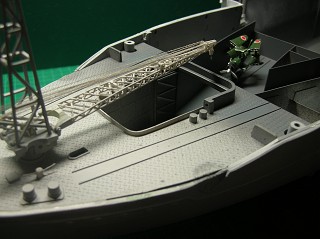
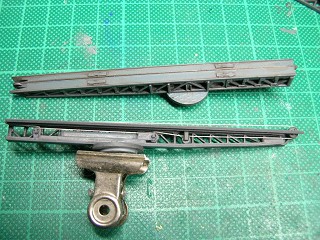
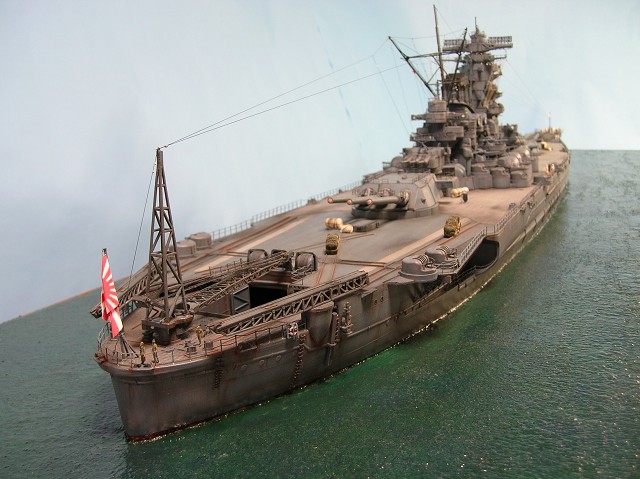
Crane
Rikaemasu from this part of the crane.
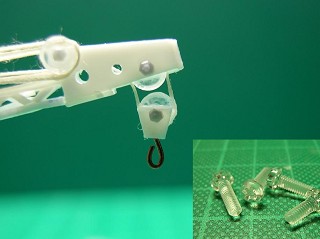

This is to pre-etched parts are sold separately, I tried to make plastic stick. No part of the system. I used parts of the pulleys are all off the plastic screw. The good feeling right size, wire (yarn) is the engagement of the good.
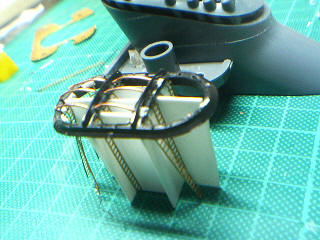
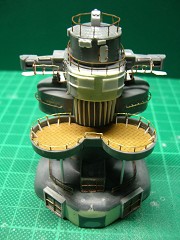
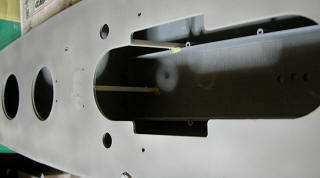
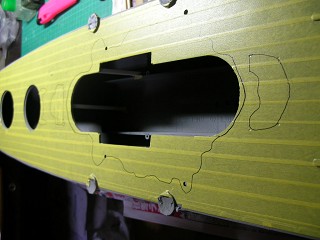
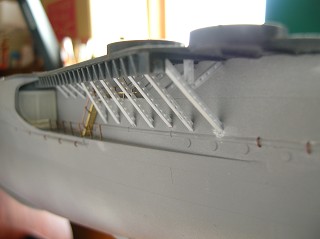
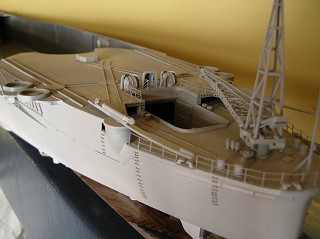
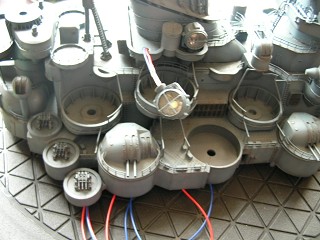
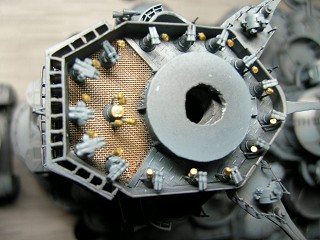
Airplane hangar
Look at making the hangar.
Because the shallow part of the store, you can store up to a plane machining.
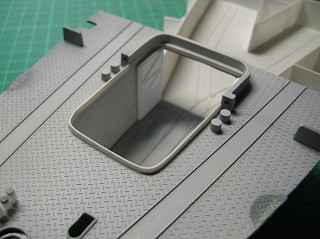


Eliminates visible in the upper deck with a lid and store in a reconnaissance aircraft wings folded state.
At that time, so there are six aircraft.
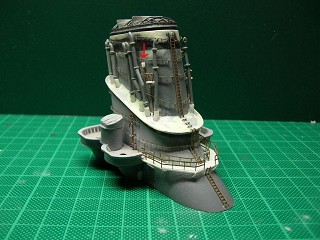
Attach the crane.
Kemashita the upper deck.
This part is actually seemed to paint the cement, iron is likely to remain.
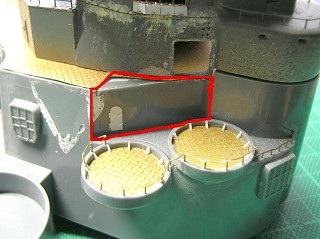
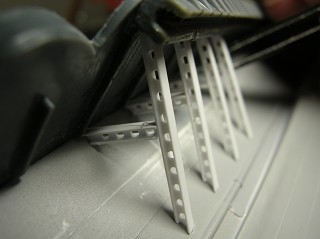
horizontal support, H 1.5mm steel rod pierced the plastic, as well as Kemashita stairs.
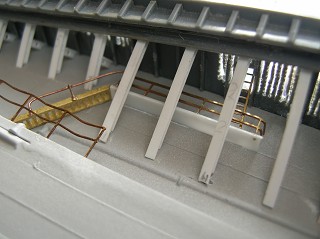
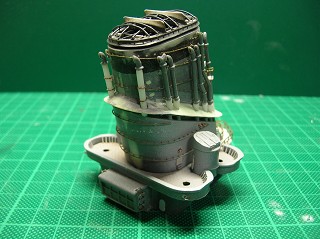
If you look good during the installation of the catapult, the process is too high for the portion enclosed in red. This will not be placed on the upper deck aircraft carrier catapult out of the car.
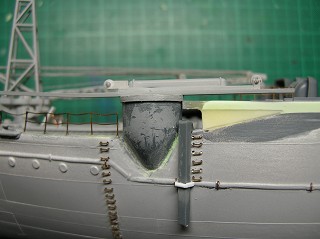
I tried to adjust to the height of this place.
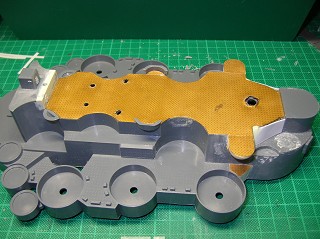
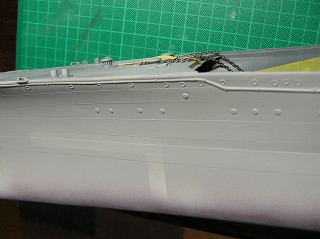
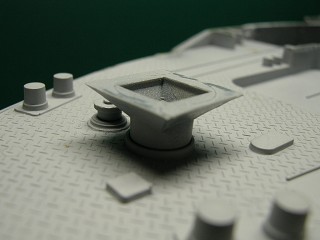
Only starboard Kemashita sewage pipe.
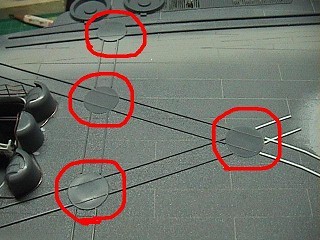
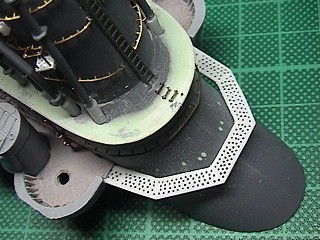
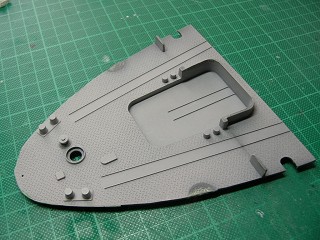
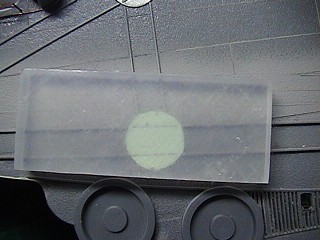
Look the part with a pattern of red dots skid.
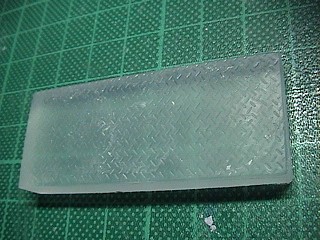
Copy the pattern by taking non-slip type.
With coverage of this type is quite useful in hot water for two minutes can be used many times.
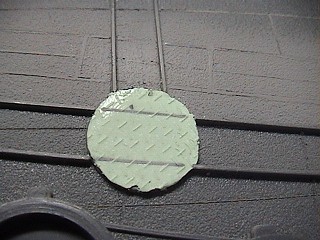
Hold with putty, wait until dry.
Can fairly easily to clean. Be careful on the amount of putty.
He’ll also is part of the catapult this way.
Following一assembly from the end to enter the painting.
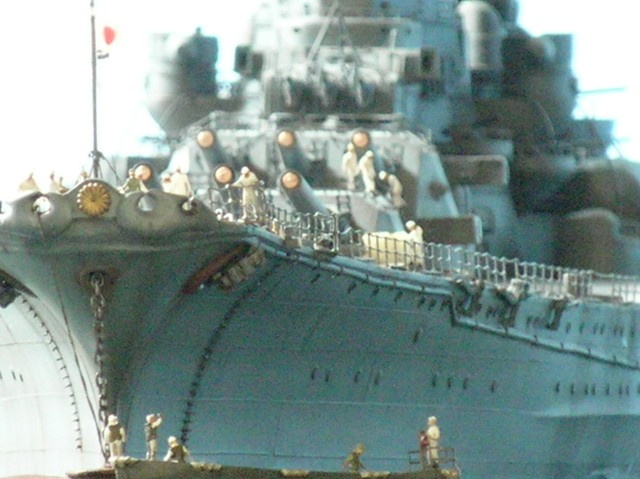
This care was, 1 / 200 dolls.
The dolls that I made while watching the balance, you see it?
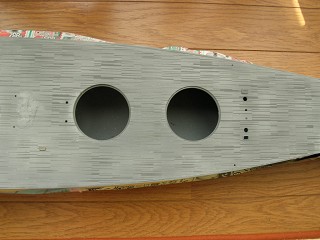
This time, in April 1944 – Manila, training off the ringer, Battle of the Philippine Sea (Strategy No. Oh) over Okinawa was returned to state from the six month Hashirajima off to paint the image.
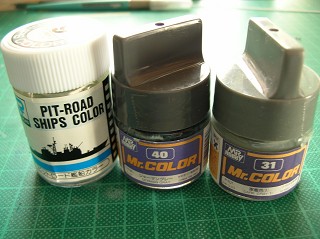
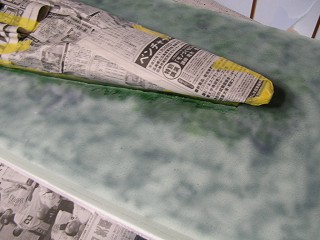
From left, color Kure Navy Yard, Jamangure color Navy (1) I would like to use.
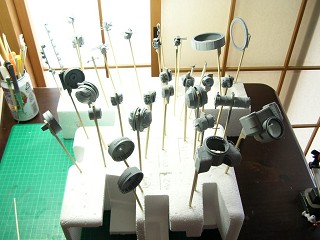
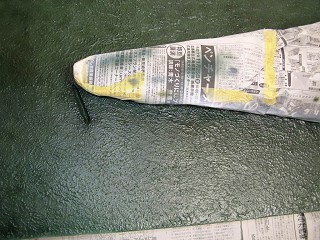
Based basic across the Jamangure Kemasu from the shadows.
Large areas in advance, I used the spray cans.
Poi photo is black is a little more cheerful.

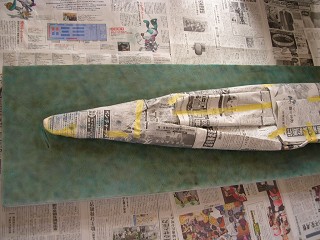
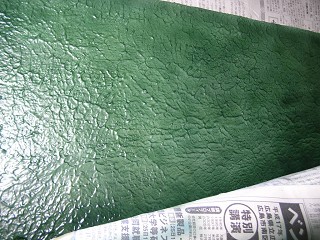
The first two times the paint color Navy (1) to paint the shadow areas while leaving bright.
The painting of the last three times, and then painted the color Kure Navy Yard.
This time, because we ship color faded image of a scene (1) I get the feeling faded when the next dirty Spray struggling with bringing a little color unevenness on the Kure Shipyard.
is a beautiful blue-tinged color.
Enter dirty.
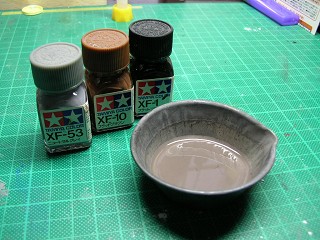
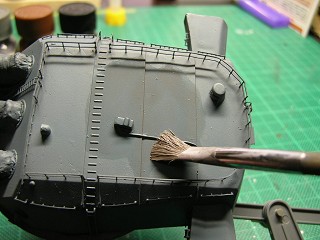
Then the Uosshingu. Left neutral gray, flat brown, flat black, in the sense of 3:2:1, we’ll rub diluted whole.
Later, dry, place the stain to even look at this with a solvent wipe with a swab enamel.
The feeling faded, I felt the stain.
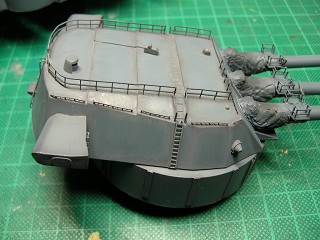
is a before and after the gun Uosshingu.
Hull is out with a feeling dirty sponge.
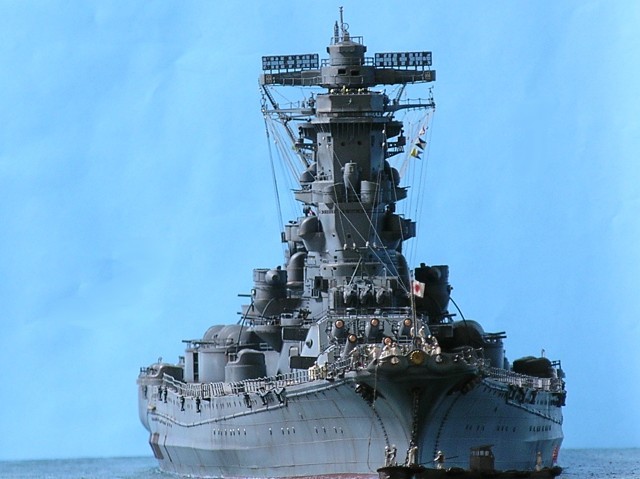
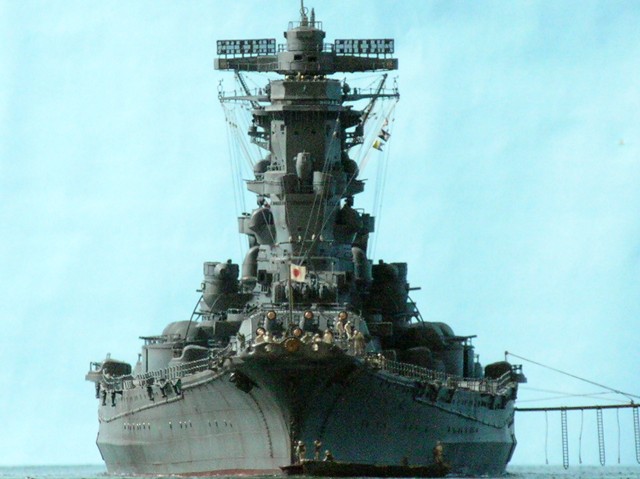
This target is to finish, please wait.
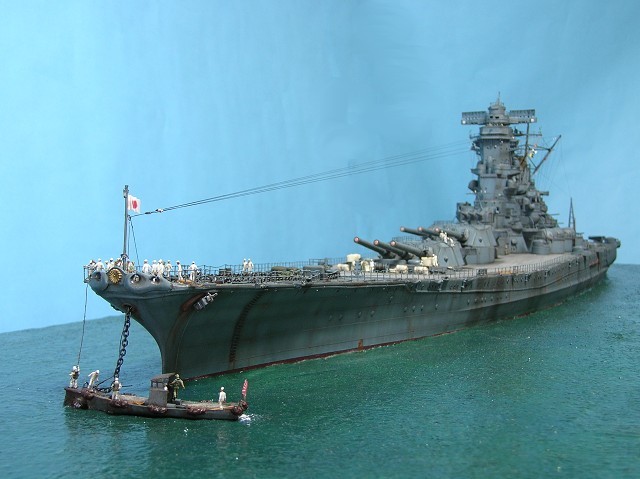
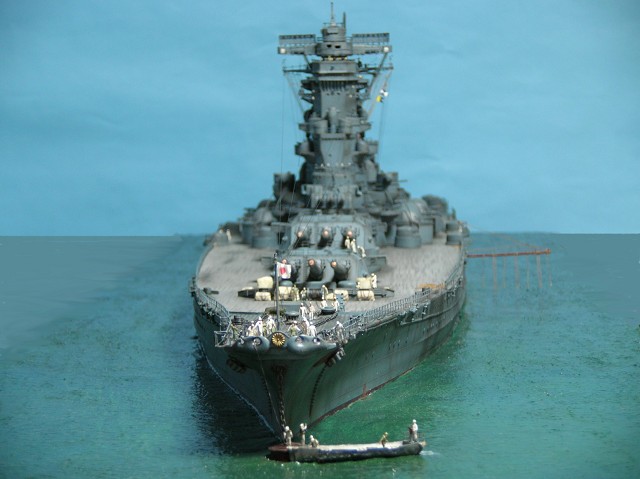
Diorama
The diorama and wanted to look when I bought it from floating into the sea.
Kuri Ki the foam based hull bottom, and fit into a paste Mirakon.
Dark green (1), Blue Indiana (a little) will have an uneven paint.
Representation of the sea, used to bond wood surfaces.
While plenty of elaborate goes out to fill some feel the waves.
Bond is out in shiny wood.
Shadows give depth to the sea and later dry again, green agriculture (1) thick dark-painted eyes.
Leaving depth and shadow.
To finish, fill the Medium shine out.
‘m Getting a good shine.

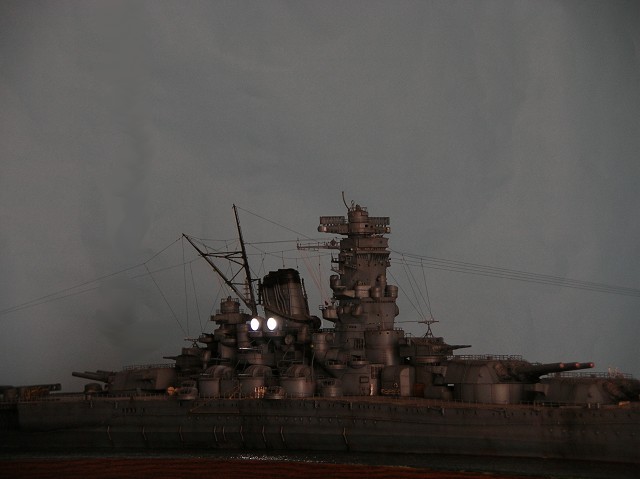
Parts kit from the left processed 150cm searchlight, 60cm I tried to make the lights change.
Also make life buoy. Also give Kataparu wire.
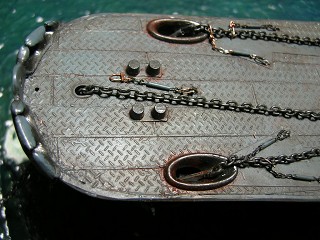
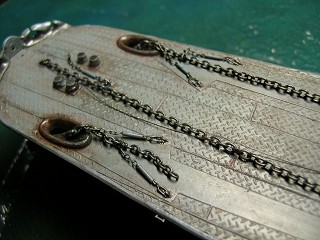
Housing stopper, shackle, reworked the device hanging off.
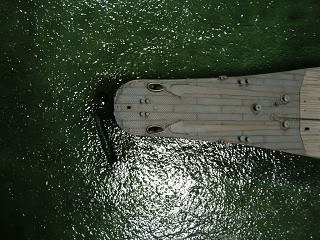
This is concatenated to try to reproduce the buoy chain. Kentashakkuru stoppers stop the anchor (chain to bulk) spliced to the buoy off the anchor chain like a partial picture. I would also like a rope attached at the time of completion.
The funnel with a rounded, Lille is a diorama because the cover flap, also Semasu hatch.

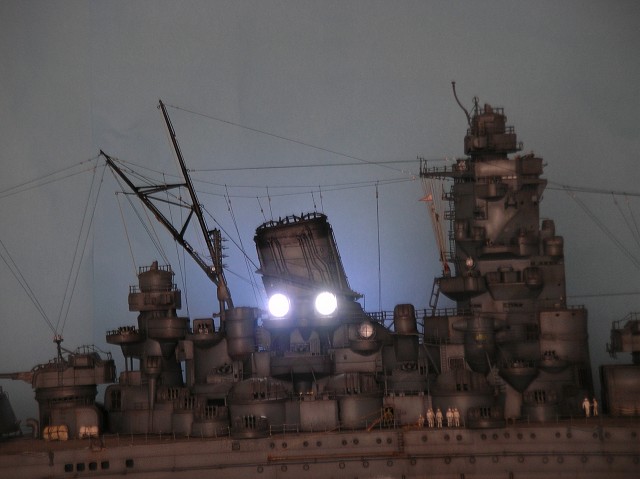
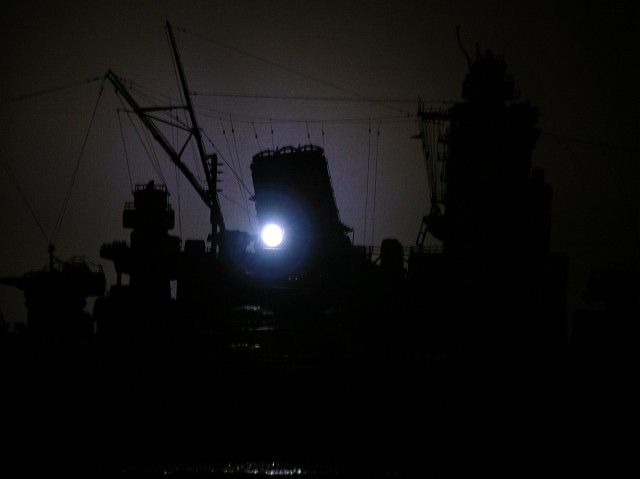
150cm think we lit a searchlight to look, use light-emitting diodes.
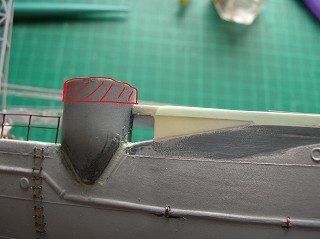
Compass saw with a speaking trumpet.

I tried with the cover on the tip of the barrel in the fun, not for a moment in silence feels so good.
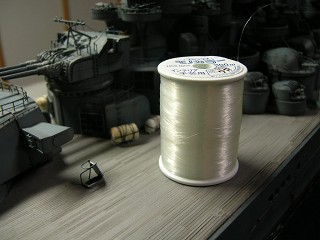
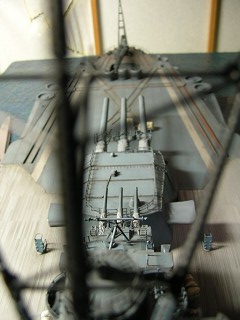
Chang Handicraft line for No. 60 used a transparent. (No. I do, I do not know better?)
I feel so good just stand out.
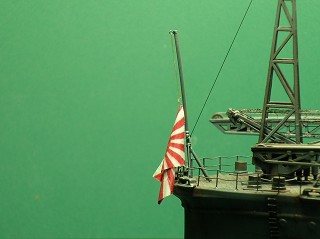
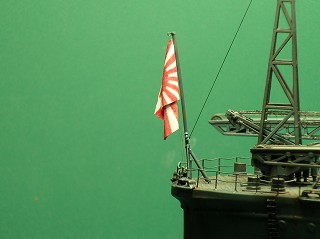
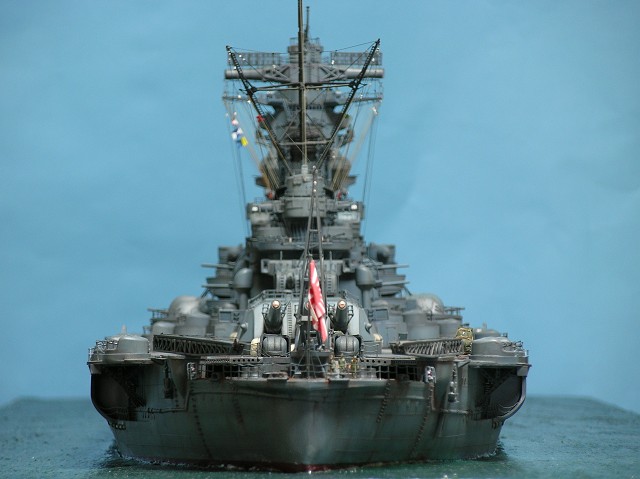
The state is moving to lift up the flag rope Navy Flag.
Signal flag ship name Gemasu lift the flag from behind the rope bridge.
Ware, Yamato I mean.

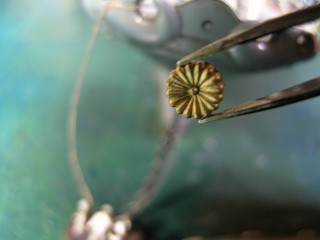
I finally finished with a chrysanthemum crest.
~~ Finally ~
This time, everyone capped to provide support and materials to produce the model you gave me, thanks.
60 things after the war with sunken Kazutoshi Hiroshi crew, thinking such things at the time, took the Production was completed in about 400 days.
This time, the Philippine Sea Battle (Strategy No. Oh) that the equipment at the time.
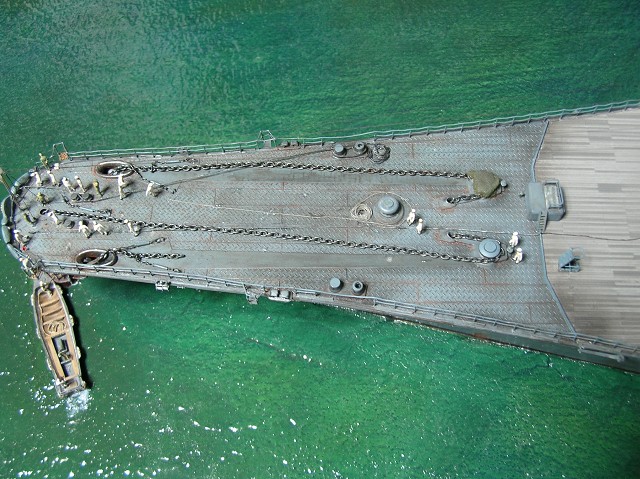
Wu discontinued operations and the way back to No. Oh, and a market maker in the diorama to look after a tethered buoy.
Chain is part of the deck point.
Deck the texture of the wood, I’ve struggled to get a feel for unreserved covered the plate, Rimashita minutes multiplied by the time you feel good.
Chain is tethered to a chain on the buoy deck is probably looked like.
This model, people on the deck is small, in fact each team, which was on the deck appears to have many roles.
1 / 200 and 1 / 700 I tried to sort the. Better understand the size.
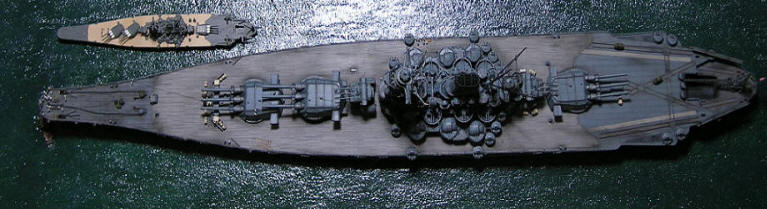

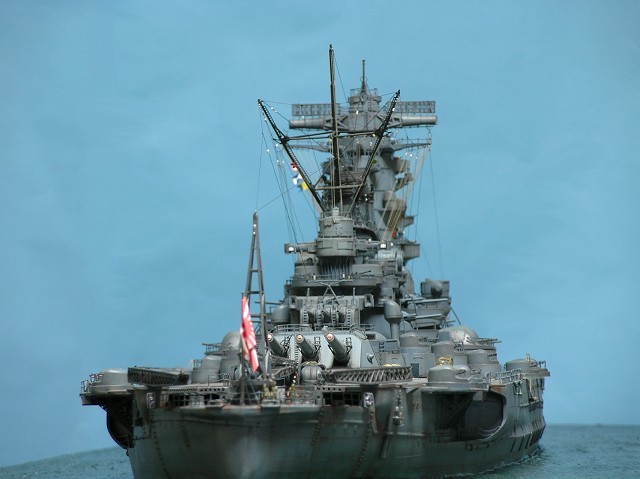

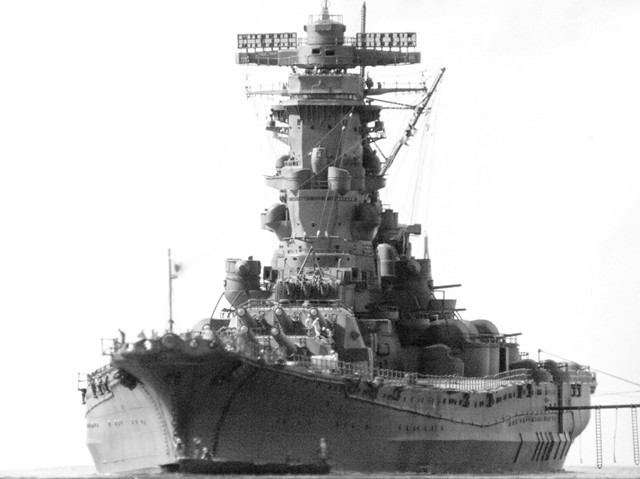
down here is the photo after retouching.
Excellent work
Great work and an inspiration to all other modellers. Absolutely superb.
Beautiful work, I’m so envious of your great skill.
That’s a superb work ! Congratulations !
BTW, where are the sailors’ figures coming from ?
truly amazing work. I have a 1/200 kit which has sat on my shelf for 18 years. I’m about to start putting it together. I’d love tips etc.
were i can buy the sea men figures i need for my model 1.200
Stunning work
Magnifica, solo un paio di domande: 1)per i fili ho visto che hai usato del filo da pesca ma dalle foto si vedono più scuri e non trasparenti, li hai colorati? se si di che colore? 2) il pallini bianchi che vedo sempre sui fili cosa sono? e come si mettono?