Windows 10 Beta Trial “a component of the operating system has expired” error fix

a component of the operating system has expired

I hate Windows……I really really do…….

Long story short, as I am a beta tester for Micro$oft I previously installed a preview version of Windows 10. My life circumstances have changed since, so I haven’t been keeping up with its development, nor have I been updating the brand new HP PC I bought for it.

So today (Some time after the trial version has expired) I turned on the machine……BRICK…….nothing.

Couldn’t boot from disk, couldn’t boot from a USB drive, NOTHING but:

“a component of the operating system has expired”

The bottom line, if you want to reclaim your files and reinstall or upgrade, just boot into BIOS and set the date to JUNE 2015.

How To Speed Up a WordPress Web Site by Optimizing Images

Imageoptim LogoThe Webernets has been running a bit slow lately, so I started looking at ways to speed things up. I stumbled on an article on WPMUDEV titled “How To Massively Reduce Your Images For A Faster WordPress Site“, and I thought I would put it to the test. I downloaded my entire images folder from my server, and here are the beginning stats.

Original SizeAs I am using a Mac, I downloaded the free app recommended in the article called ImageOptim (The article recommended Caesium as a free alternative for Windows users). I was impressed to read on the download page that “ImageOptim is lossless — it compresses image files without changing pixels.

Opening the program shows a pretty familiar looking window.

ImageOptim WindowI dropped the whole folder in using the default settings and away it went. It took about 50 minutes, and here is the summary it displayed when finished.

file size savingsAnd this is the specs on the folder from the finder.

default optimized file size63.9 MB saving is nothing to sneeze at, but I was interested to see if I could push it any further. In the settings, I found a “Quality” slider for Jpegs. By default, it is set to 100% hence the claim to lossless, So sliding it down to 80% will obviously reduce the quality and void the lossless claim, but is the trade off for file size justifiable?

ImageOptim PreferancesWith the Jpeg Quality Slider set to 80, I ran the program again on a copy of the original folder I made before the first optimization run. It took about 60 minutes this time, and here is the summary from the window footer

Hard Optimize SettingsAnd here is how the Finder views the folder

Hard Optimized Finder Size110.5 MB Saving on a 330.4 MB original file size is impressive. That’s 1/3! I went through a number of files to check the quality, and even though there is a slight difference if you look hard, for the most part the quality is good.

How to easily create a group and send a SMS Text Message to everyone in it on iPhone

connect-contact-managerMy boss at work asked me if there was an easy way to create a group of contacts, and send a message to everyone in the group on her iPhone, and with a little digging I turned up this free GEM app called Connect Contact Manager for iPhone. An example of its use would be if you were a coach of a team, and you need to let all the players know practice is cancelled, you just select the group, type “Practice is cancelled” as a text message, and when you press send, the same message is sent to the entire team automatically (Assuming you have all of their mobile/cell numbers on your phone).

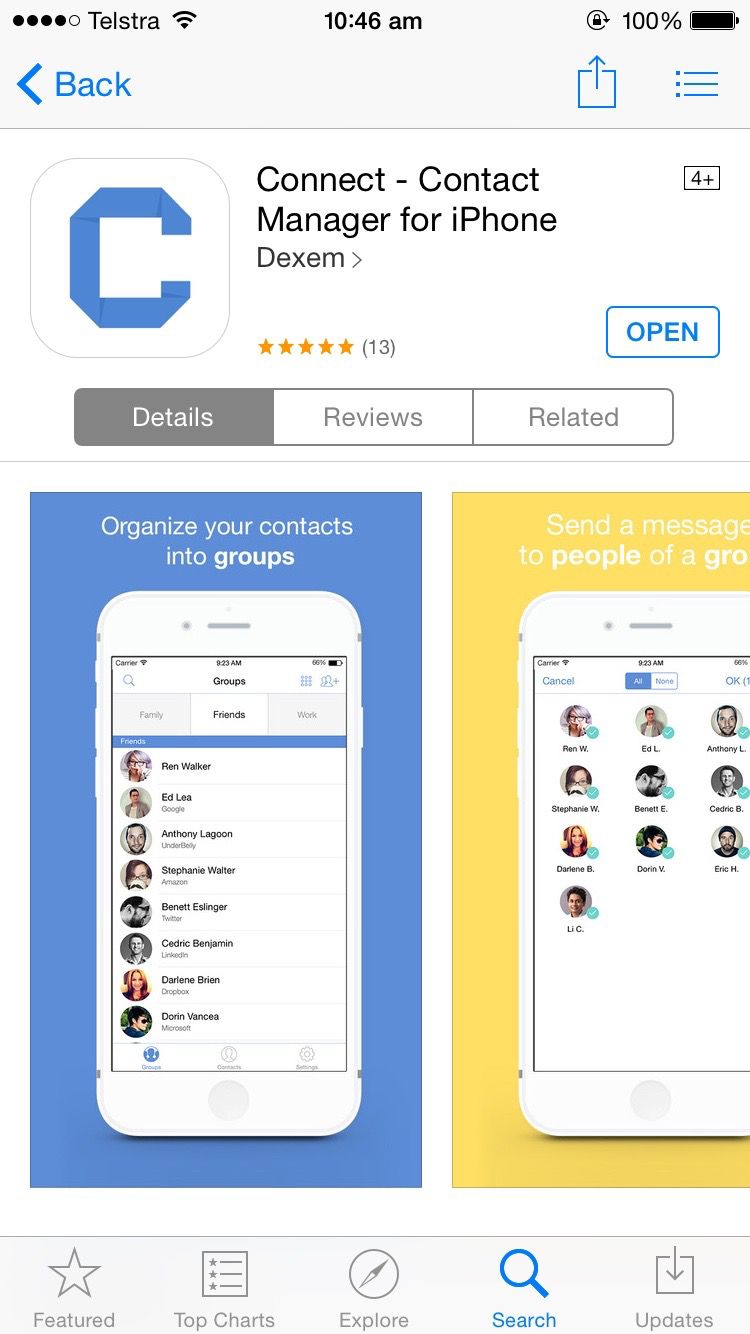
Go to the app store and download the free app. Find it by searching for Connect Contact Manager, or go HERE.

Connect Contact Manager Download

Once downloaded, open it up.Contact Screen

Create A New Group

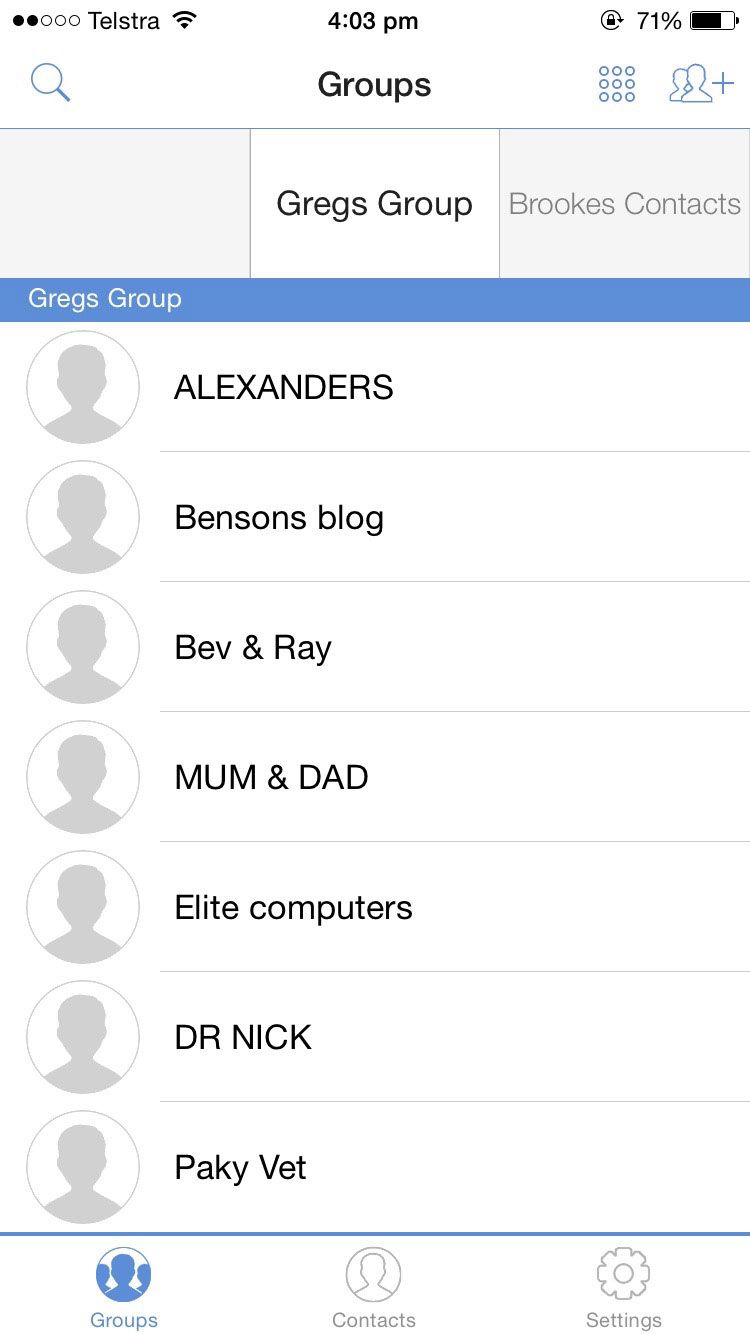
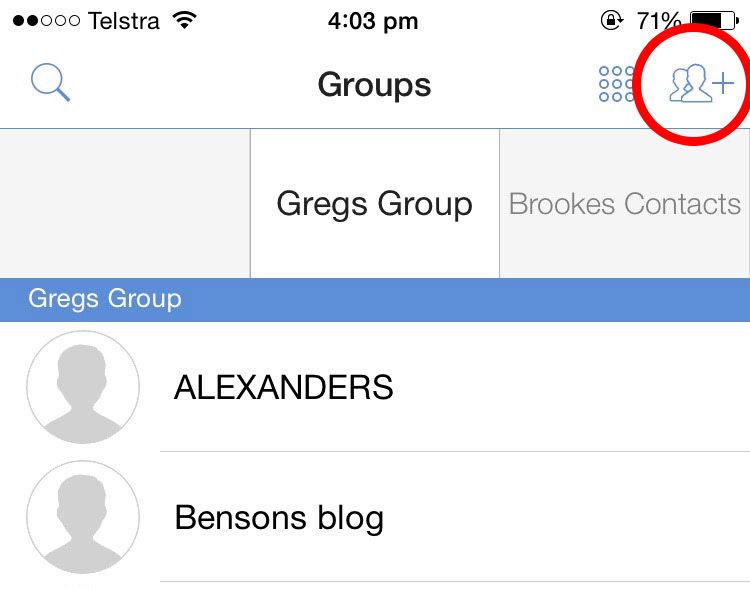
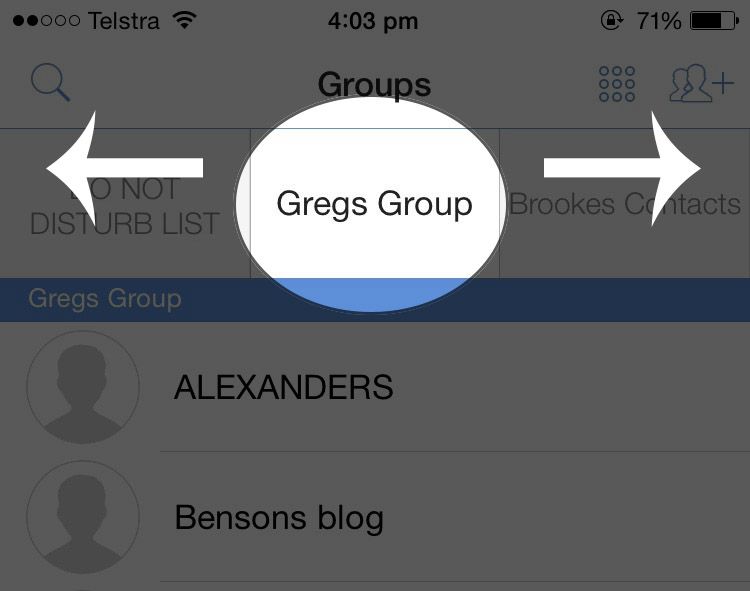
You can scroll through the groups you have already made by swipping left and right on the group names, and if you want to create a new group click the plus icon in the top right corner. If you have already created the group you want to message, skip down to the “Send A Message To The Group” section

Add Group

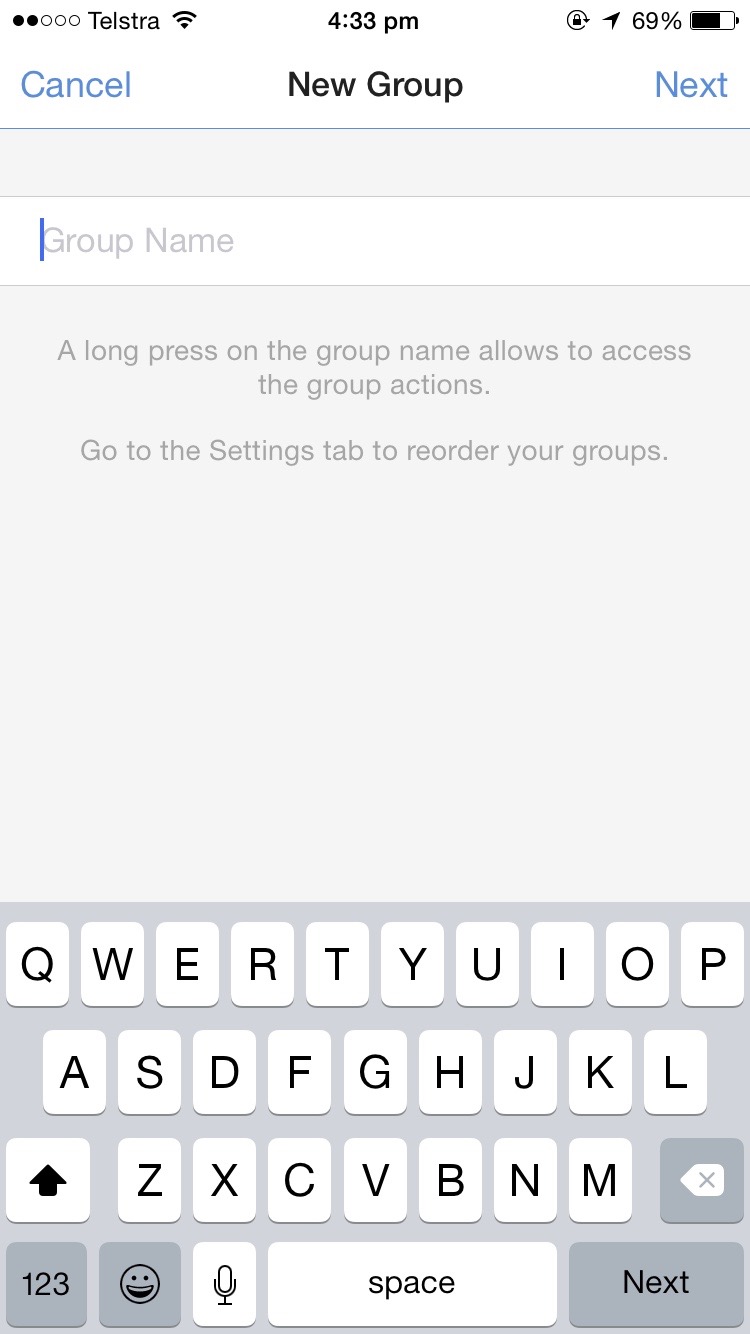
Give your new group a name

New Group
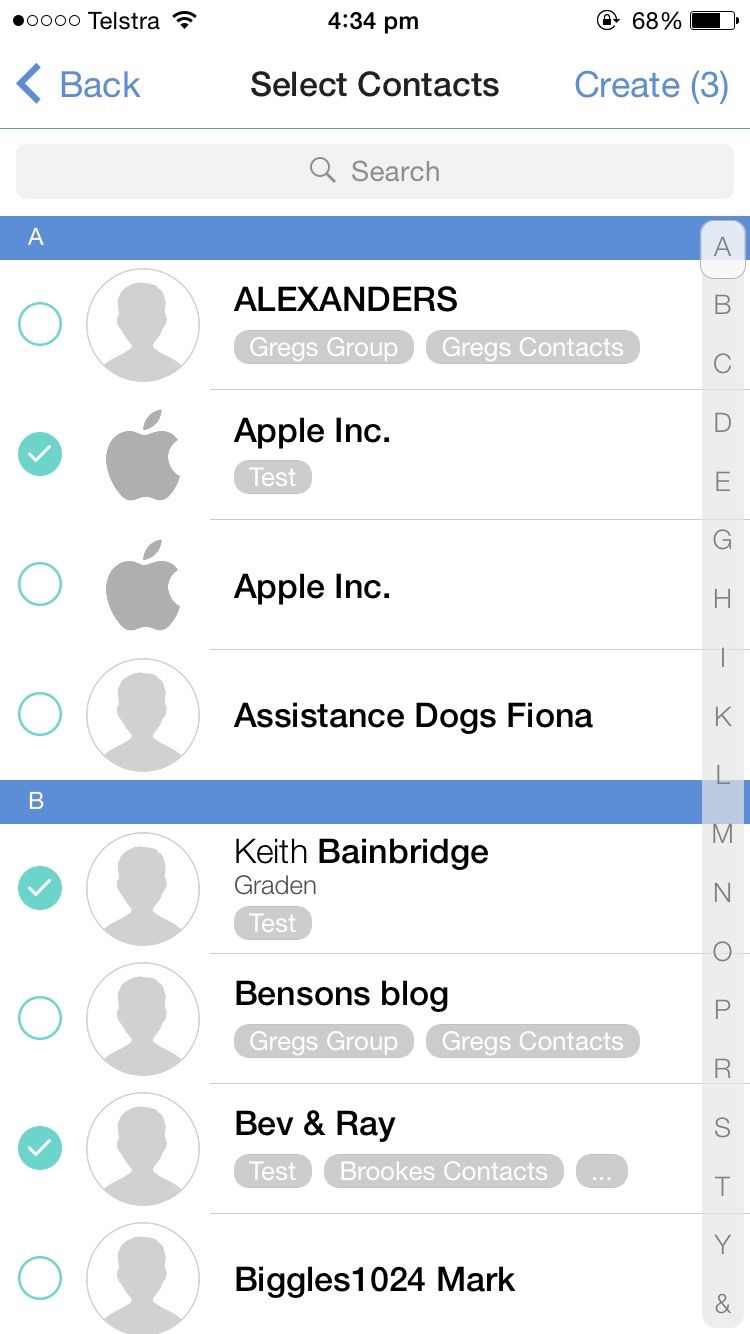
Select the contacts that you want to be in your group

Confirm Create

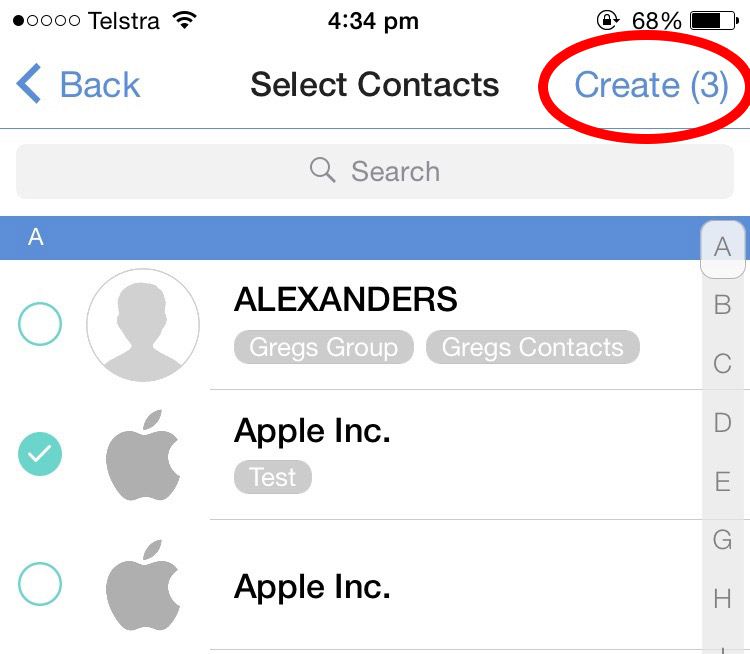
When you have selected all of the contacts you want in your group, confirm your selections by clicking create in the top right cornerconfirm-createSend A Message To The Group

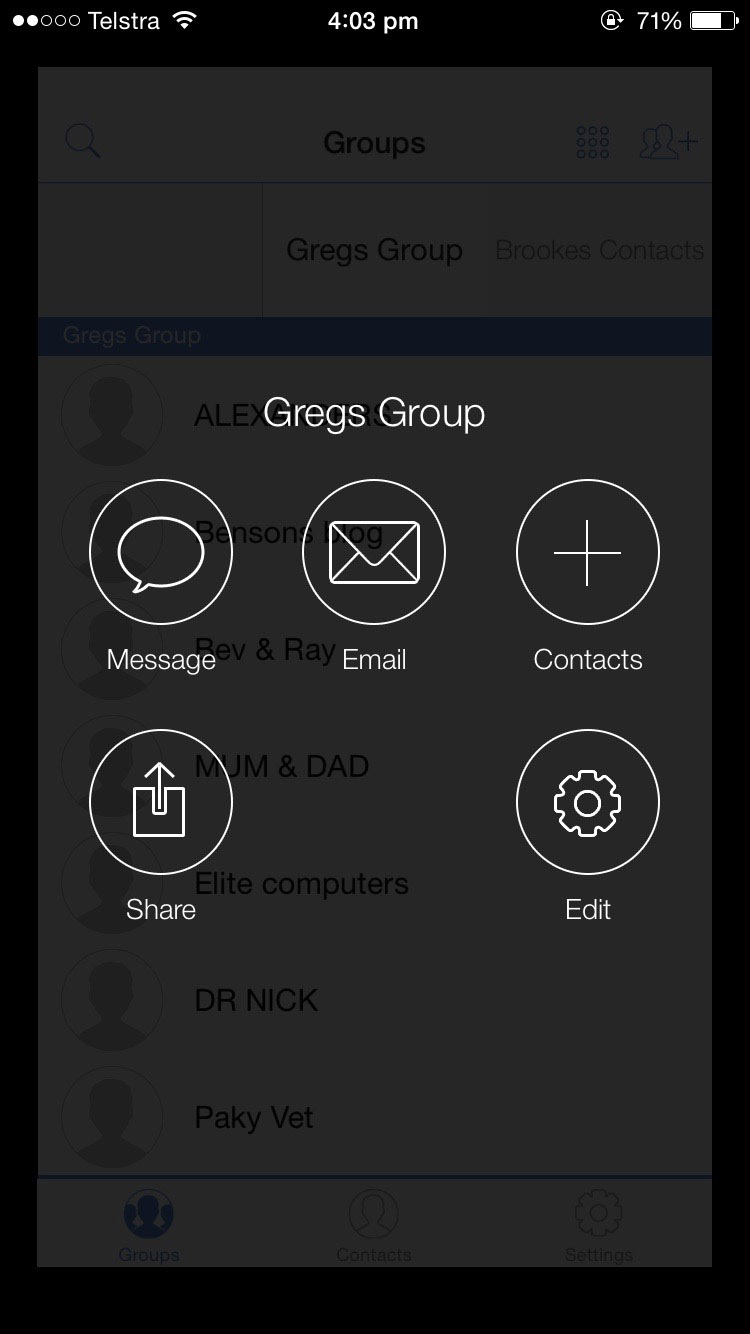
Now, select the group you want to message by scrolling left and right, and hold down/press the groups name for a few seconds

Select GroupThen select “Message”

Select Message

Now you can type your message

Send Message

When you are done typing, simply press “Send”, and everyone in the group will get your message

How To Make Your Own Internet TV Show – Part 7 – How To Make A Lower Third

Lower Third Graphic
Part 7 – How To Make A Lower Third Overlay Graphic

In this tutorial I show you how you can make a lower third overlay graphic to use in your broadcast for titles. In the tutorial I use Adobe Photoshop, but if you don’t have that, you can download a free fully functional 30 day trial from Adobe.com, or if you want a fully functional entirely free high quality image editor you can download The Gimp free from gimp.org.

Note to Pros – These articles are aimed at beginners, who wish to spend little or no money until they have a grasp on the topic, and are hoping to learn how to get started quickly and easily, using equipment they most likely already have.

httpvh://youtu.be/2VJ1iOdudrE

You can download a free unrestricted trial copy of Vidblaster from vidblaster.com

vidblasterbuynow234x60
Part 1 – Selecting Video Switcher Production Software – The Heart of Vidcasting – VIEW HERE
Part 2 – Installing Vidblaster, Connecting Your Webcam, Switching and Interface Basics – VIEW HERE Part 3 – Adding Additional Cameras – VIEW HERE
Part 4 – Mixing Audio, Mics, and Avoiding Looping in Software – VIEW HERE
Part 5 – Desktop and Browser Capture – VIEW HERE
Part 6 – Connecting Guests Via Skype – VIEW HERE
Part 7 – How To Make A Lower Third Overlay – VIEW HERE
Part 8 – Adding flair with Effects, Soundboards and Chat Streams – COMING SOON!
Part 9 – Green Screen/Chroma Keying and Virtual Sets with iClone – COMING SOON!
Part 10 – Recording and Streaming – COMING SOON!

How To Make Your Own Internet TV Show – Part 6 – Connecting Guests Via Skype

Skype_LogoPart 6 – Connecting Guests Via Skype

In this tutorial I show you how you can capture a video conversation from Skype and include it in your broadcast

Note to Pros – These articles are aimed at beginners, who wish to spend little or no money until they have a grasp on the topic, and are hoping to learn how to get started quickly and easily, using equipment they most likely already have.

httpvh://youtu.be/tVqZSYP1V_w

**UPDATE** – As of VidBlaster version 4.05, a new “Screen Capture” module has been added which replaces the old method. If your version of VidBlaster is 4.05 or above, see the following video.

httpvh://youtu.be/qK-Kobwcxfo

Voicemeeter can be downloaded FREE HERE at vb-audio.com. Don’t forget to make a donation – the programmer deserves a little something for a program this good!

vb_audio_logo_blue_175

You can download a free unrestricted trial copy of Vidblaster from vidblaster.com

vidblasterbuynow234x60
Part 1 – Selecting Video Switcher Production Software – The Heart of Vidcasting – VIEW HERE
Part 2 – Installing Vidblaster, Connecting Your Webcam, Switching and Interface Basics – VIEW HERE Part 3 – Adding Additional Cameras – VIEW HERE
Part 4 – Mixing Audio, Mics, and Avoiding Looping in Software – VIEW HERE
Part 5 – Desktop and Browser Capture – VIEW HERE
Part 6 – Connecting Guests Via Skype – VIEW HERE
Part 7 – How To Make A Lower Third Overlay – VIEW HERE
Part 8 – Adding flair with Effects, Soundboards and Chat Streams – COMING SOON!
Part 9 – Green Screen/Chroma Keying and Virtual Sets with iClone – COMING SOON!
Part 10 – Recording and Streaming – COMING SOON!