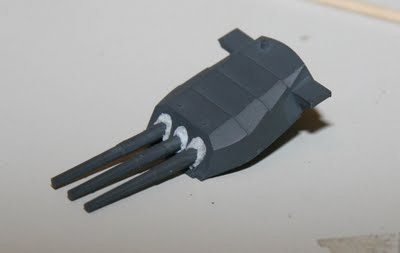
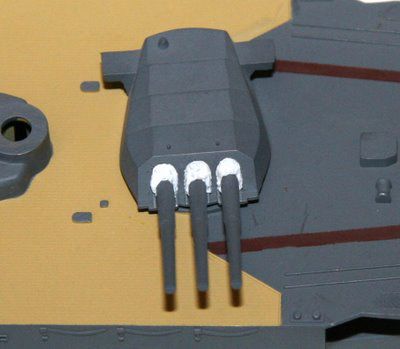
In this article I will show you how I upgrade the big gun barrels on 1/350 scale ship models. More often than not, the barrels that come with the kit are not very realistic looking, and in some cases they can be hideously bad. This is obviously very disappointing, as the rest of the kit is quiet good quality. I have developed a very simple and quick way to make those barrels look a little bit better.
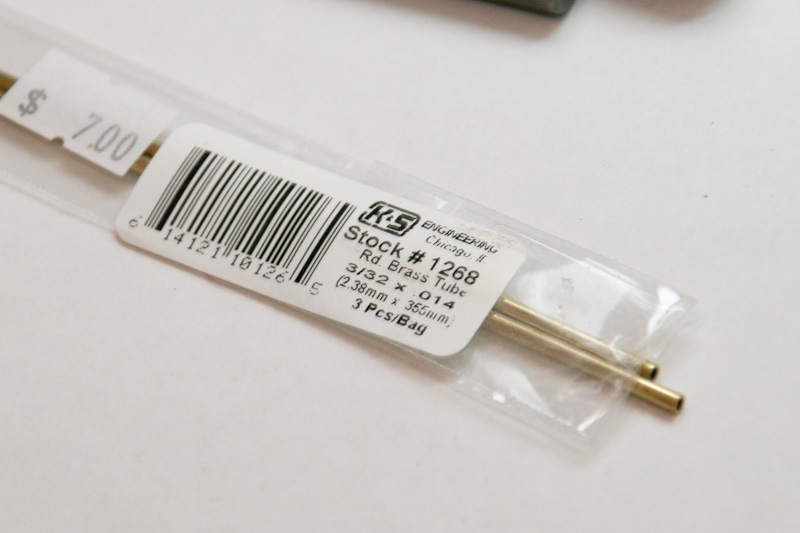
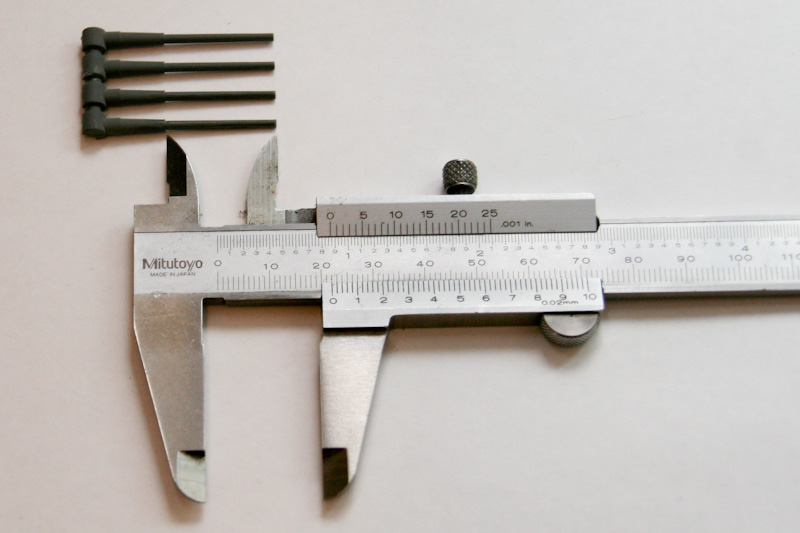
 In the “Scratch Building Supplies” section of your local hobby store, you will be able to find some brass tubing, which is perfect for replacing those solid chunks of plastic. Try to find some that is as close to the diameter of the molded plastic guns as possible. In this article I am replacing barrels on Tamiya’s 1/350 Prince Of Wales, and a length of 3/32 rod looks right for the job here.
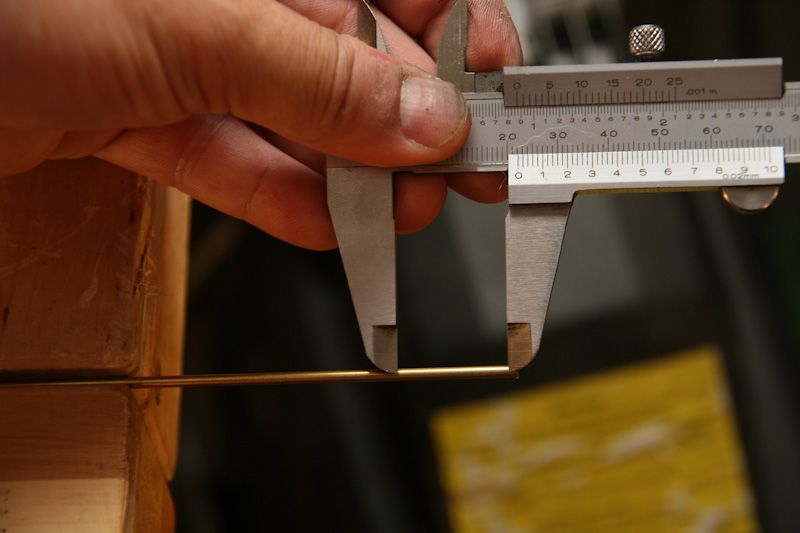
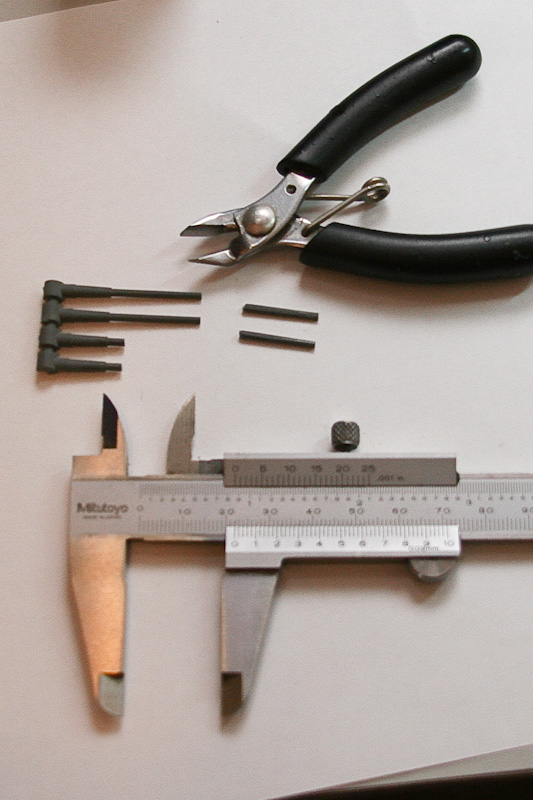
To get started I will use a set of vernier calipers, or some other device for measuring accurately to find out the length of the section I will be replacing.
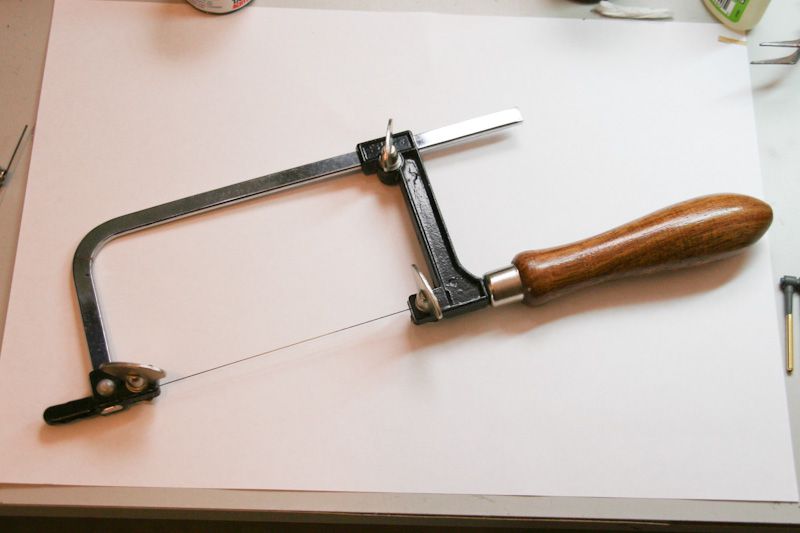
To cut the brass tubing, I used a “Jewelers Saw” that I purchased from my local hobby store. It has an extremely fine blade and is great for precision cutting.
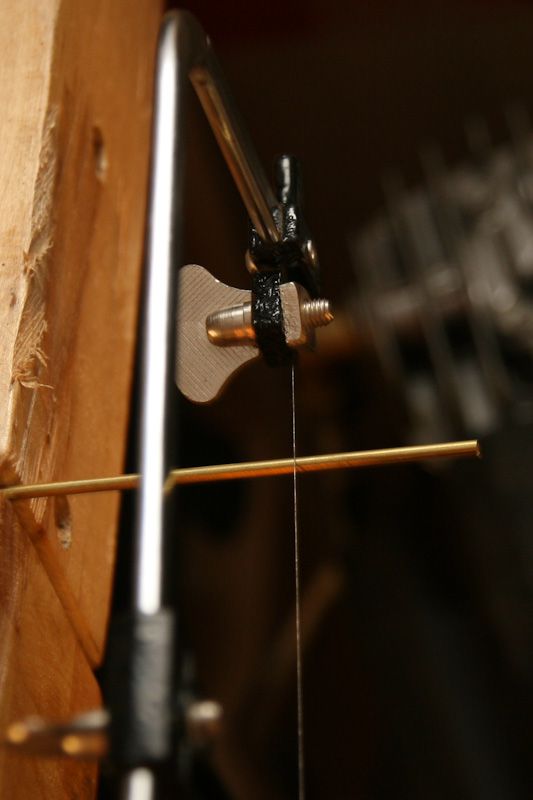
I secured the brass tube into a soft jawed wooden hobby vise (so as not to crush it) and used the measurement I took from the plastic barrels to mark out the lengths of brass I needed to cut.
Then it was time to get down to business and do some cutting.
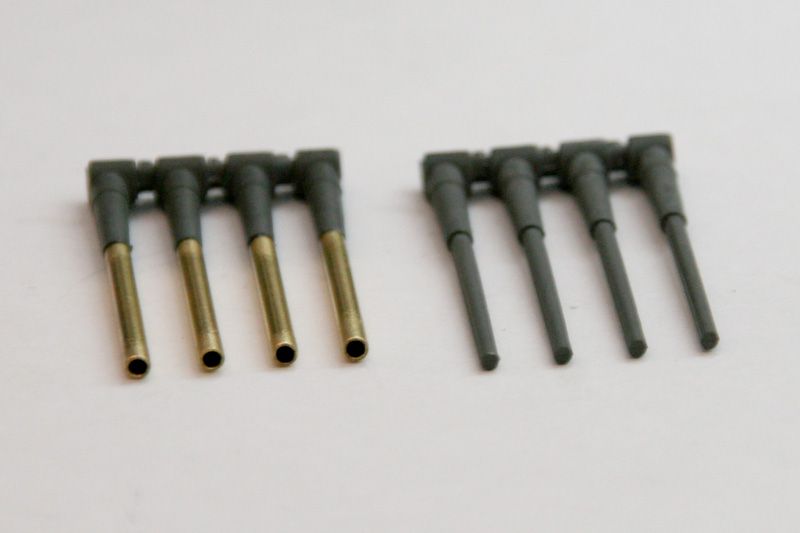
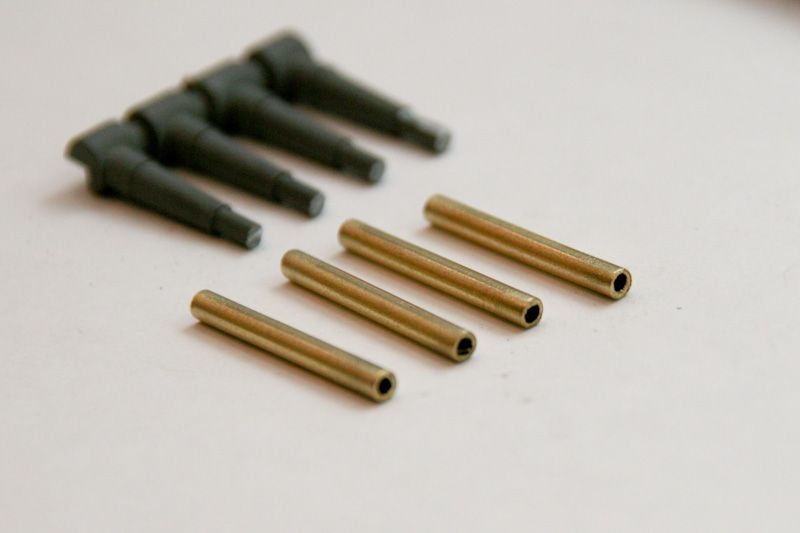
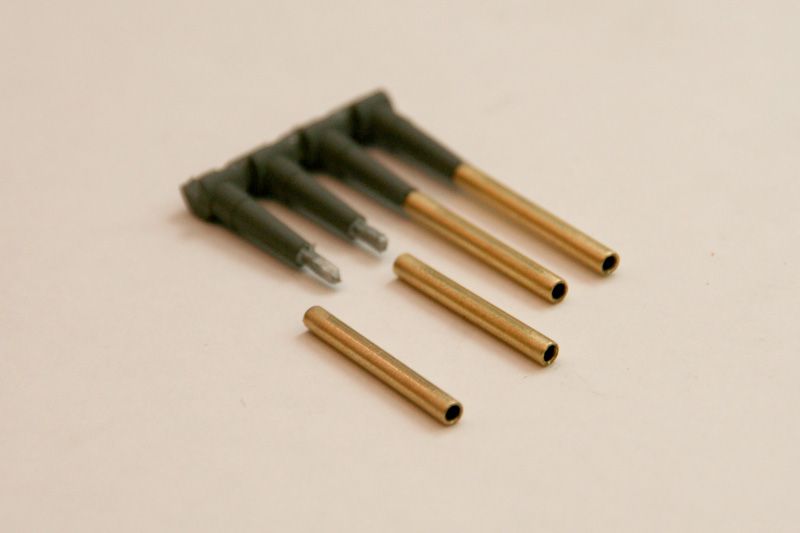
Once you have your new barrels cut, make sure you check their length and shape so they are all identical.
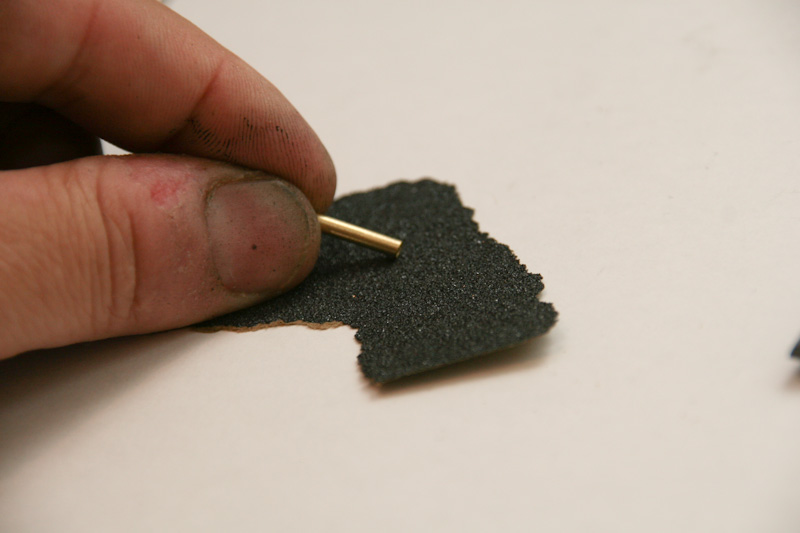
To clean up the outside of the new barrels, simply twist/rotate them between your fingers while the tip is in contact with some fine grade sandpaper.
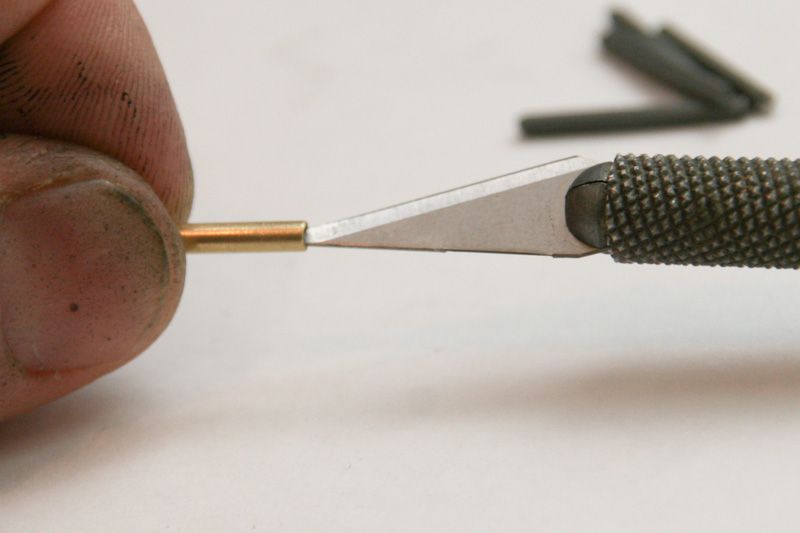
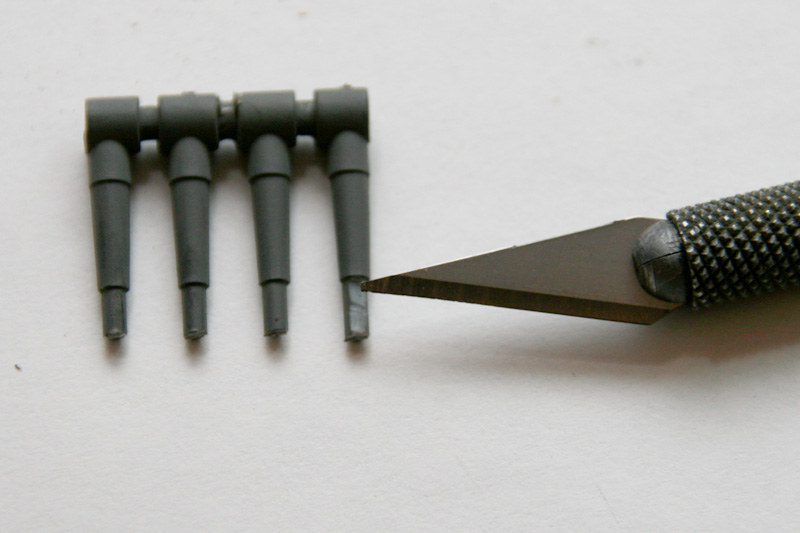
The inside of the barrel can also be easily cleaned by using an X-acto knife or scalpel.
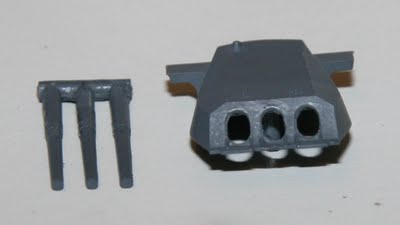
Once your new brass barrels are cleaned up and ready to go, you can start to remove the old barrels. **IMPORTANT NOTE** – DO NOT remove the entire section, leave roughly 5mm of the old barrel in place as illustrated below. This is how we will mount the new barrels to the old frame.
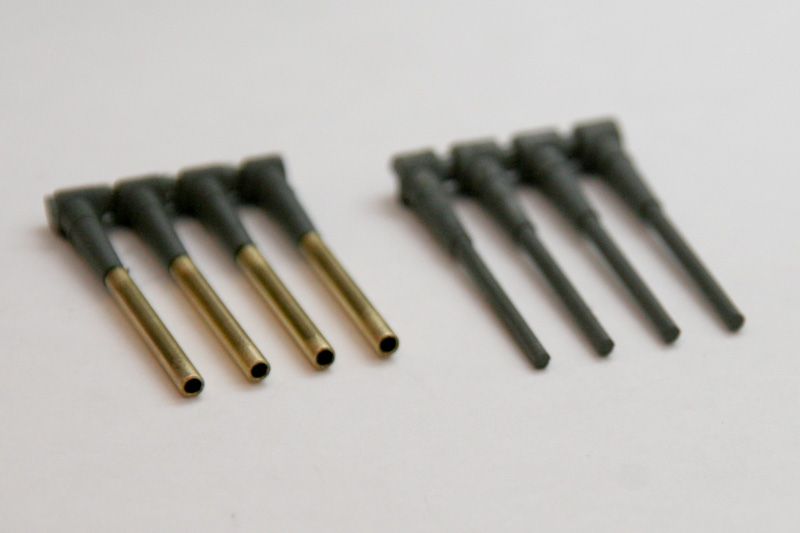
Take your X-acto knife/scalpel and start “Whittling” away at the 5mm section we left behind, so it fits snuggly inside the 3/32 replacement barrels.
The trick here is to be slow, and patient. remove a little, then test fit, remove a little more, then test again. This is the best way to ensure a snug fit, and that the barrels sit perfectly parallel on the frame.
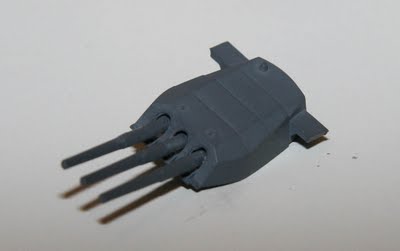
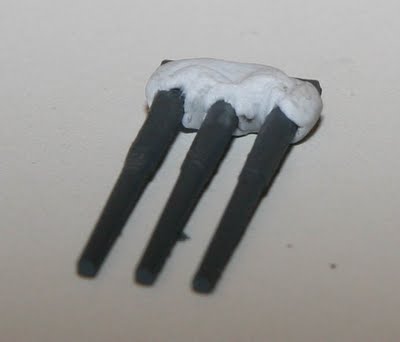
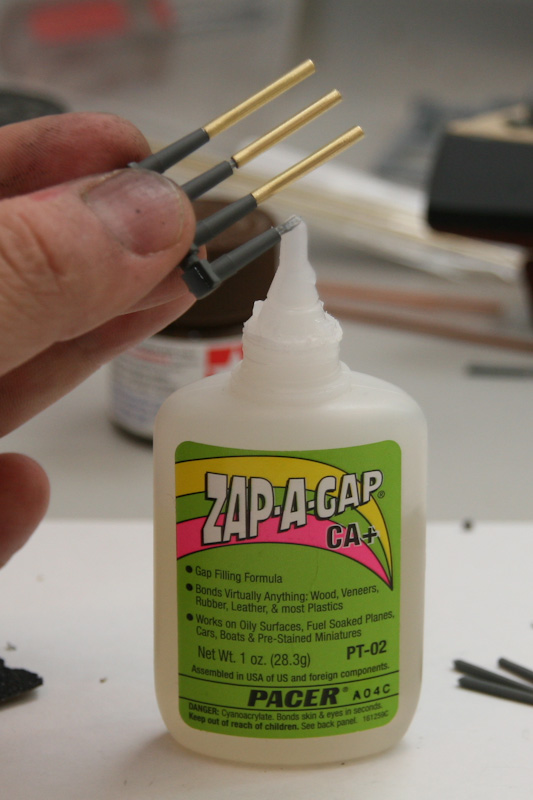
Once you are happy with the fit, and that everything lines up correctly, take your preferred glue and apply it to the 5mm section you have just “whittled”.
Once all barrels have been glued onto the frame, line everything parallel, and leave it to dry. Once it’s dry, you can spray your primer on the brass in preparation for the final color.

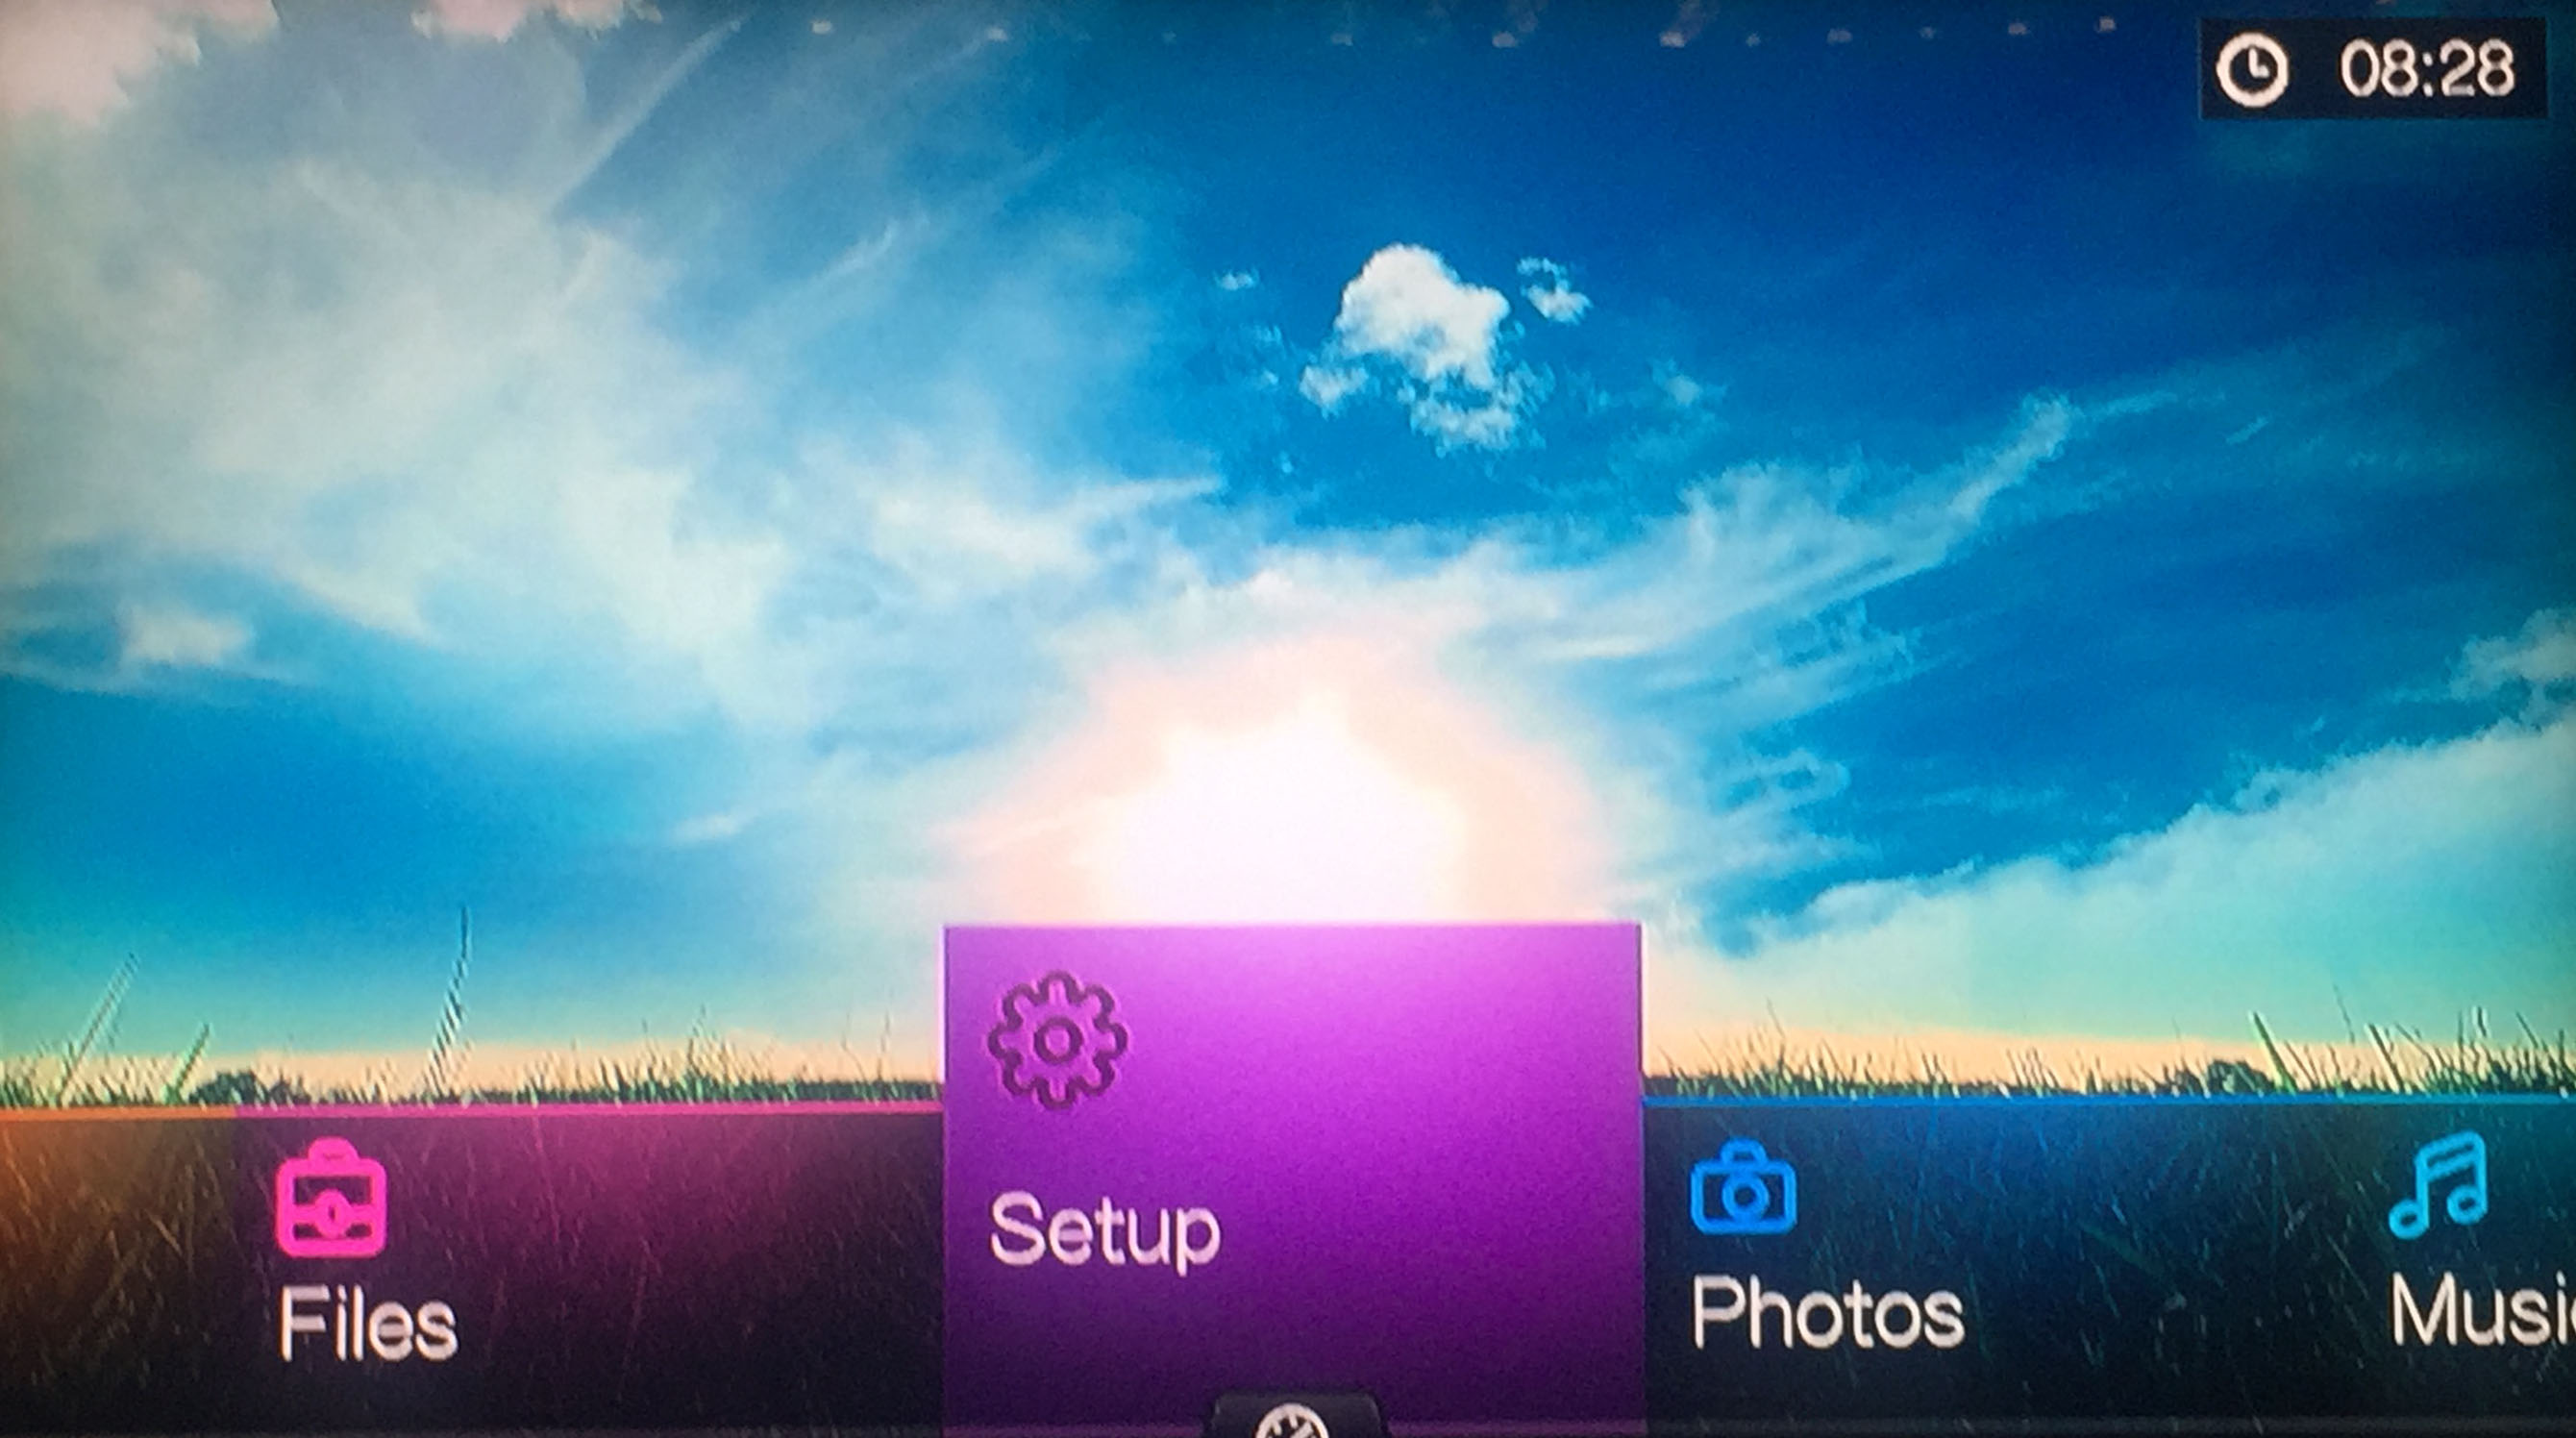
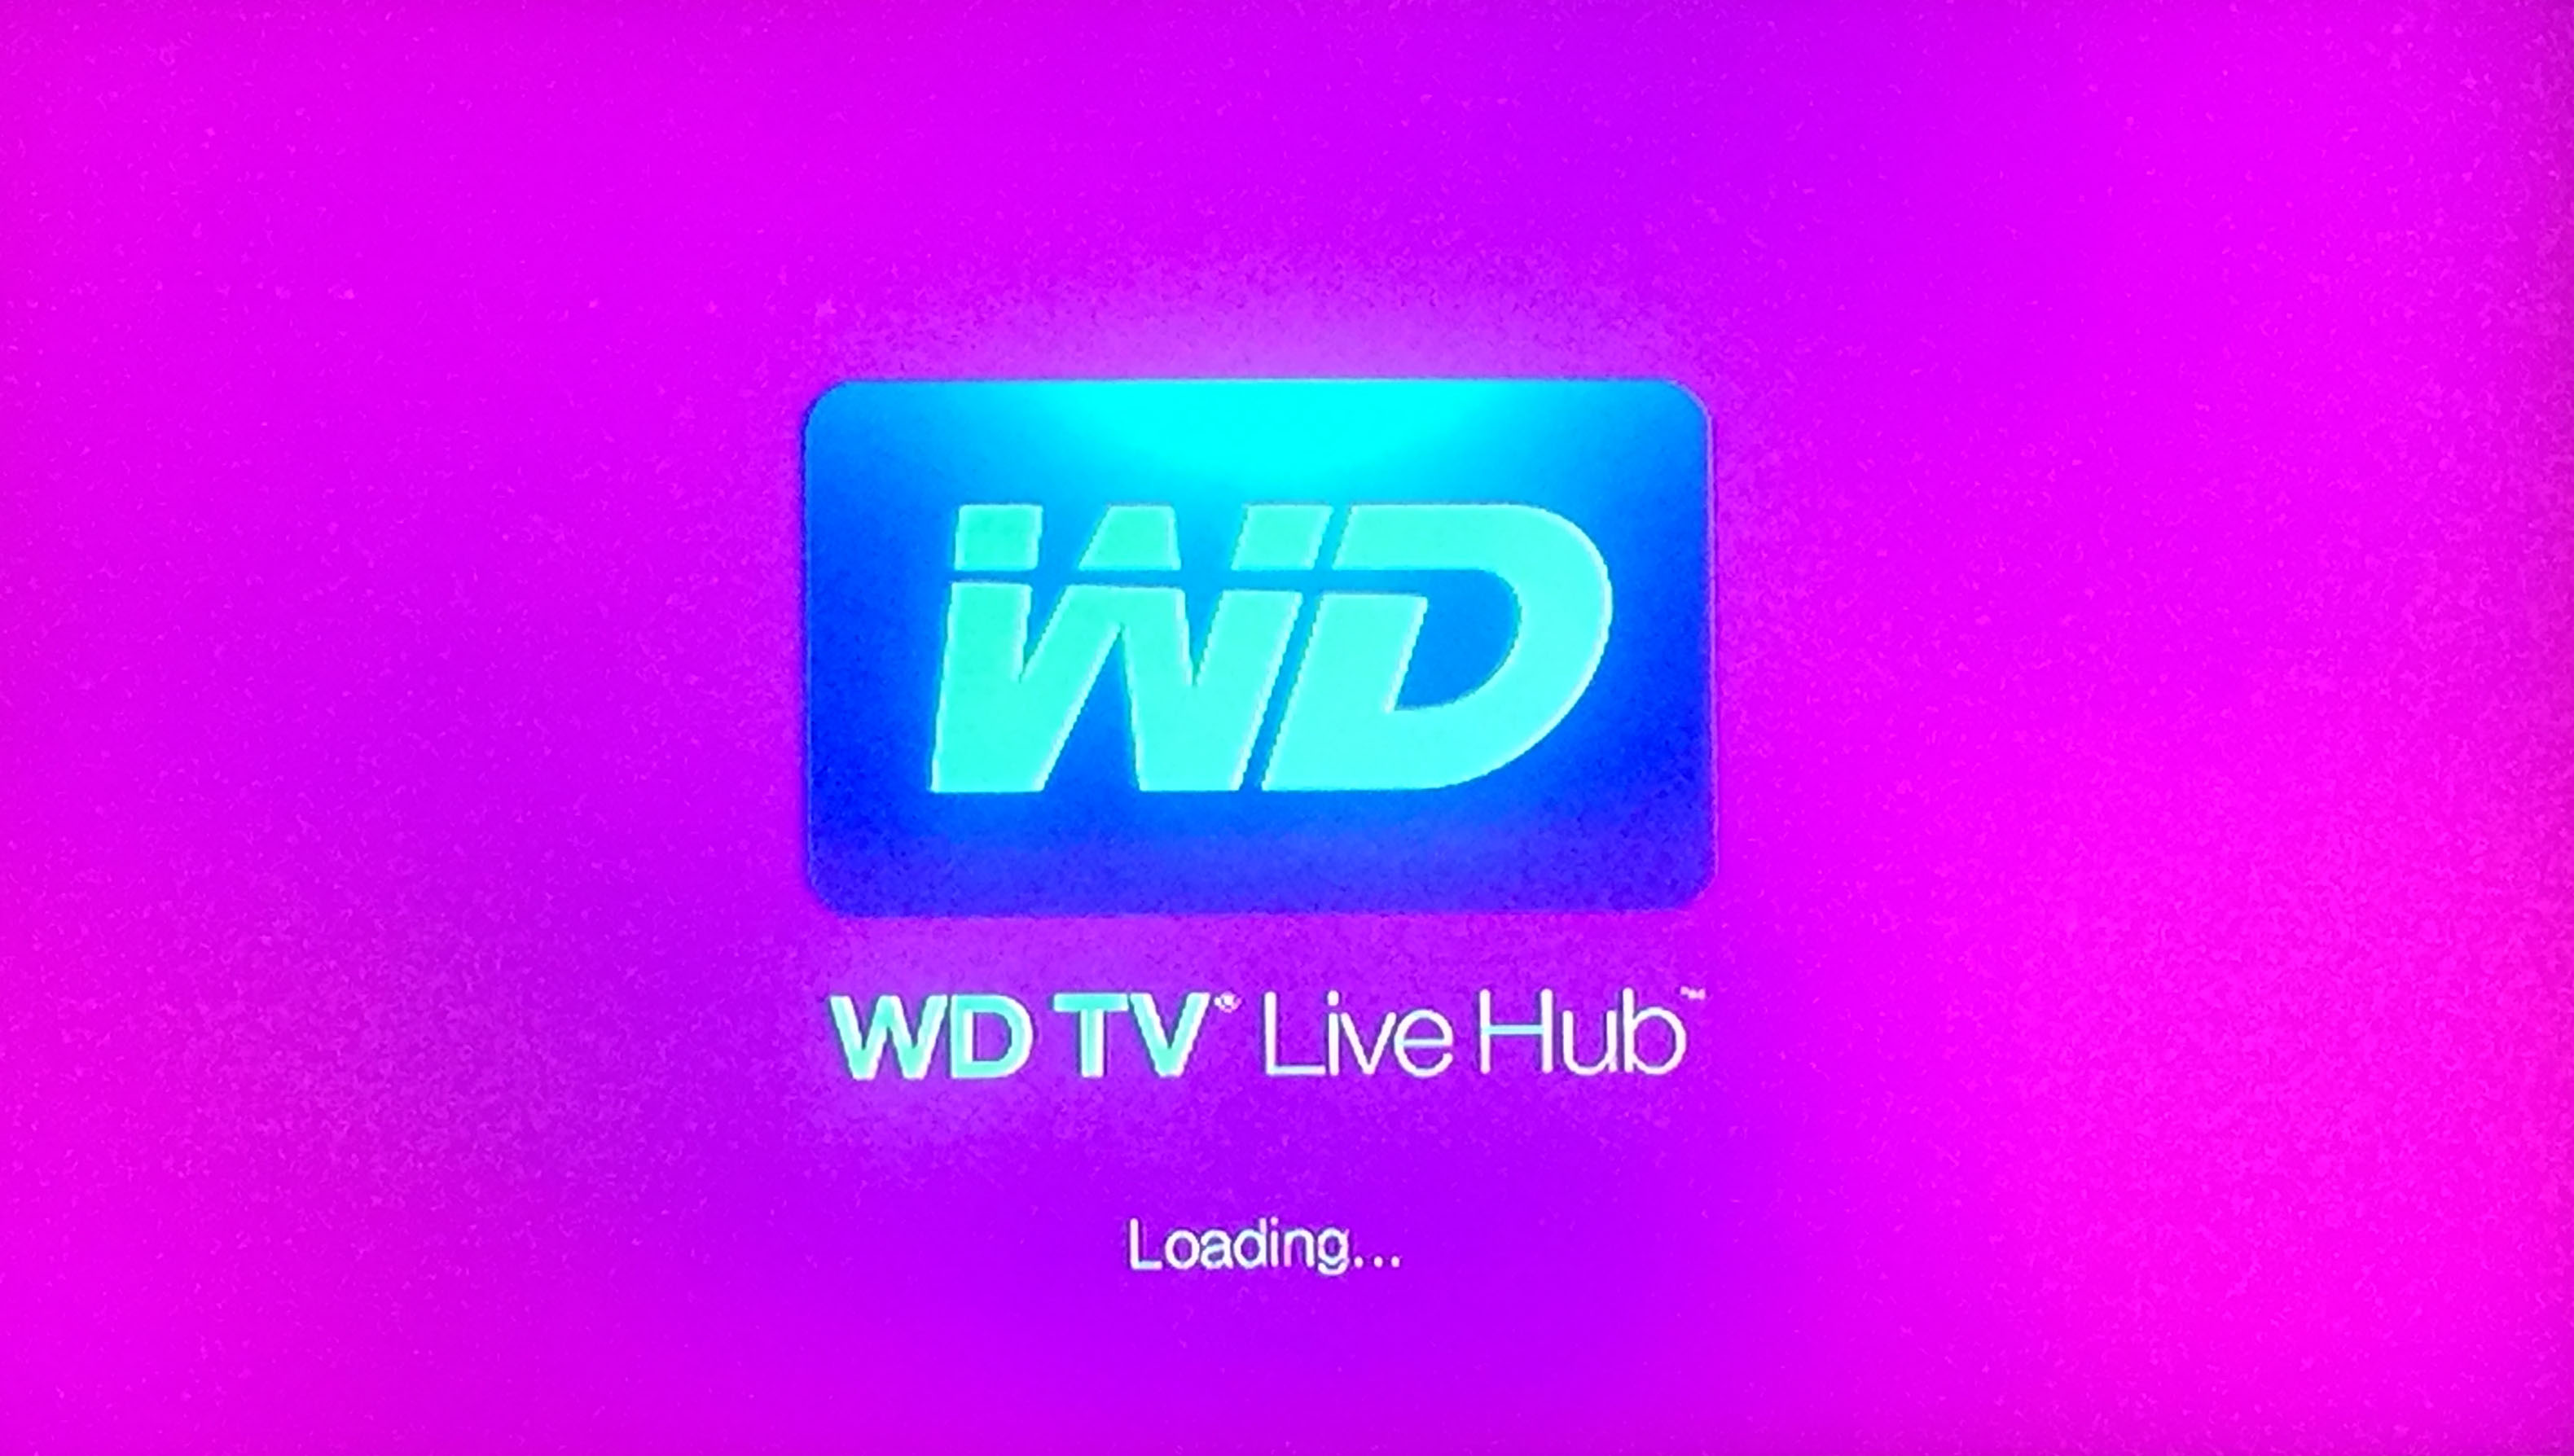 If the power goes off, or I need to reboot my WDTV for any reason, when it comes back on my screen is always tainted with a pink hue, it seems to be called the “Pink Screen Issue”. From what I can gather, its caused by a mismatch in frame rate when using HDMI. Here’s how I fix it on my unit. I hope this works for you as well.
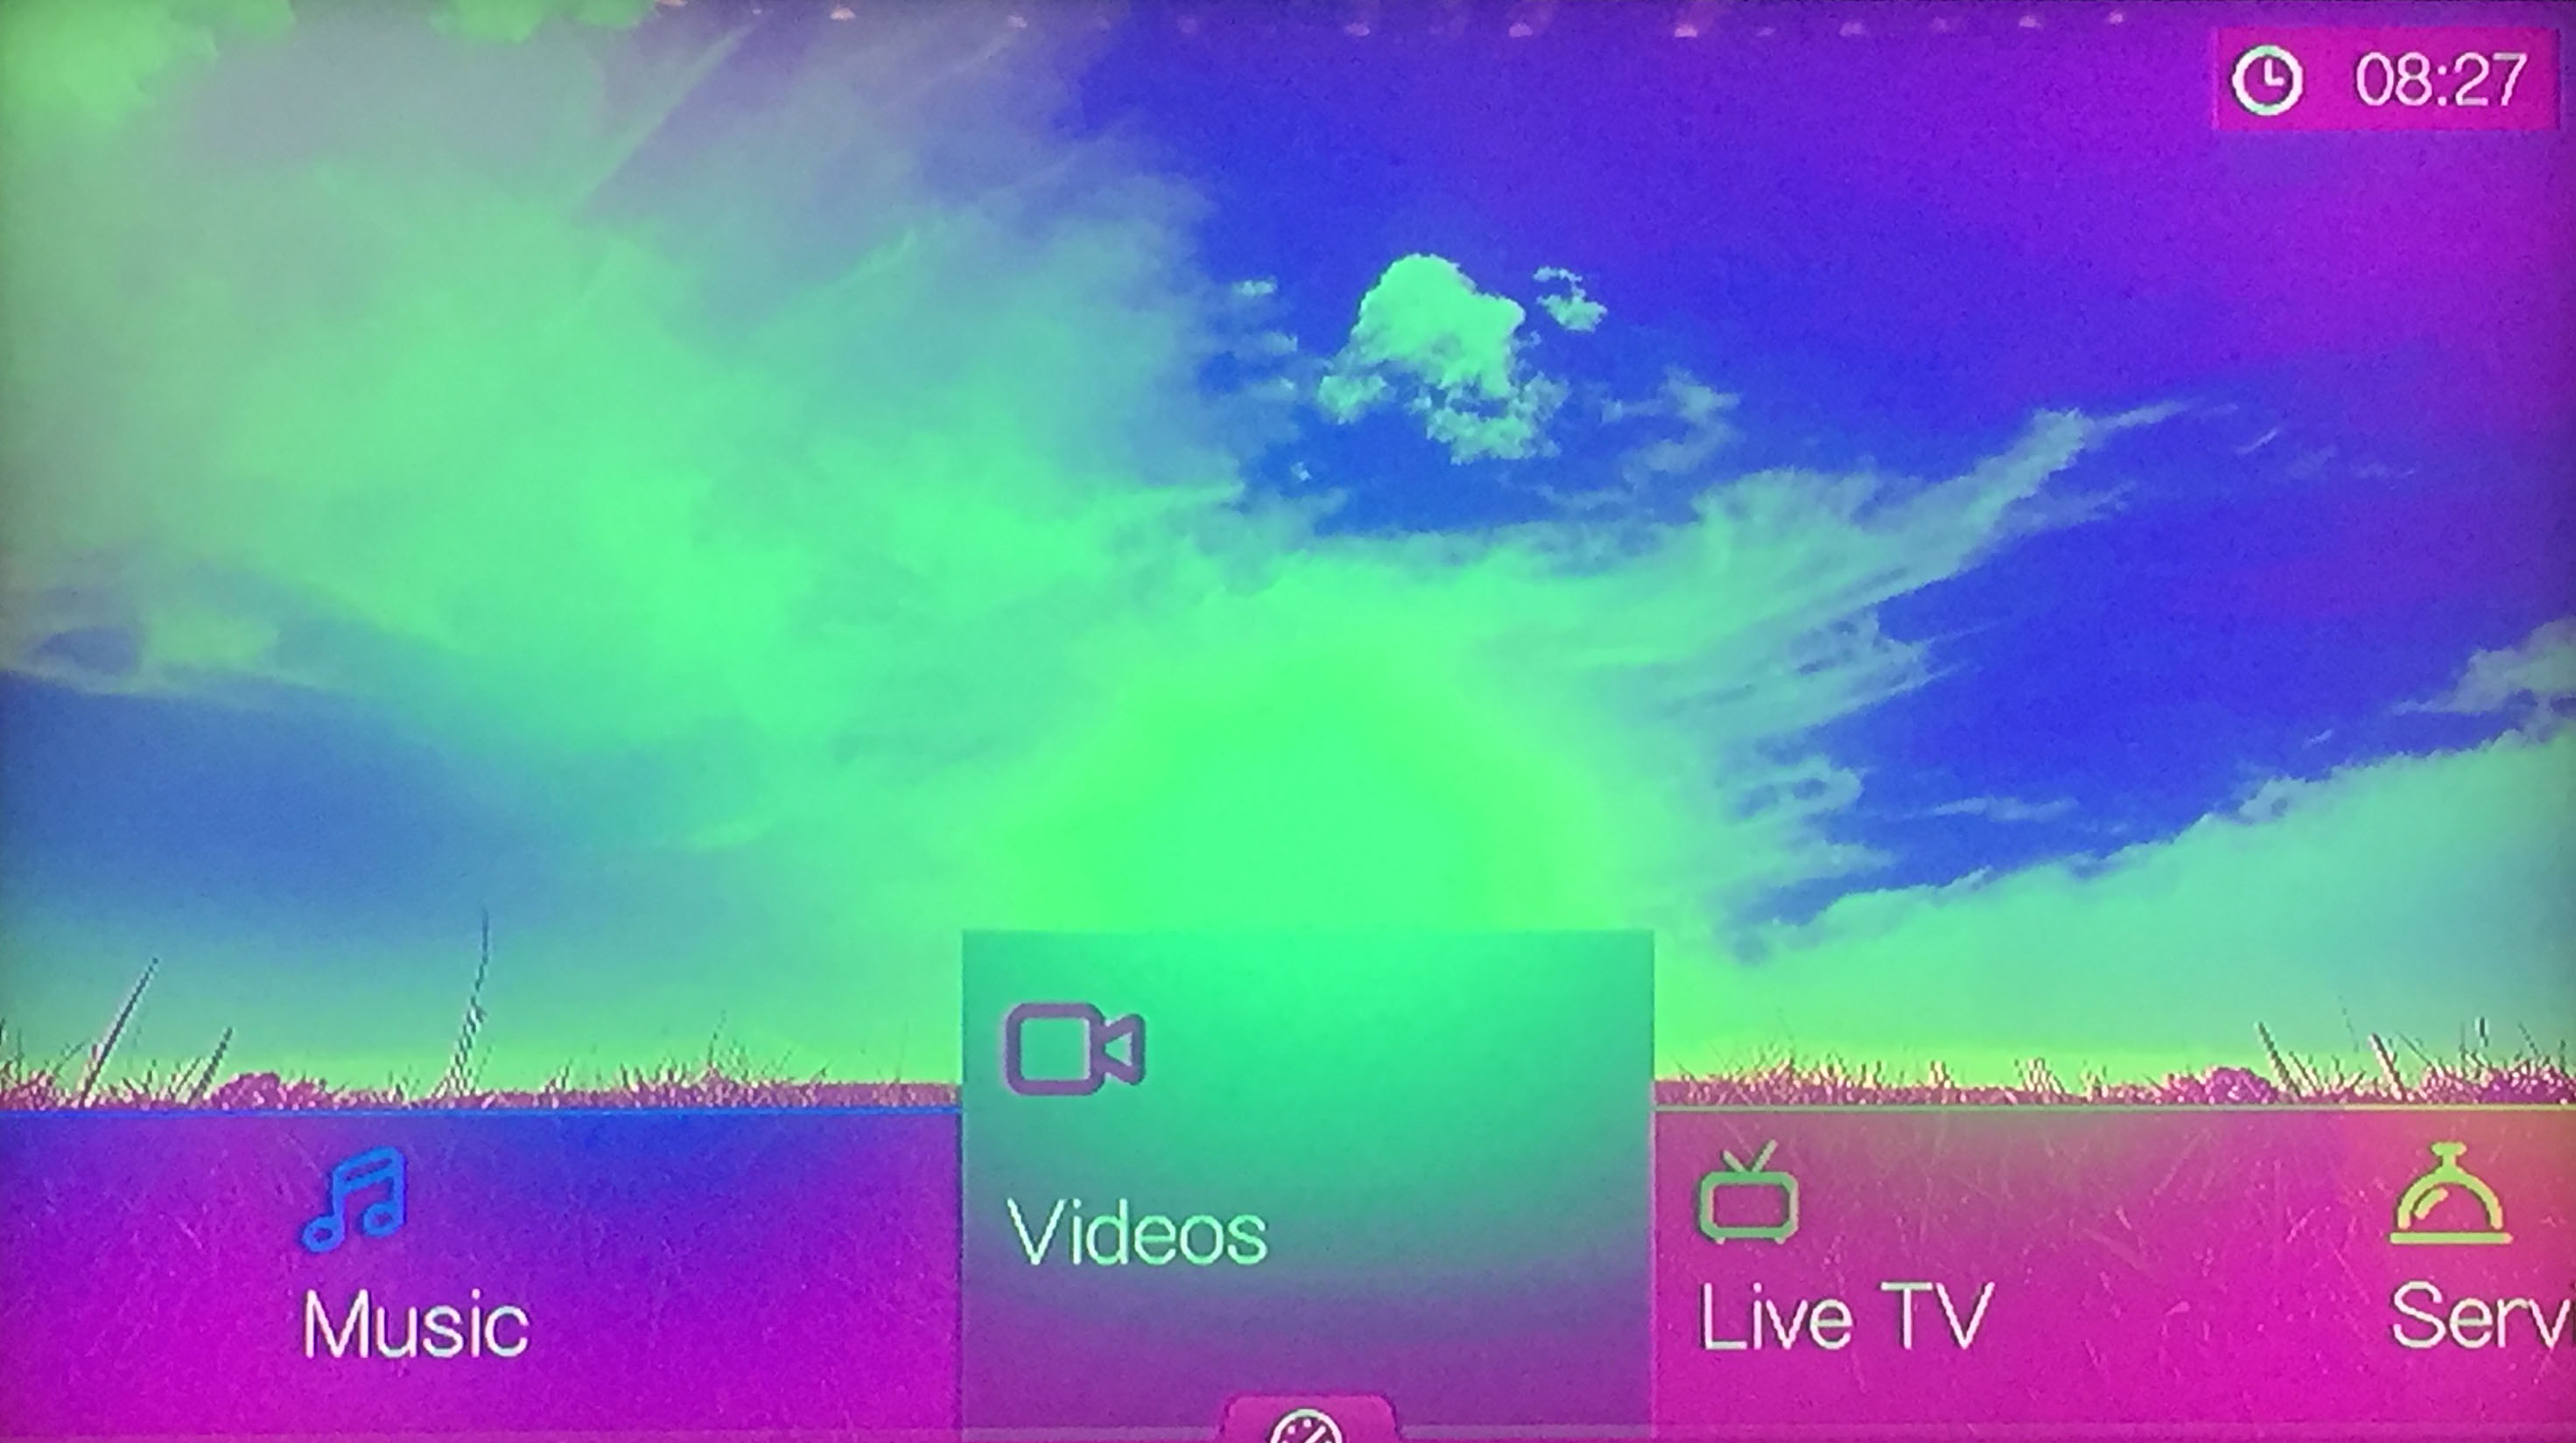 Scroll through and select the “Setup” option
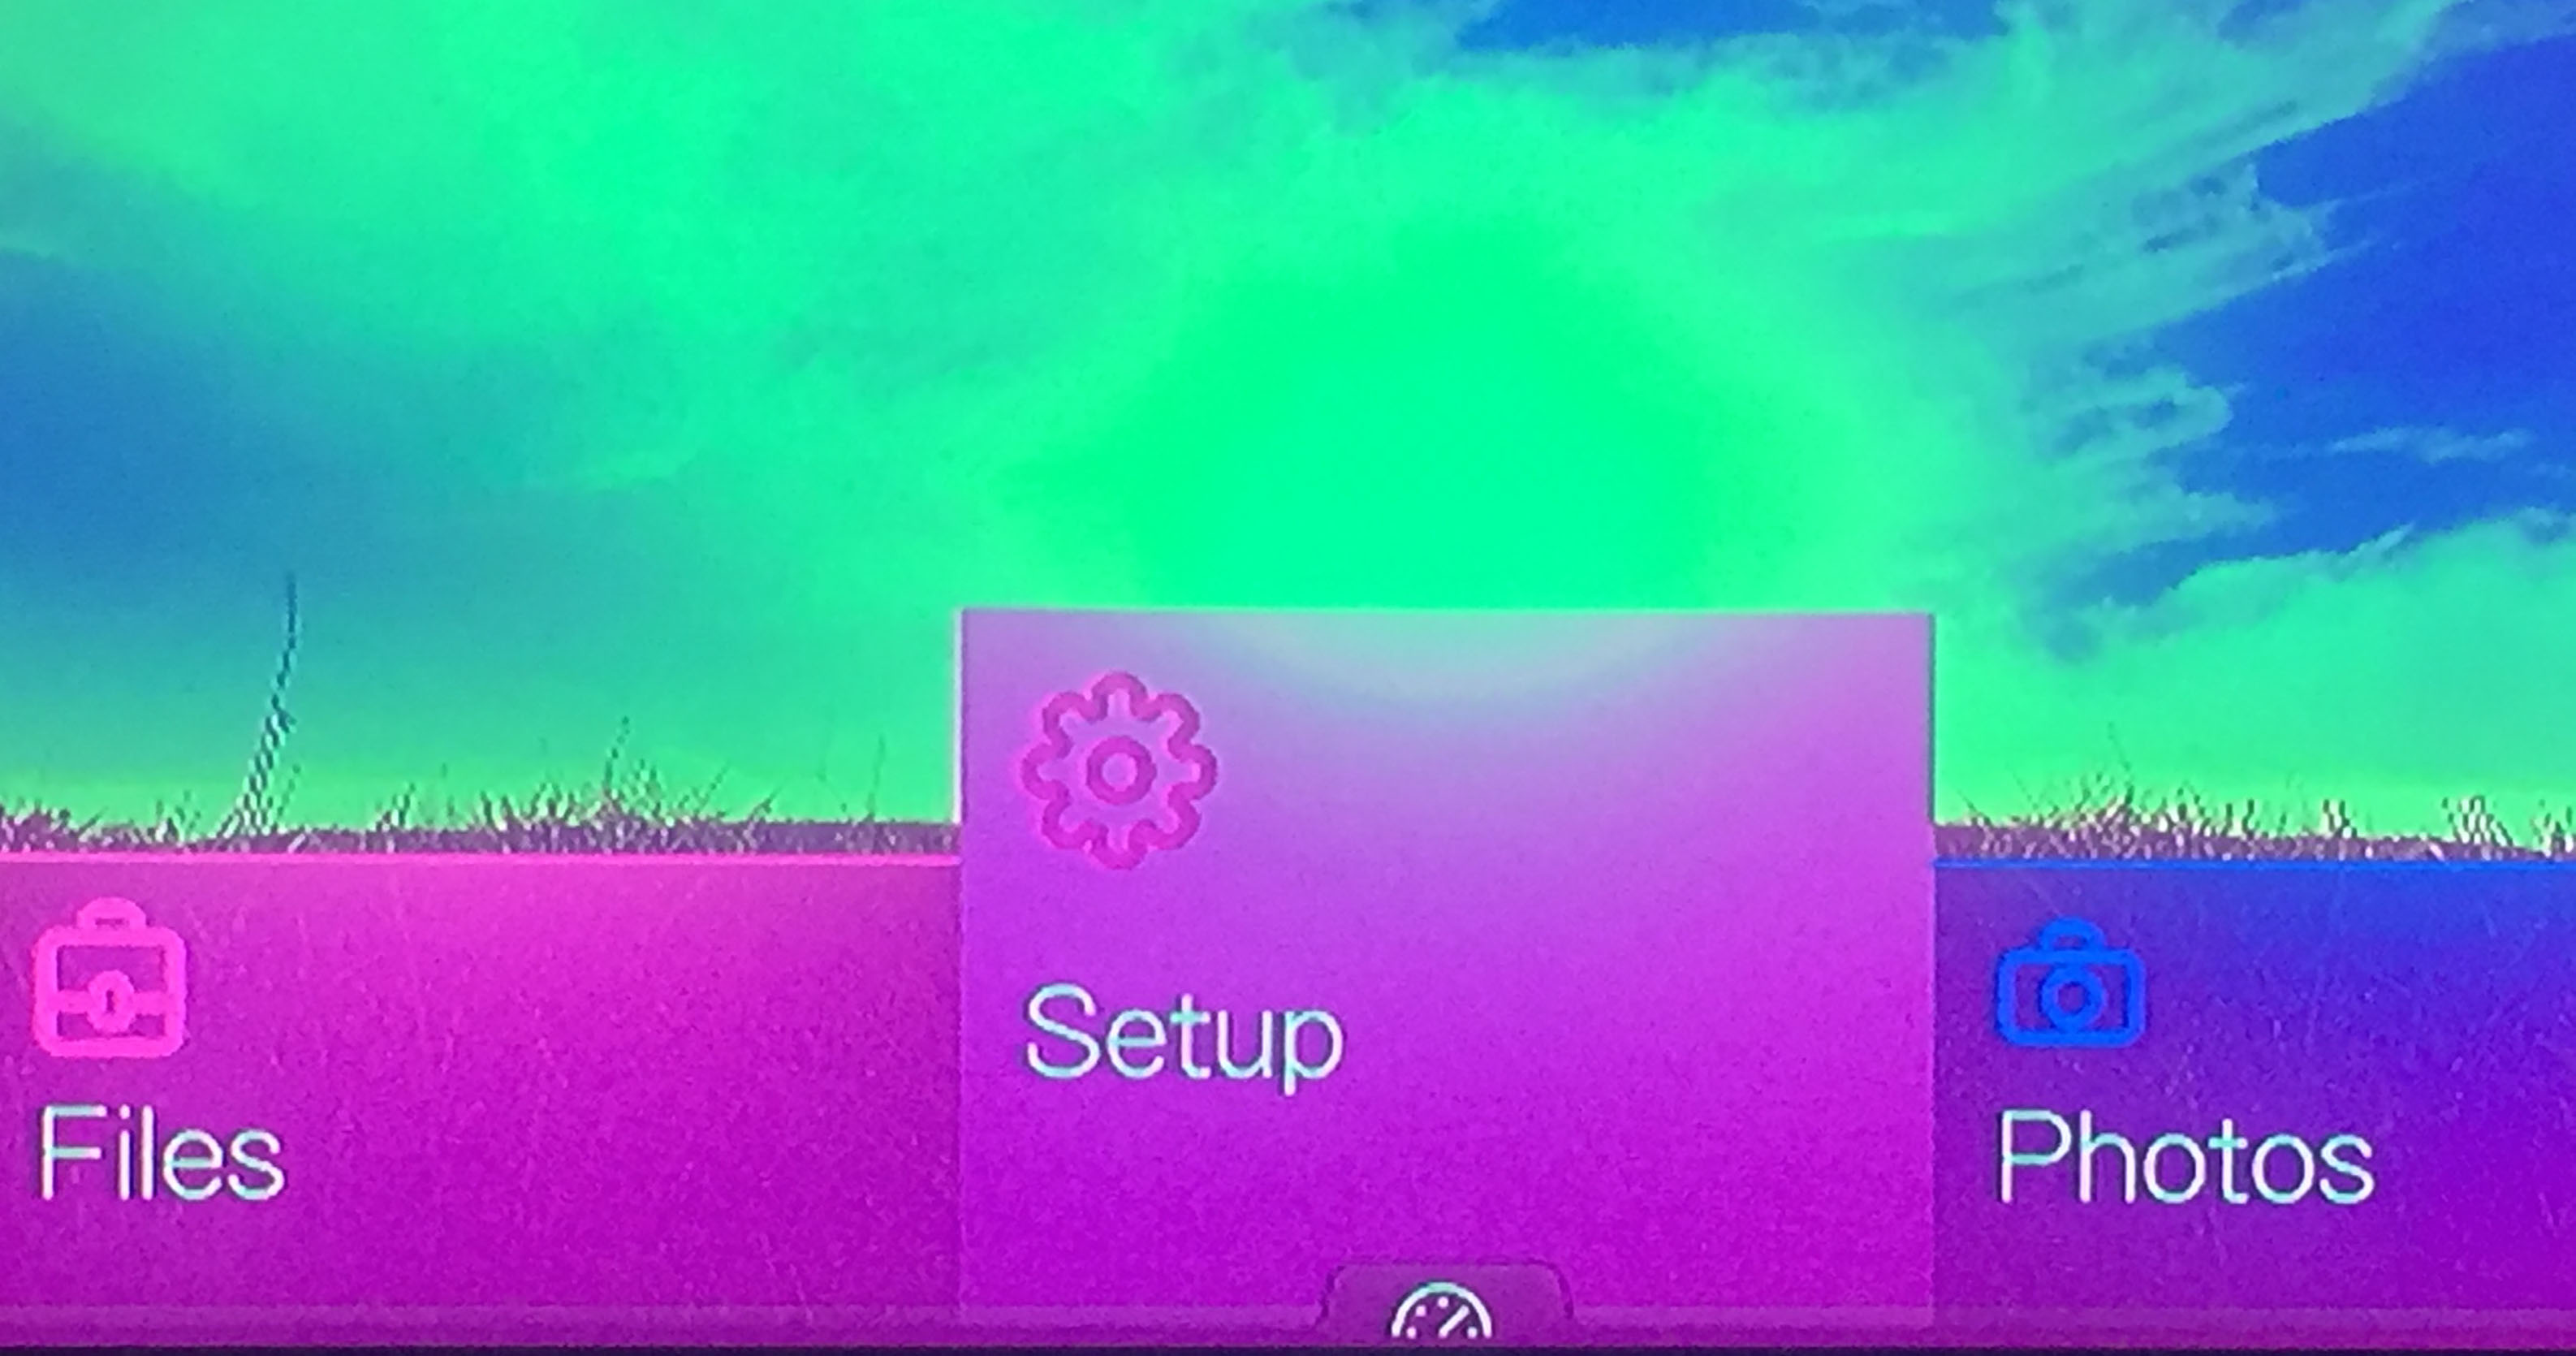 Then select Audio/Video Output
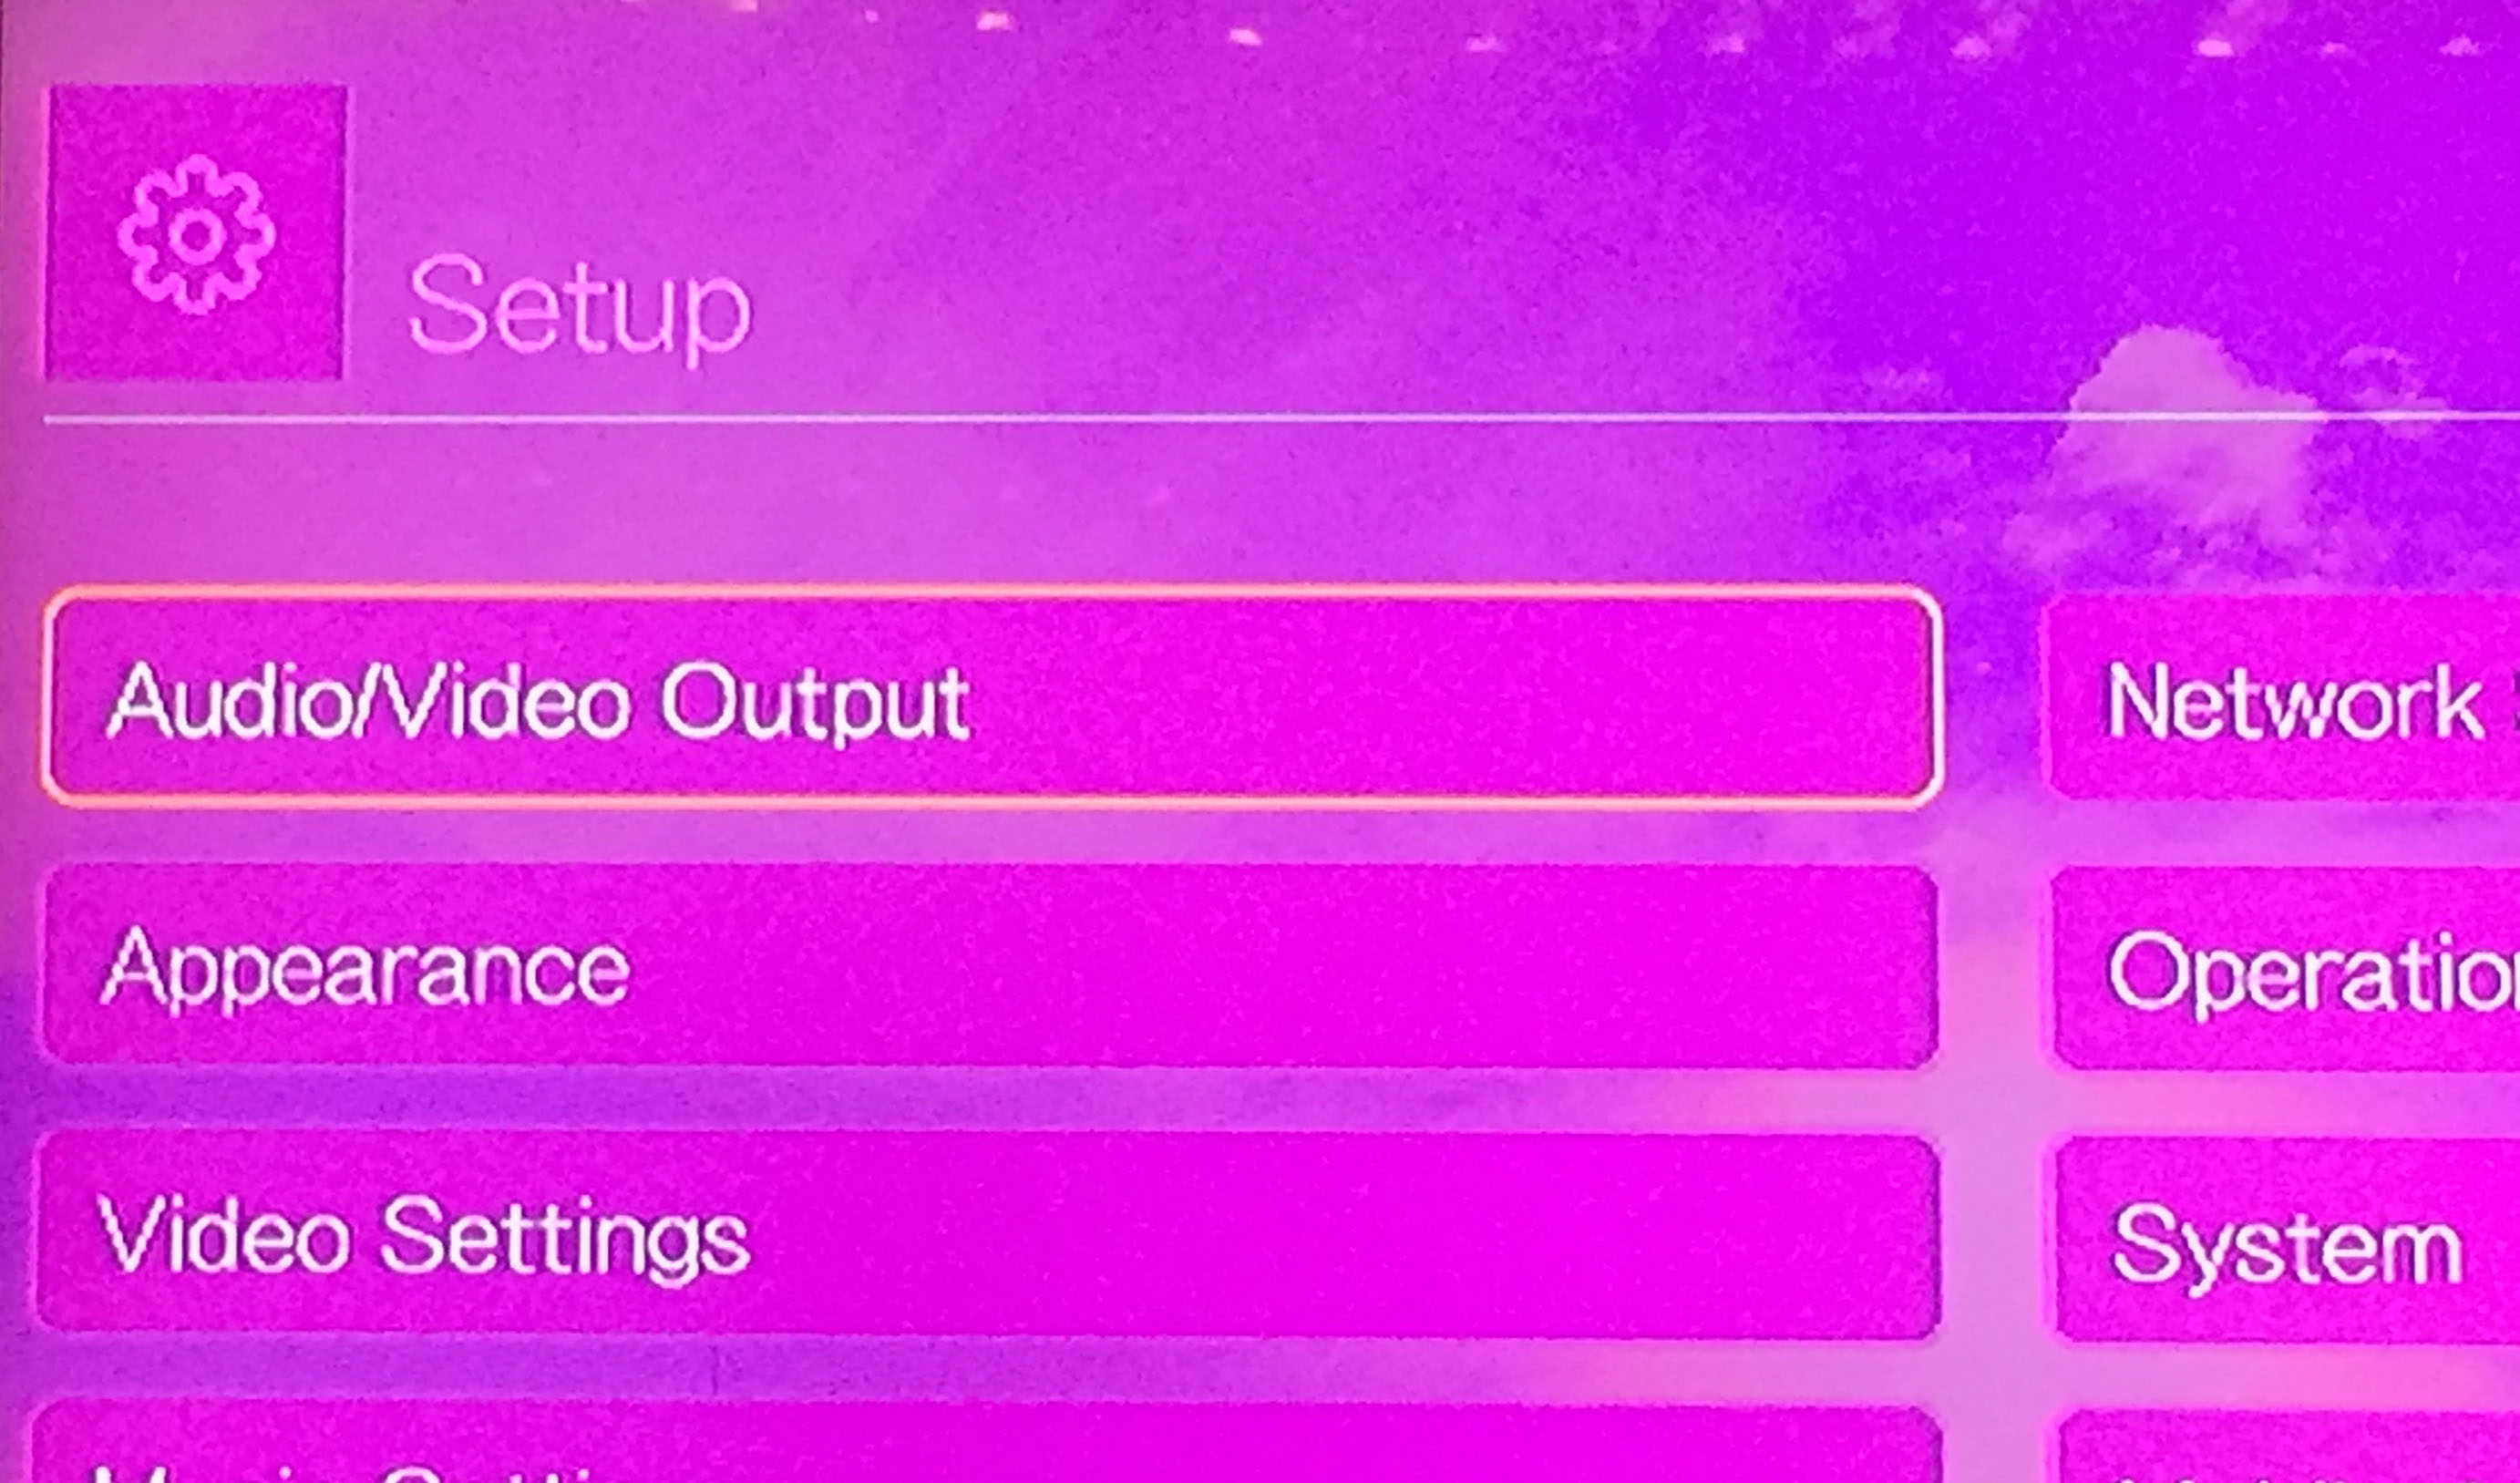 The next step is to select HDMI
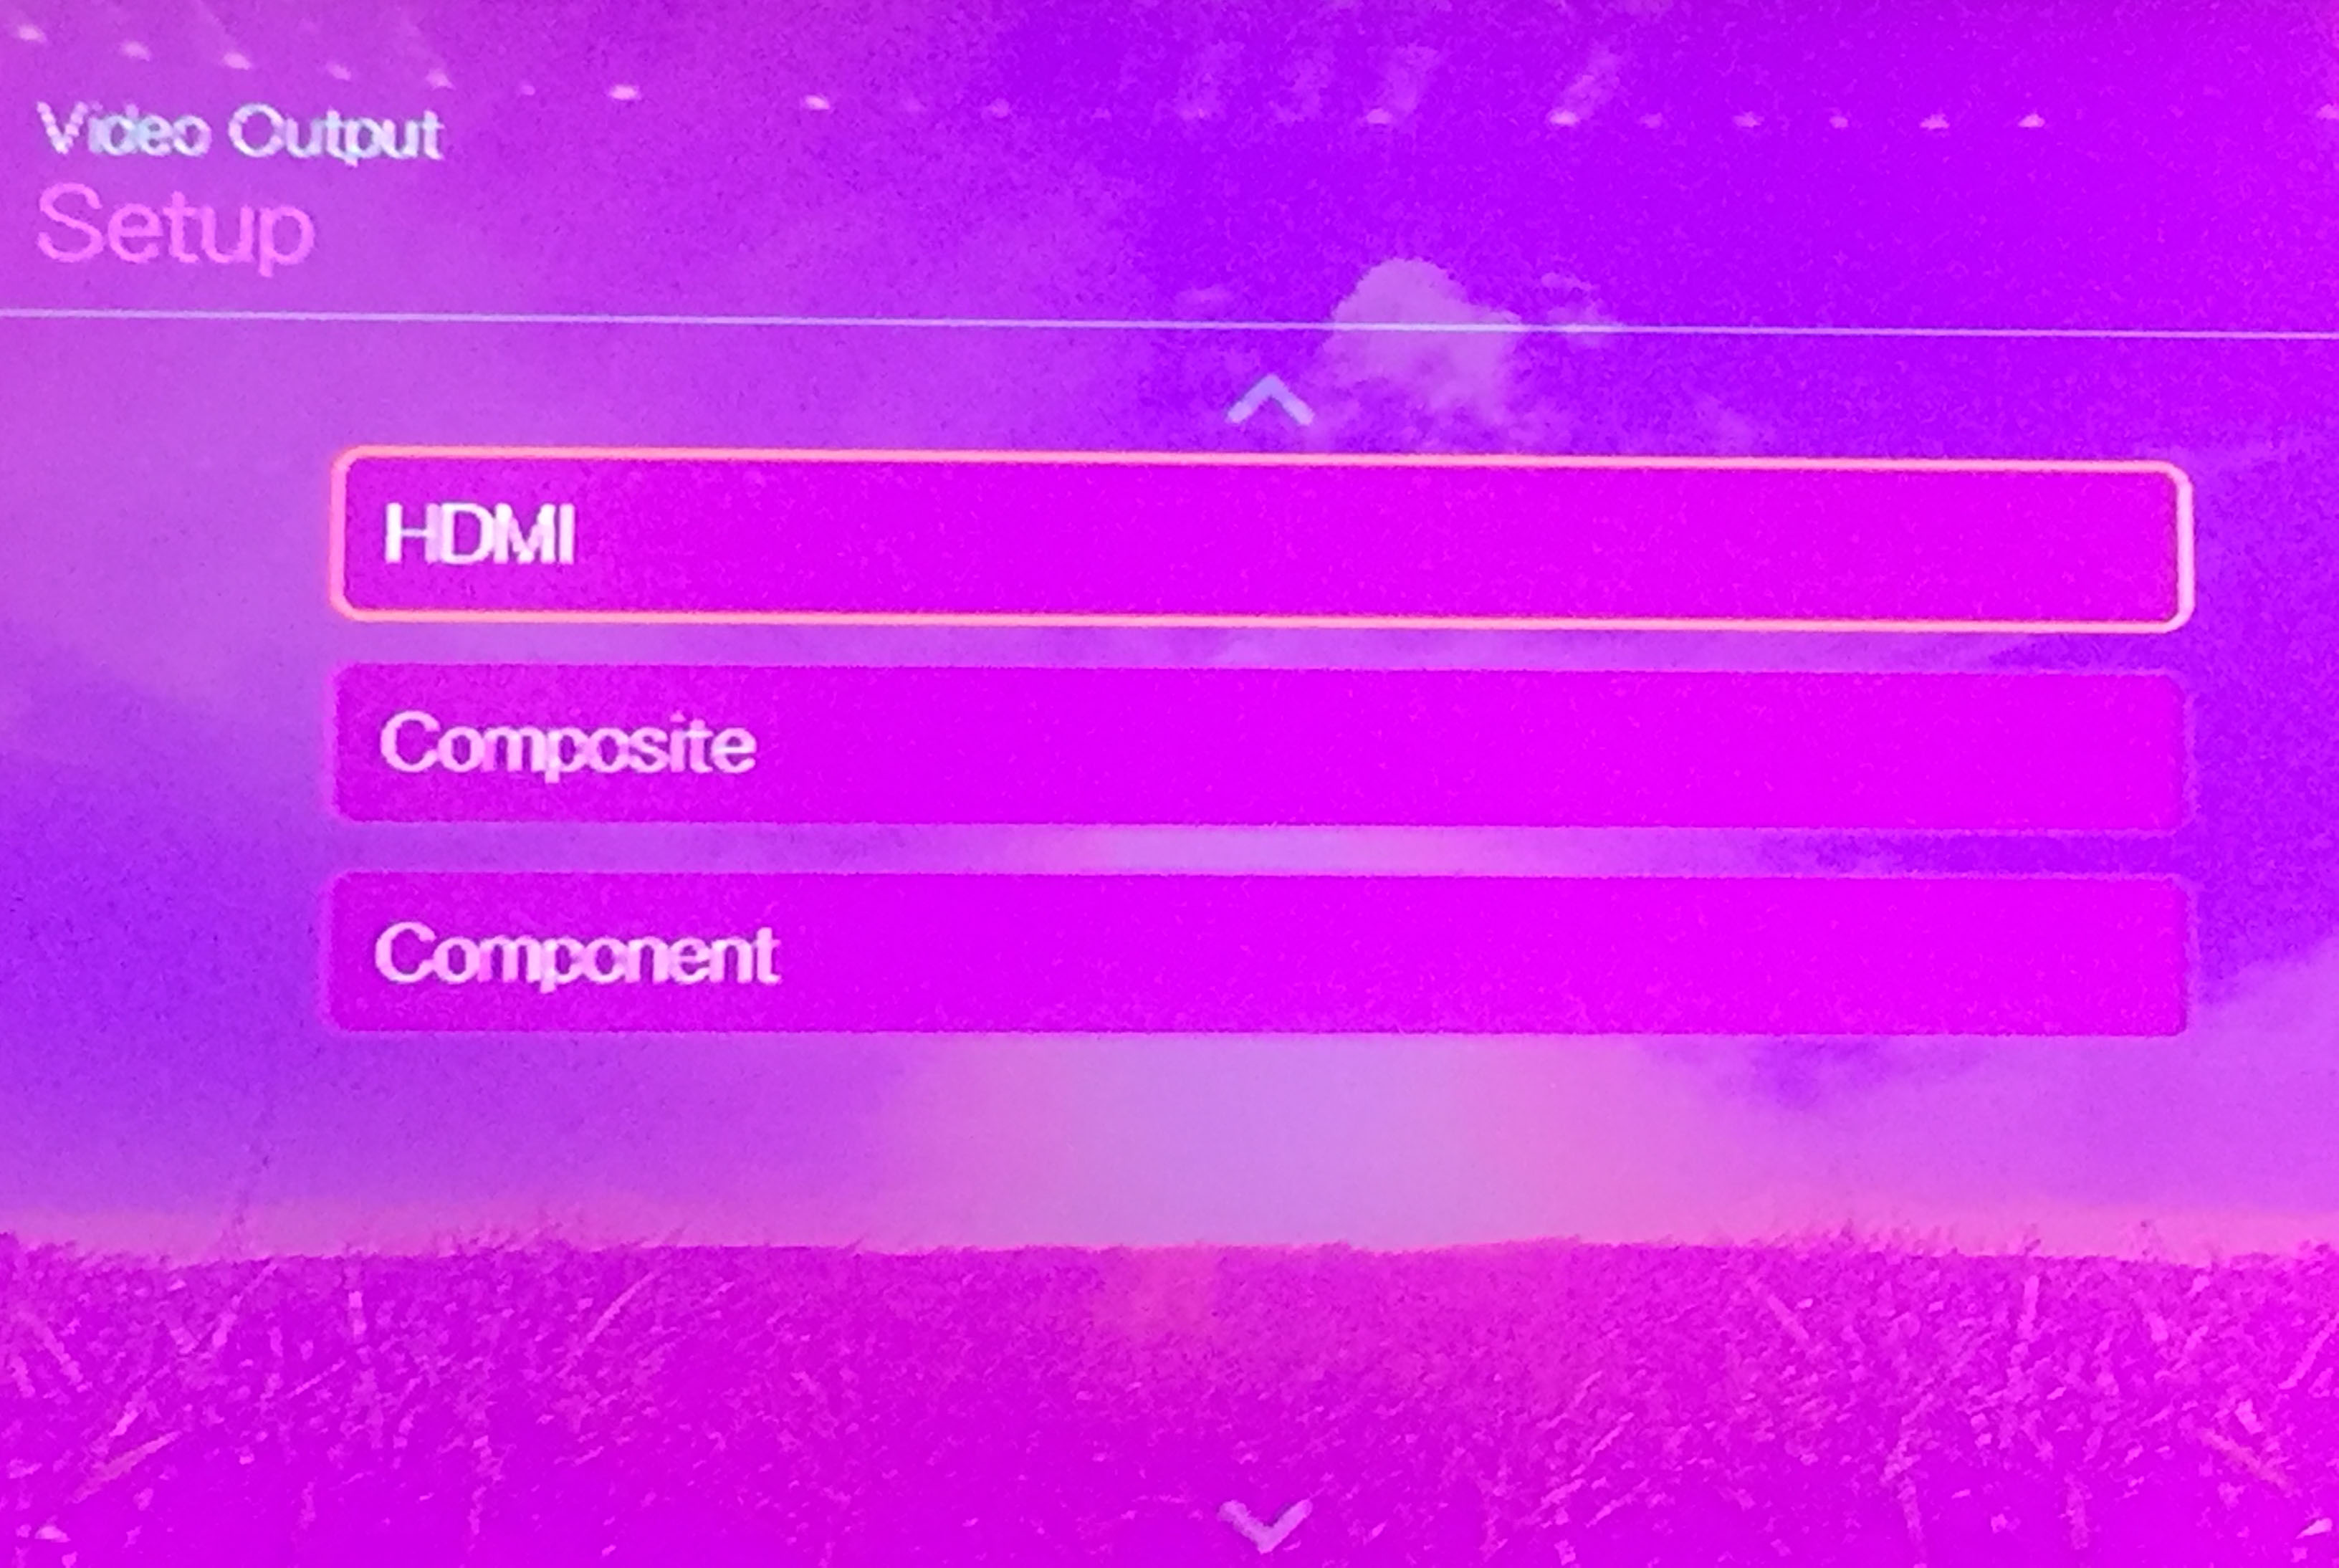 Now select AUTO
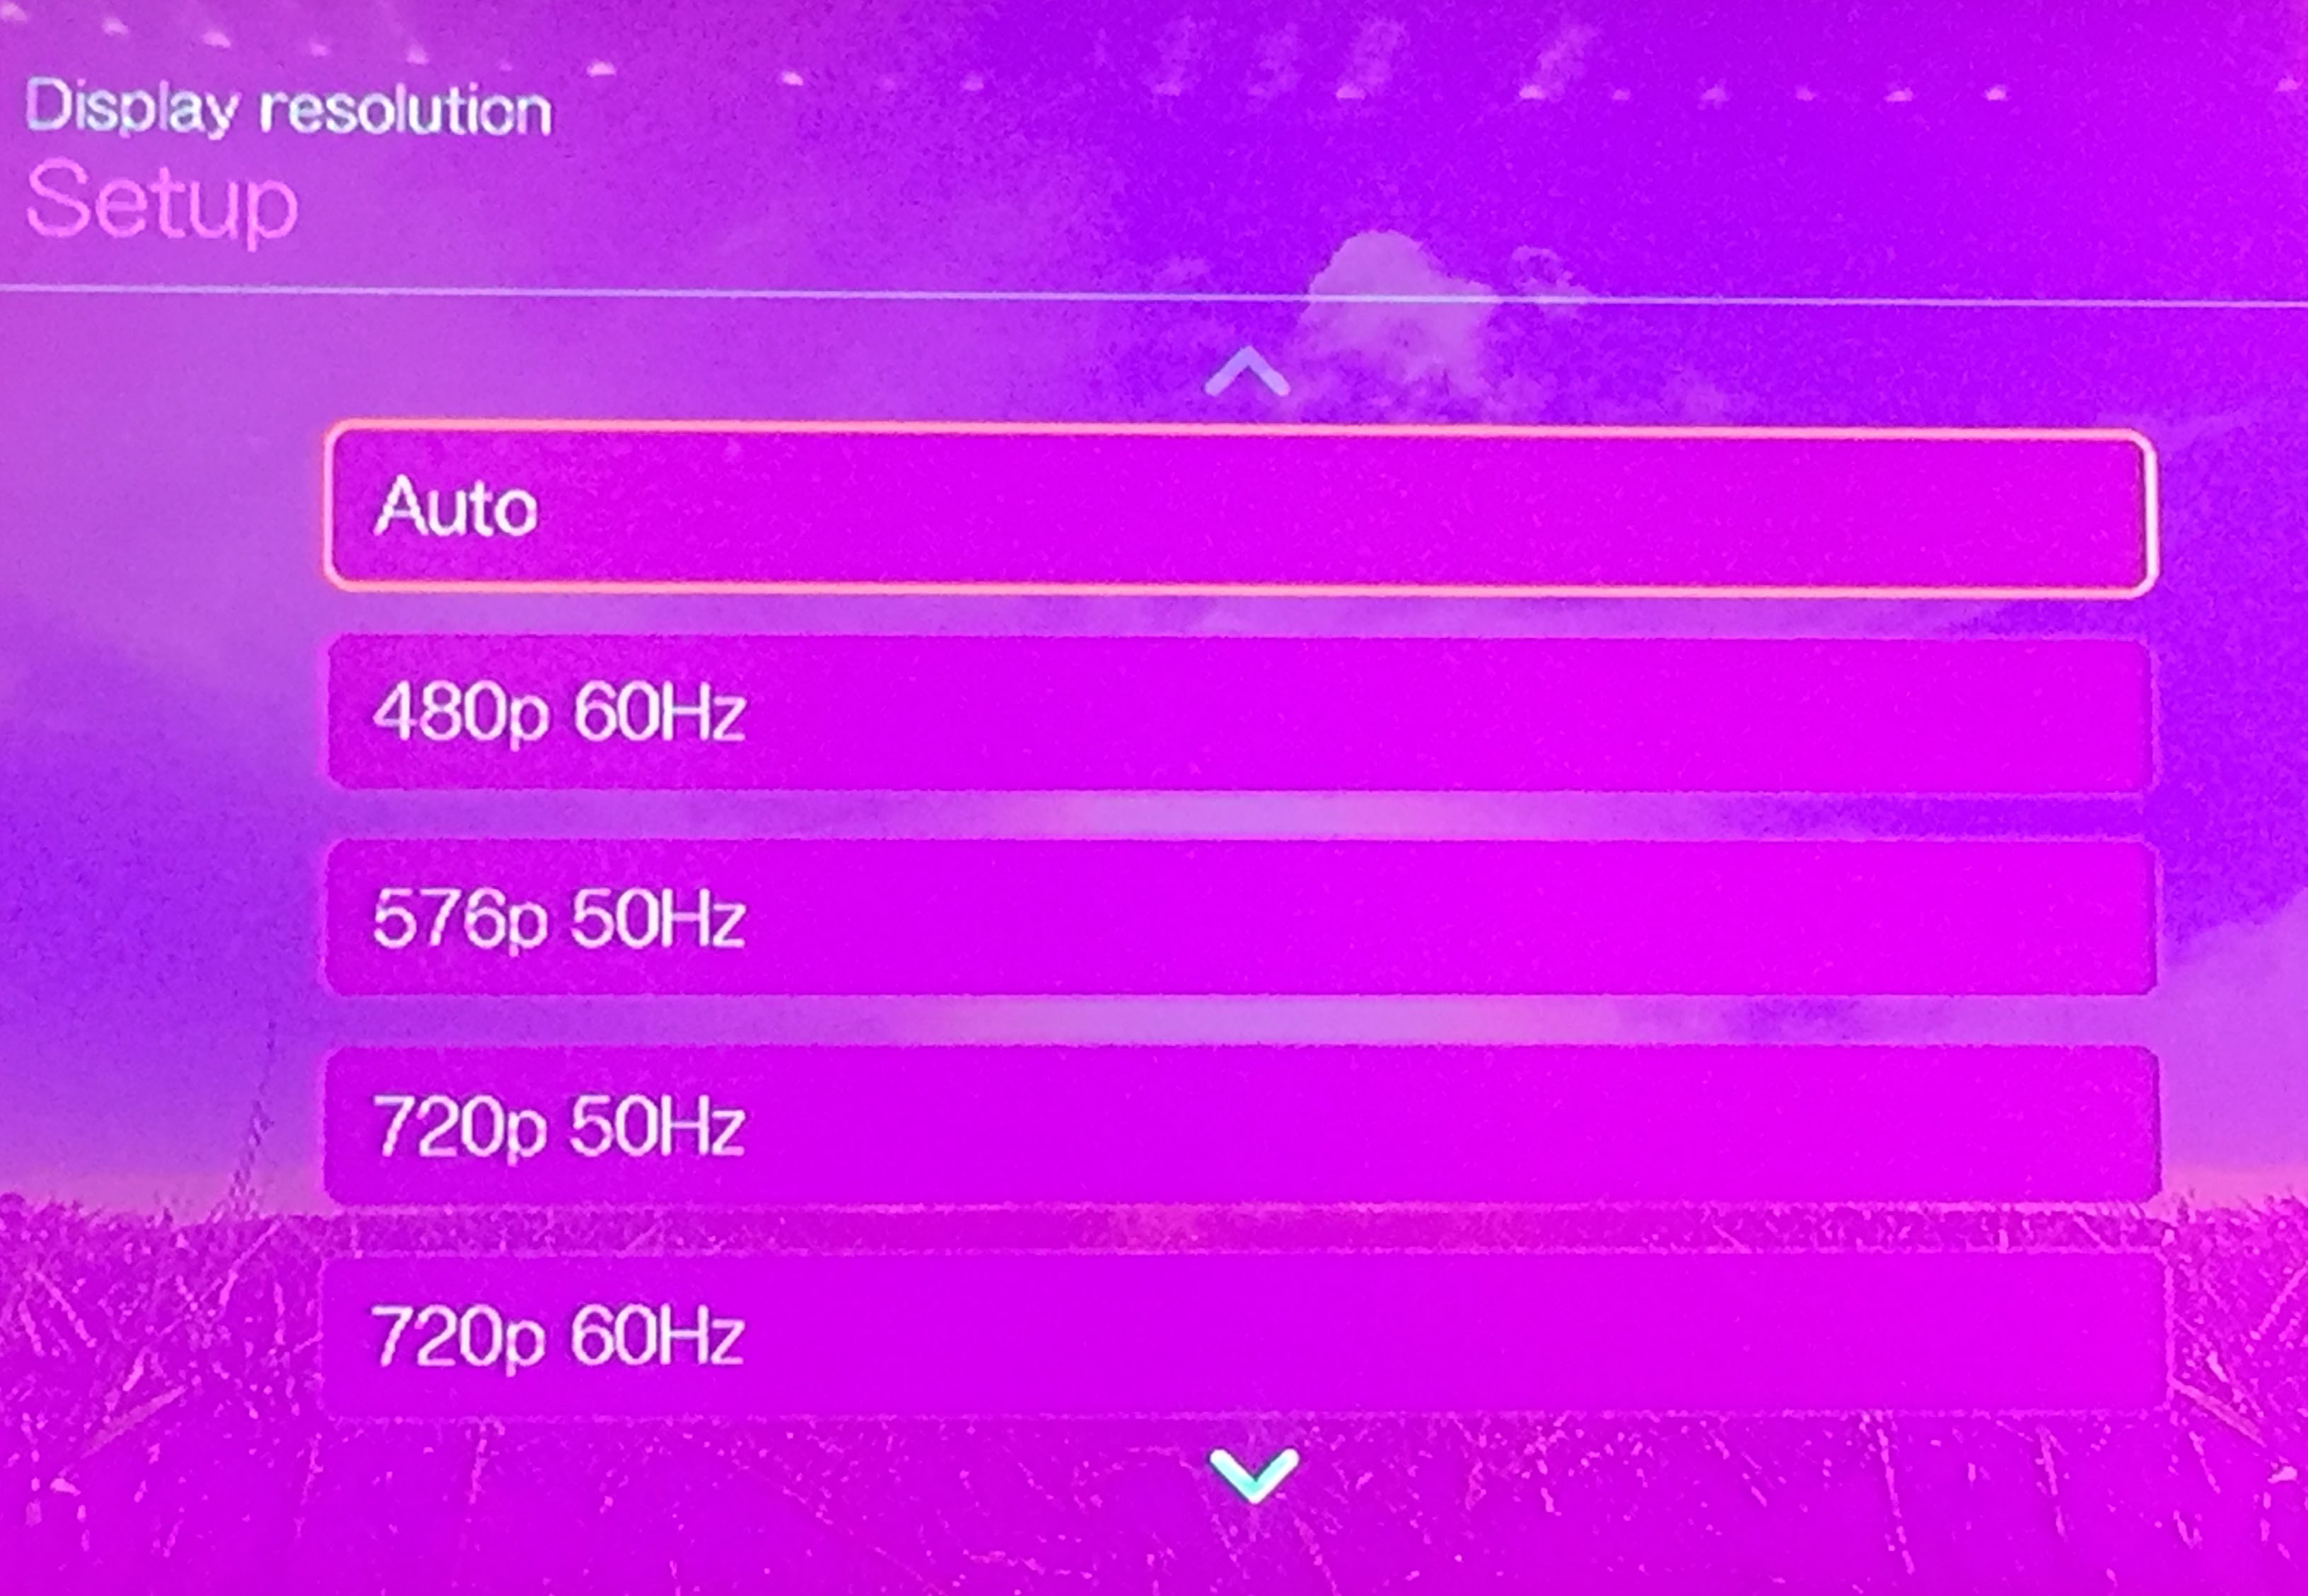 Next, choose OFF
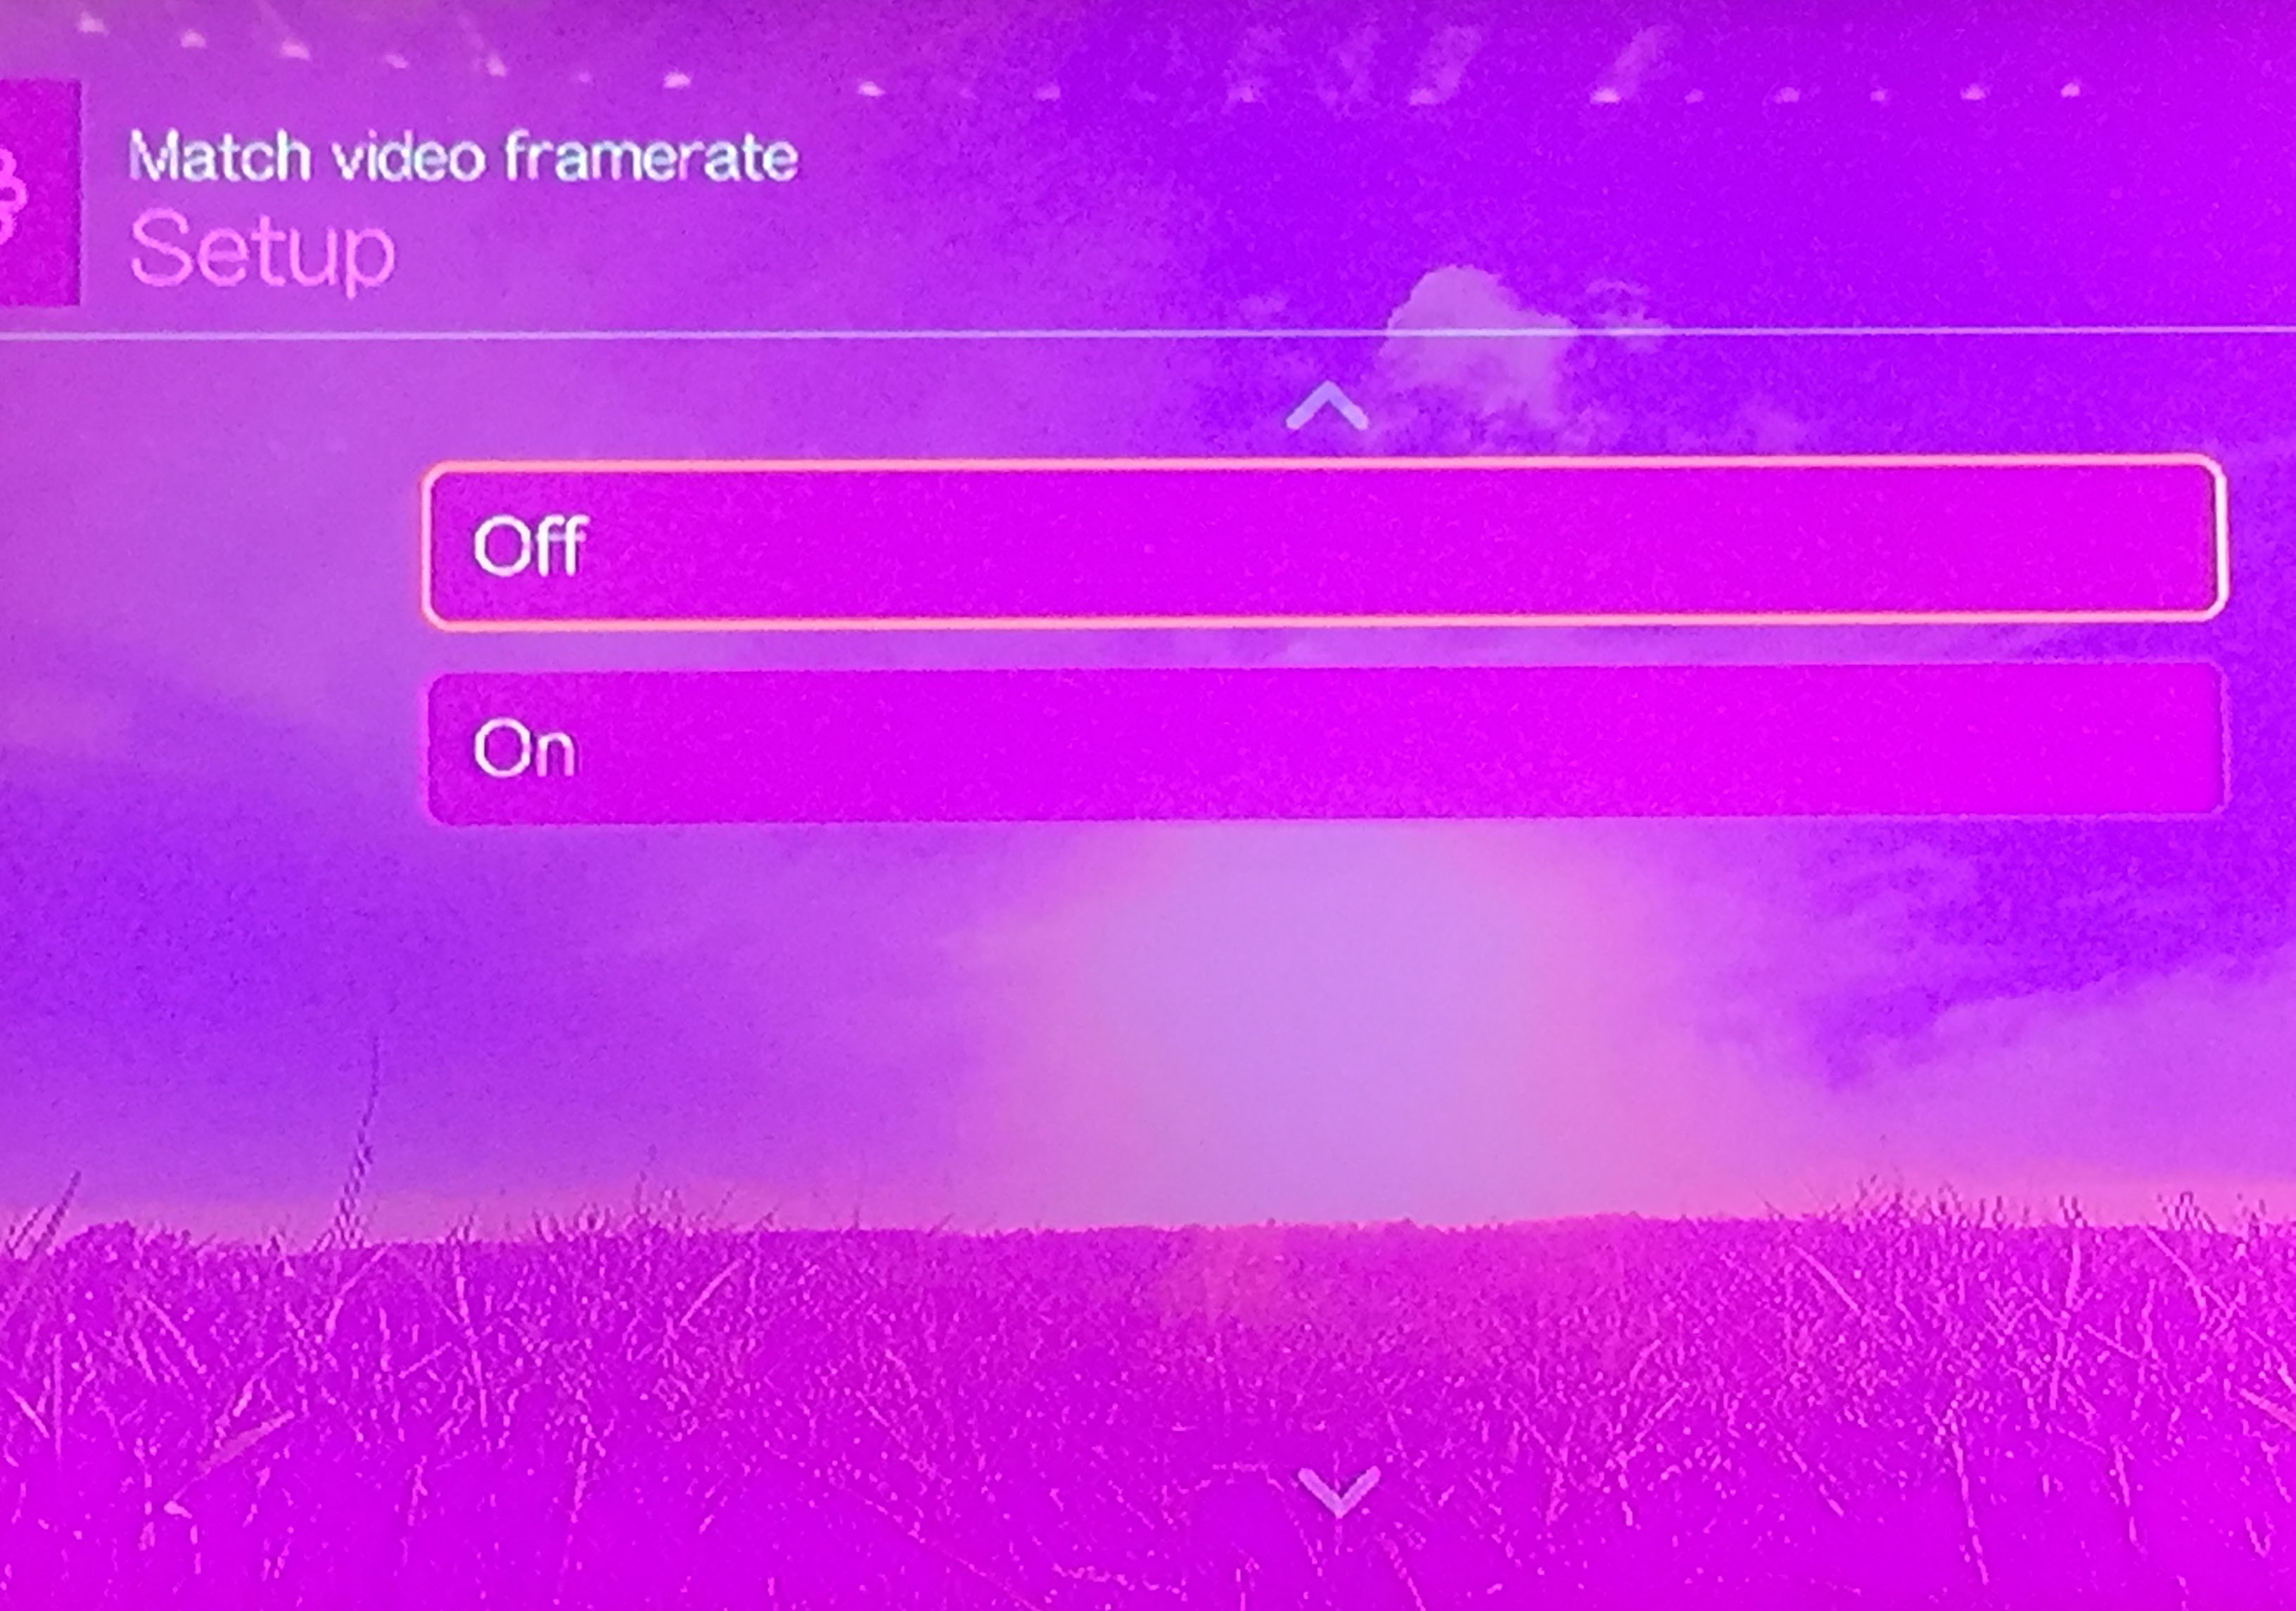 PINK BE GONE! Click OK to save the changes
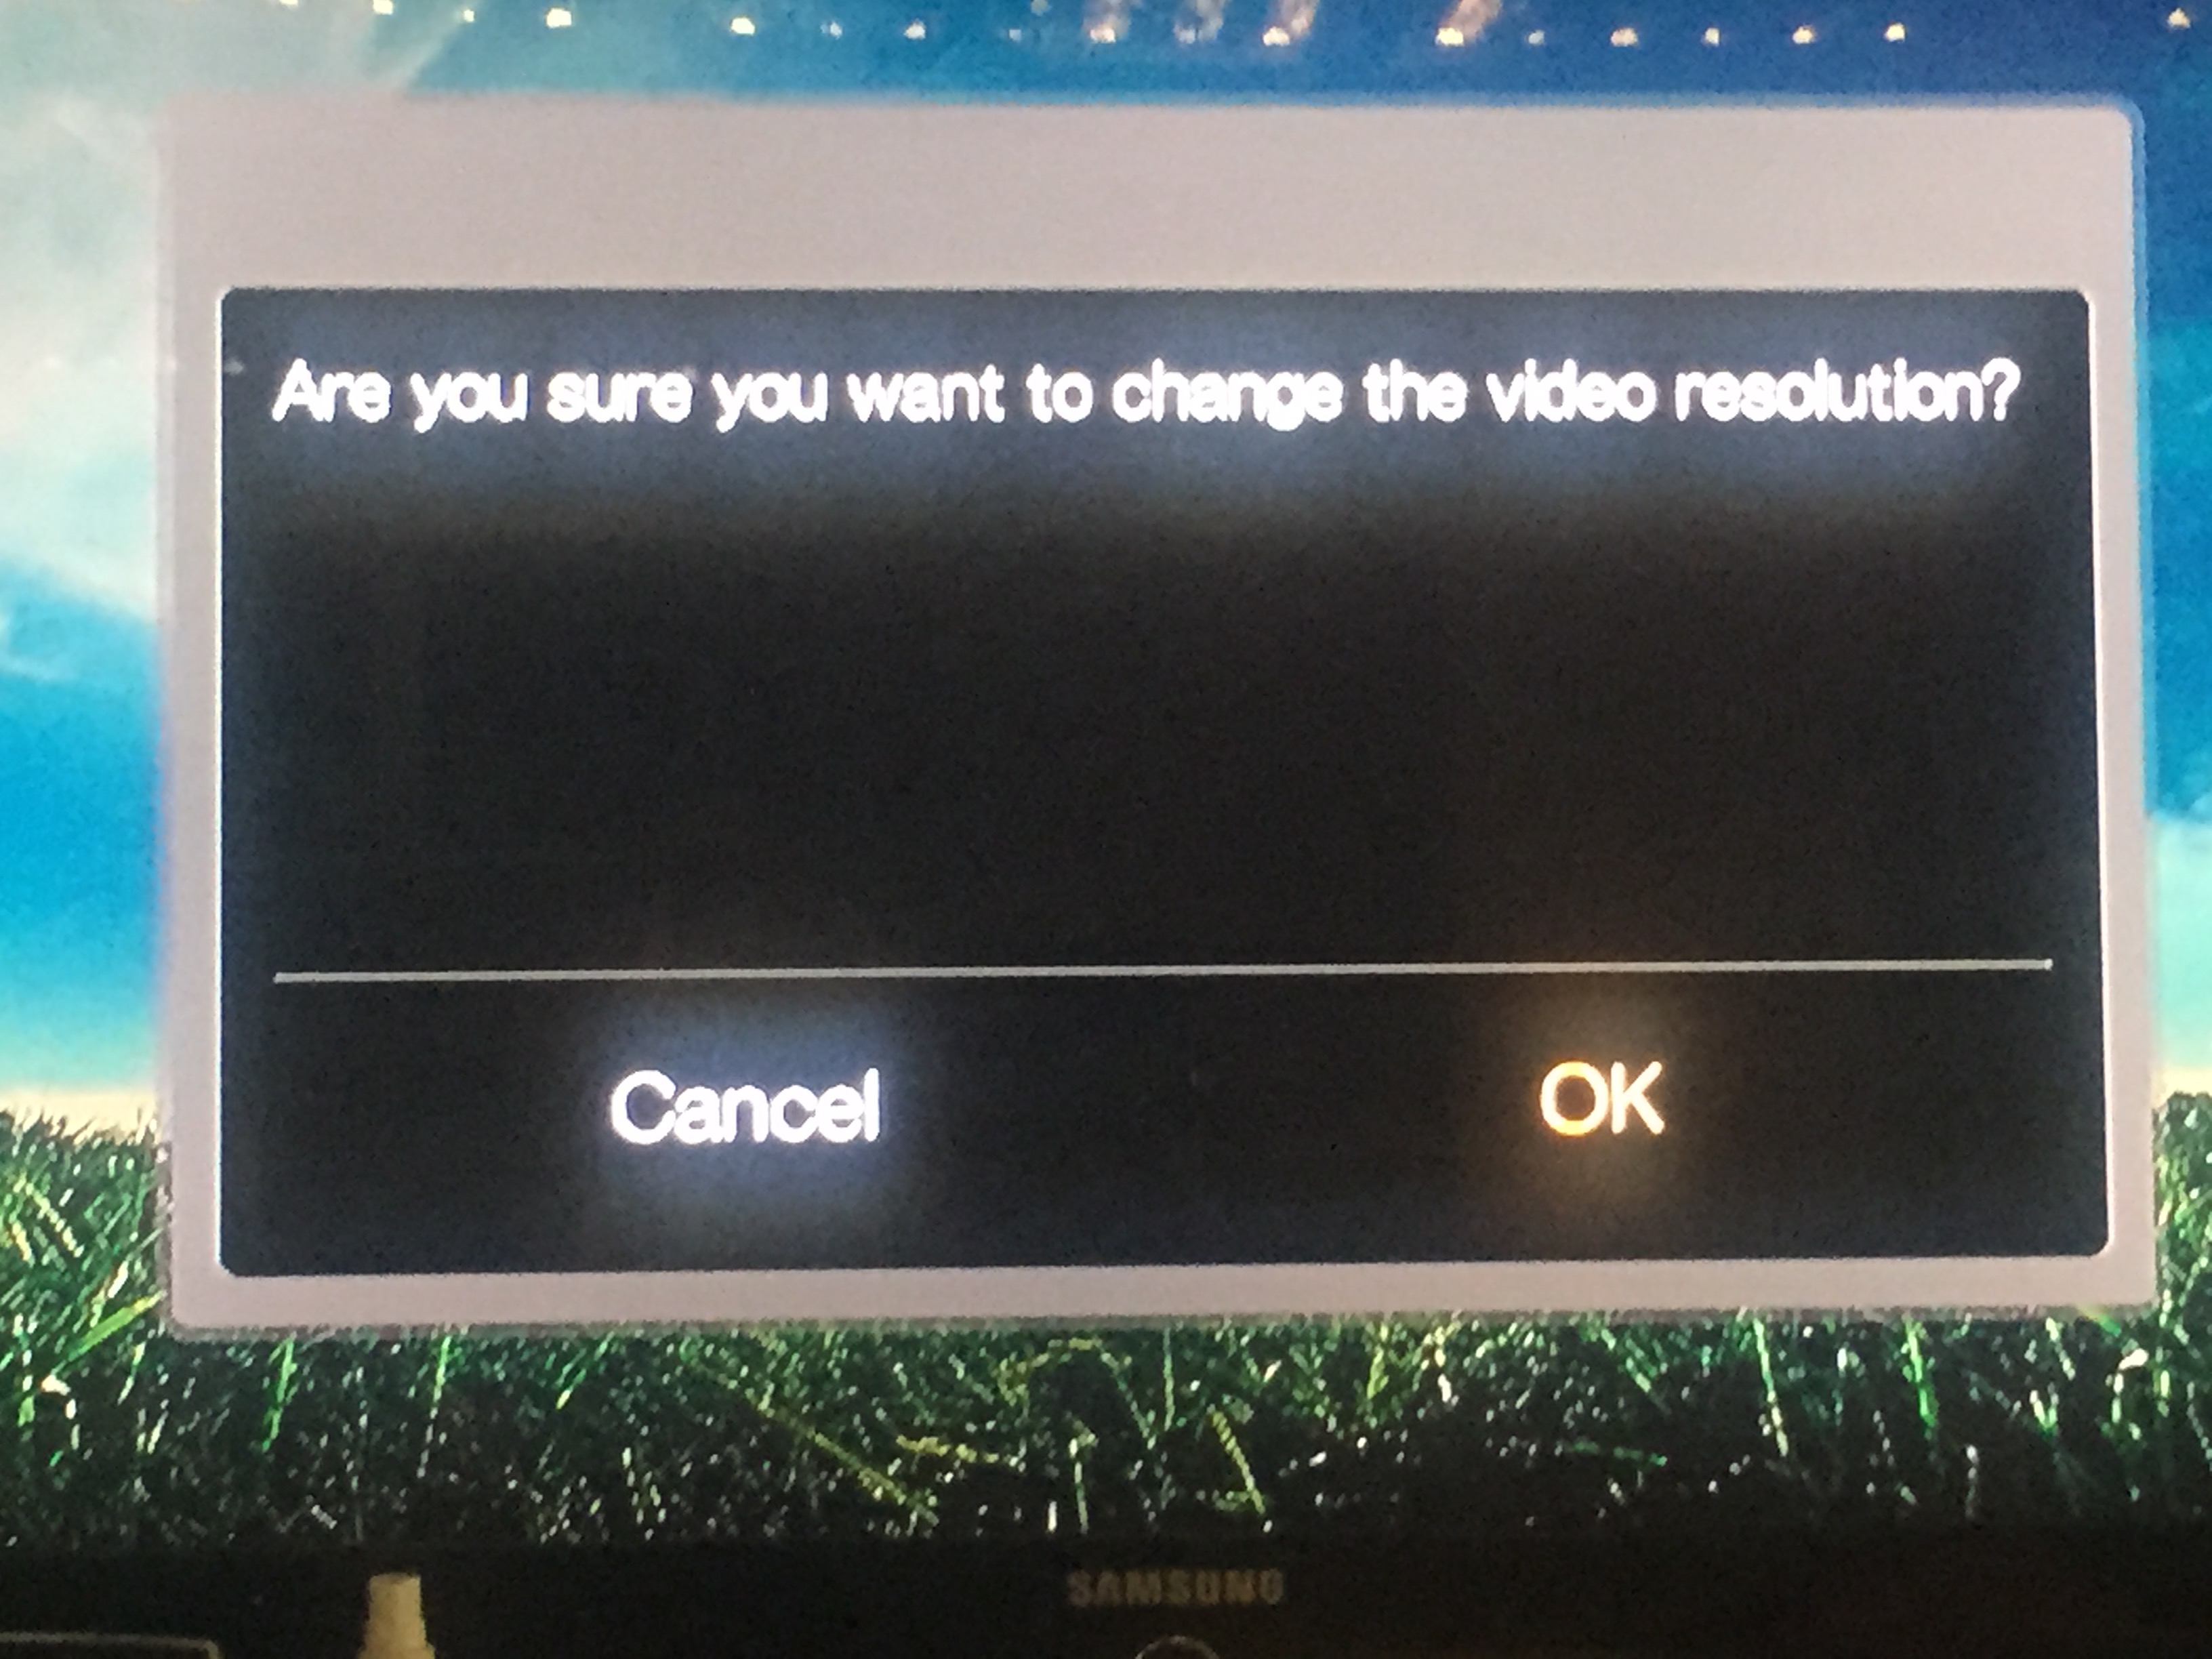 Close out of setup by pressing the Home button on your remote
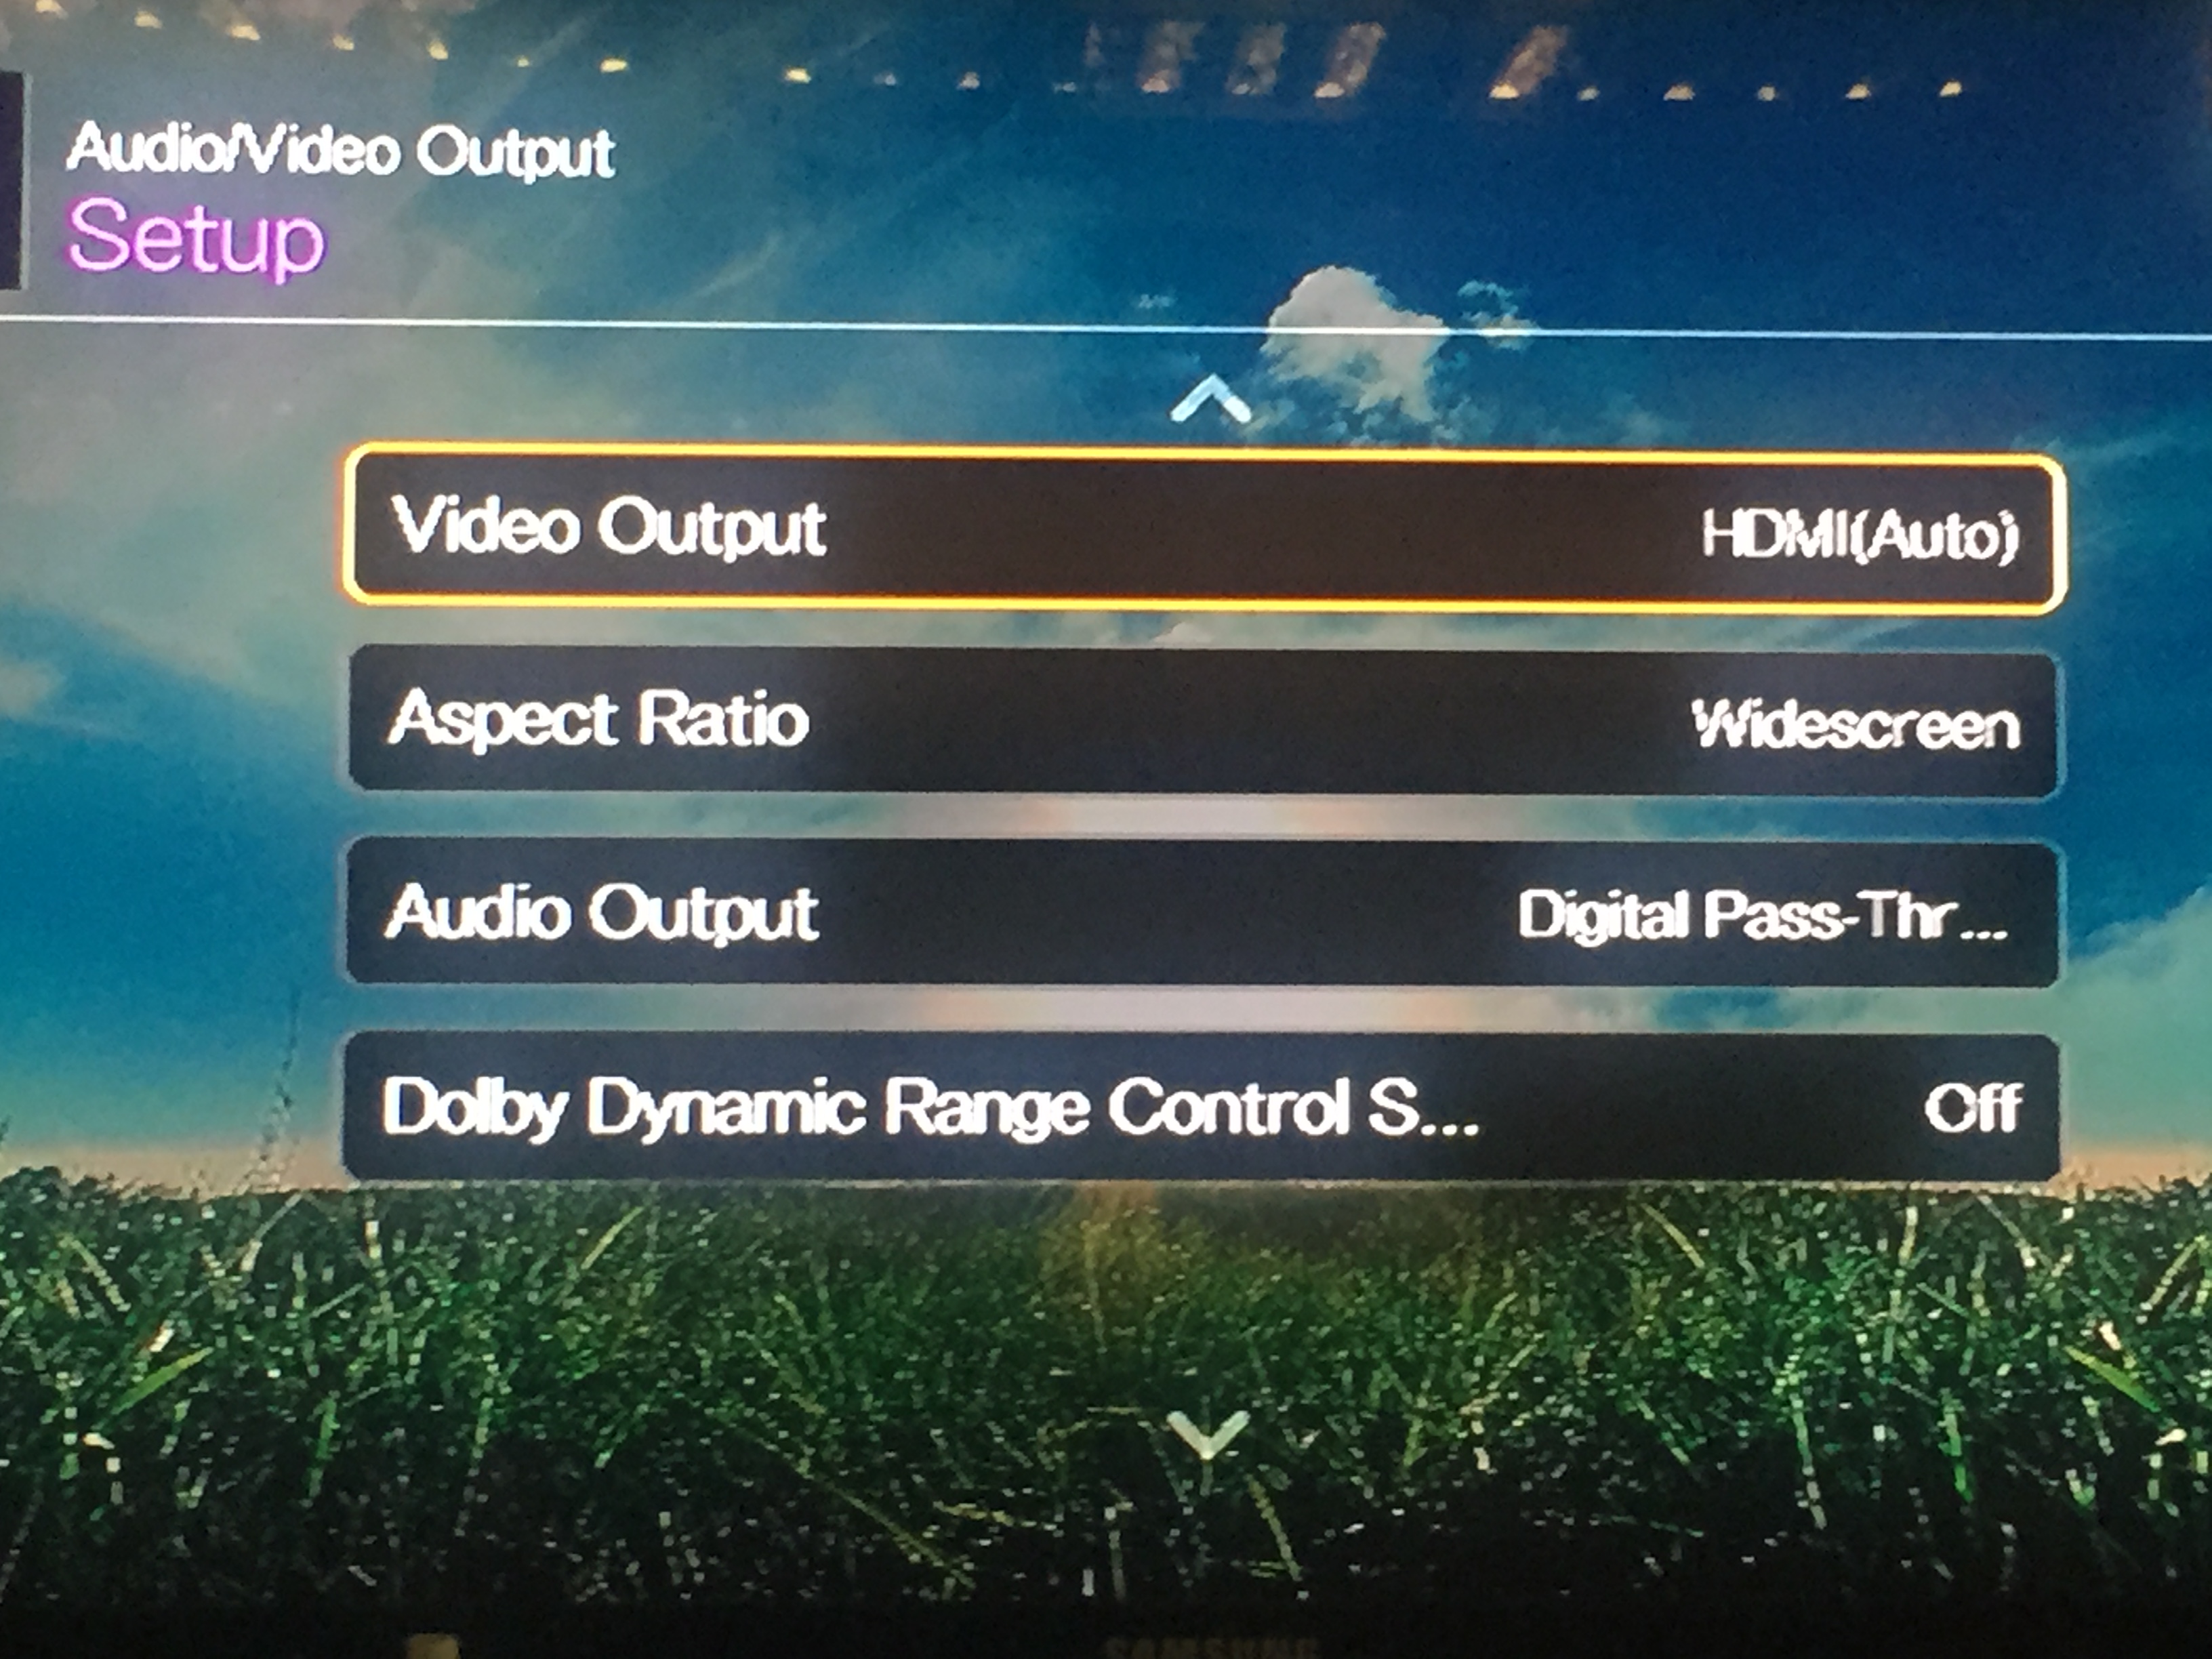 And you are now all set to go