Recently, a Webernets reader (Yes, there is at least one person looking at this site) crashed their XP Pro virtual machine, and it made me think about a really quick and easy way to back up and restore a VMWare Virtual Machine in the unfortunate event of a terminal failure.
As VMWare Virtual Machines can grow in size pretty quickly, especially if they are not regularly “cleaned up“, in most cases you will need to use an external hard drive or a very large USB key to store your back up. Whilst it is convenient to keep your back up on the same computer, its also no help to you at all if that computer is the one that fails, so keeping a back up some where else is a pretty good idea. I actually would recommend doing BOTH. You can never have too many back ups in multiple locations – ask any one who has ever had a catastrophic failure!
To get started, you need to locate your Virtual Machines, and this is REALLY easy! Open a finder window, click “Documents”, and you will see a folder called “Virtual Machines”
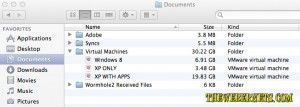 To back up your virtual machine, simply drag the virtual machine file to your back up destination. As you can see below, I have a virtual machine called “XP with Apps”, which is my main Windows computer, and I would be pretty lost if anything happened to it. I also have a FREENAS server, which is just basically a big hard drive that is attached to my home computer network, and shows up as a “Share”, so to back up my XP Machine, I just drag the virtual machine file onto the Freenas entry in the side bar menu, and let it do its work. As my Virtual Machine is quiet large, it does take some time for it to copy over.
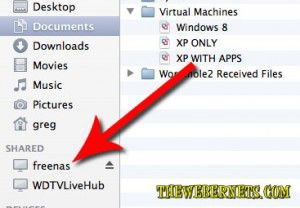 Now that we have our Virtual Machine backed up, you are probably wondering how easy it is to restore it? Its just as easy! Check this out!
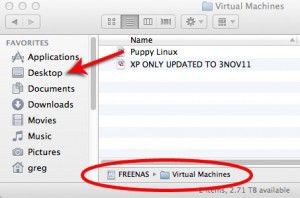
To restore a saved virtual machine, just locate it on your back up source (In my case, it is on my Freenas server), and drag it into your virtual machines folder. For this demonstration, I am going to restore my most FAVORITE Linux distro, PUPPY LINUX! I started by dragging the Puppy Linux Virtual Machine from my Freenas server to the desktop on my Mac.
Once the file had copied over, I moved it into the “Virtual Machines” folder in my “Documents” folder with my other virtual machines. Then to begin the restore, just double click the virtual machine file.
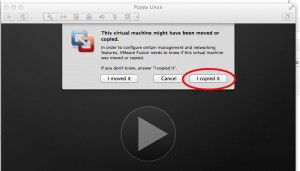 When you double click it, a window will pop up asking if you have copied or moved the virtual machine. In this case, we have performed both actions, we have moved, as well as copied the machine. Given the wording in the dialogue box, and the confusion that arises after being presented with a multiple choice question where both answers are applicable, I went with “If you don’t know, answer “I Copied It””, and I clicked “I Copied It”.
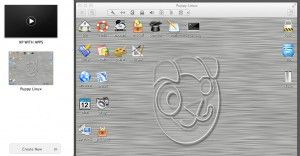
Almost instantly, my Puppy Linux virtual machine sprang into life, and before you can say “How the heck did I do that?” my Puppy Linux Virtual Machine was up and running!

