Recently I was made aware of a great Geocaching App for iPhone called Looking 4 Cache. It has quickly become my favorite Geocaching App, and not by a little. I think it is easily the “Ultimate” application for Geocaching on the iPhone at the moment! There is one thing this App can do, that the others can’t, that places it head and shoulders above the rest – 100 Percent Complete Total OFFLINE Geocaching!
 Now that I have satisfied the “SEO Gods” with my first paragraph, let’s get down to business. To begin with, I downloaded the free version, Looking 4 Cache lite. My first impression of Looking 4 Cache Lite was not good. I didn’t find it intuitive. As I had previously been using iGeoknife, I thought Looking 4 Cache’s interface was ugly by comparison, and I actually deleted it from my phone. It was only after discussing offline caching on a Facebook group that I learned the Full version/Pro version offered offline maps. I then paid my $10, bought the Pro version, and gave it another go. This was a big enough feature to force me to revisit and re-assess my opinions on this application.
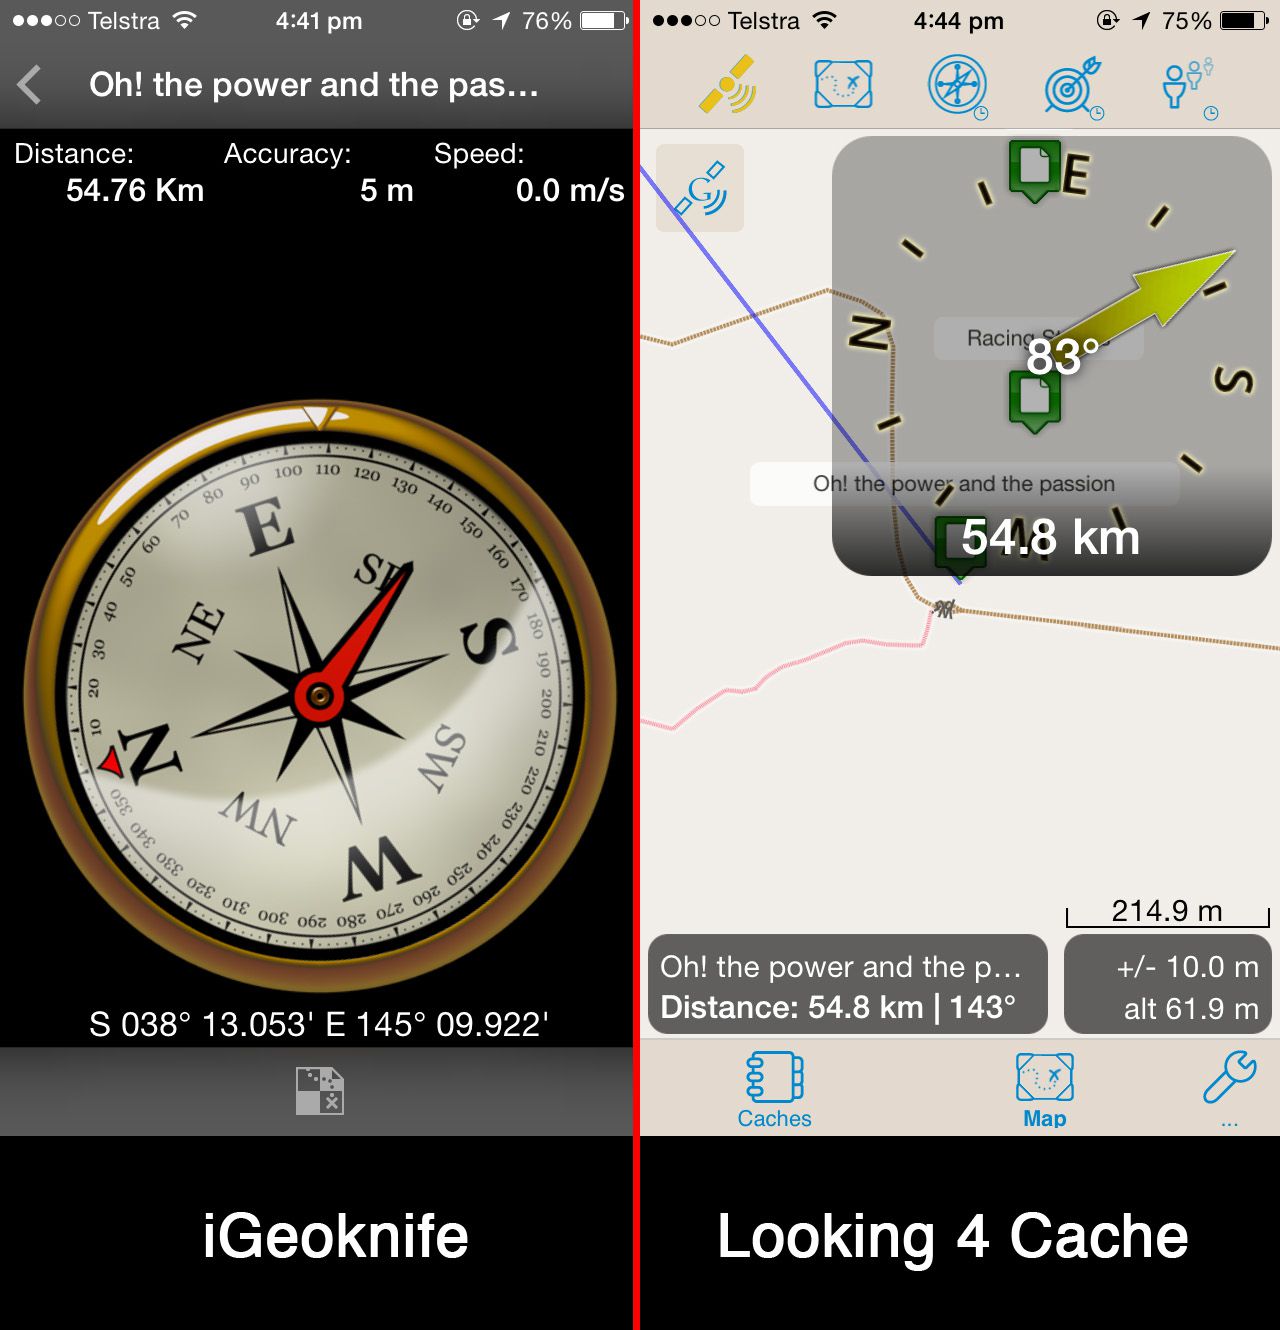
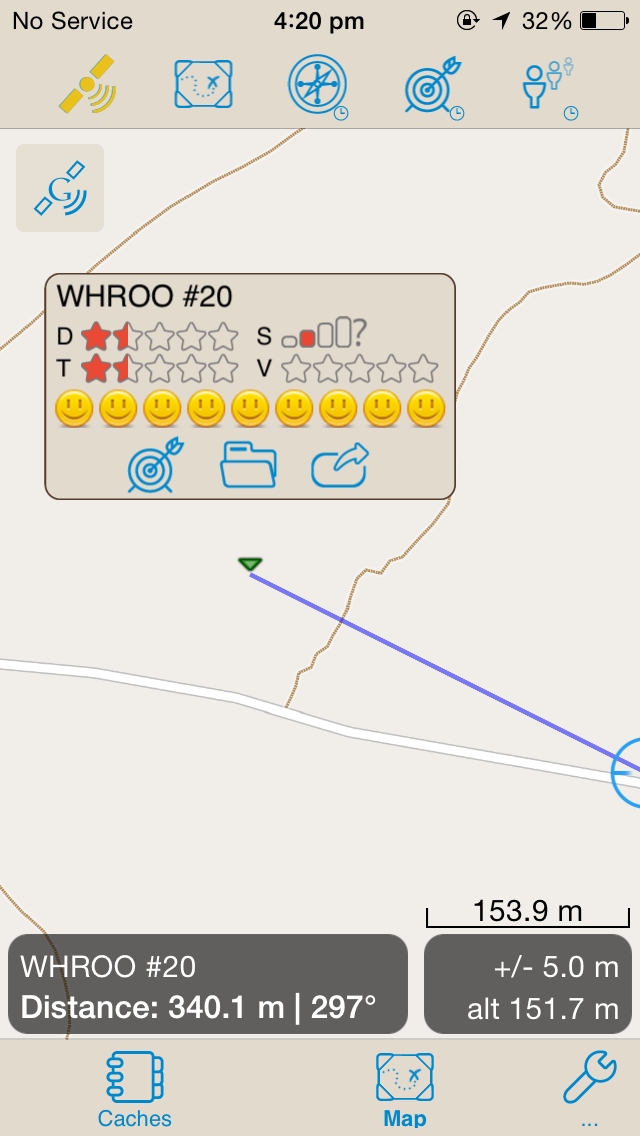 Not only do I find the App’s Icon to be somewhat disturbing, Initially, and still today, the interface looks somewhat like a “Pirate Map” to me… Perhaps that is what the developer was going for, and I can see why – Geocaching is somewhat of a “Treasure Hunt”. Having just played with iGeoknife (A far more polished, but considerably less capable app) prior to Looking 4 Cache (from hereon referred to as L4C), it’s cleaner and sharper (especially on iPad) appearance was still at the forefront of my mind. The first thing I did with each App, was to go and look for a cache. I am sure you will agree, the appearance of the compass in iGeoknife slaughters L4C’s offering.
 In my opinion, opening L4C for the first time is confusing, un-intuitive, and messy.
BUT……………….
If you can get past that, and give it a few minutes, and try and dig down into it, once the penny drops and you get the gist of how it is laid out, you will quickly forget the initial awkwardness forever, and like me, will also forget every other Geocaching App (Including the Official Geocaching App) you have ever tried.
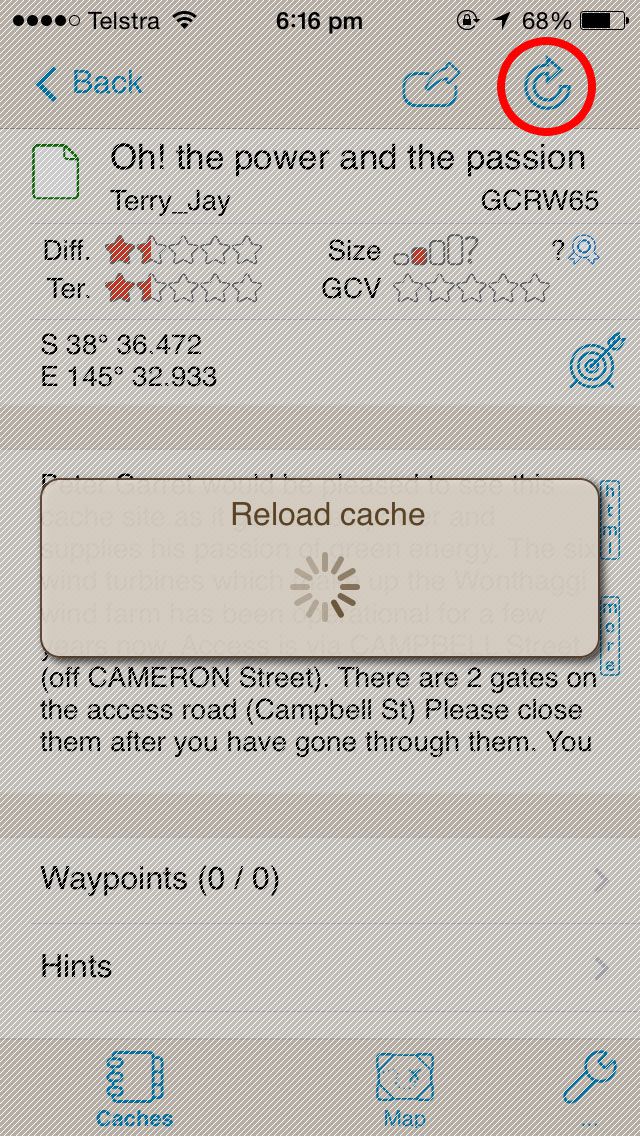
Unlike the Official Geocaching App (Which is the biggest data allowance gulping app on my iPhone), L4C seems to be built on the concept of low/no data usage. If you are caching online, it saves your “Live” searches, so if you leave your current location, and come back another day, those results are still available to you (assuming you haven’t cleared them). You might be thinking “but I wont be seeing the latest logs”. L4C gives you the option to update or reload the cache you are chasing, to get the latest information (obviously you need connectivity for this). Just hit the “Reload” icon in the top right corner.
 If you are using “Live” maps, it also seems to “Cache”…(pardon the pun) the map tiles as well, so once they are downloaded, it doesn’t appear to have to re-download them again whilst you are still active in that area.
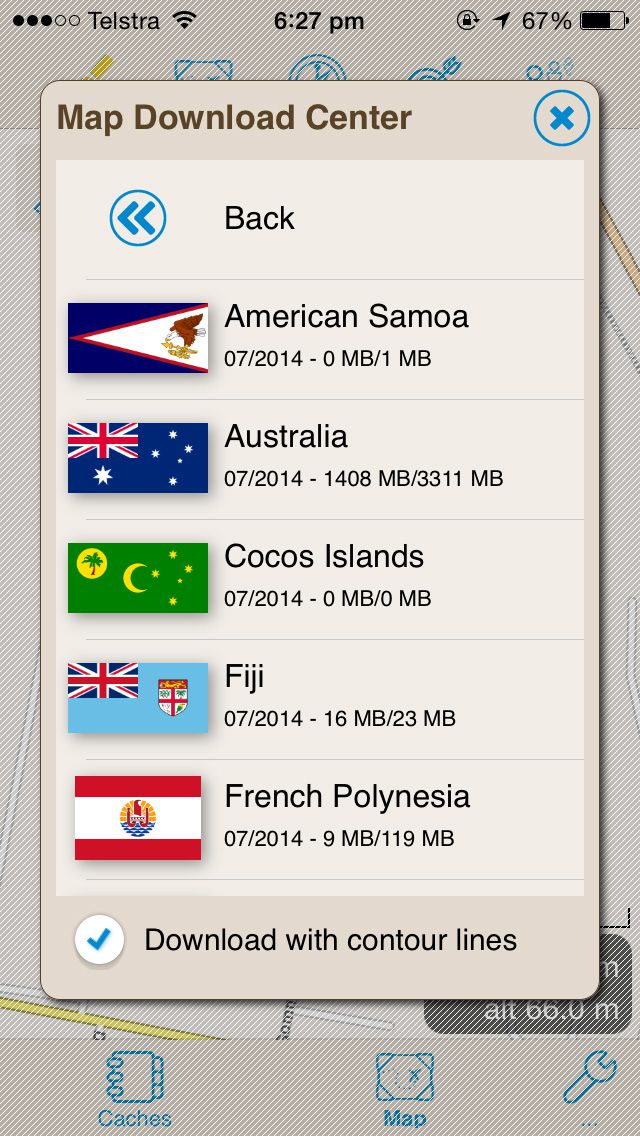
Where L4C cements itself as the number one Geocaching App, is it’s ability to download very detailed maps, and save them for offline use. The Map Download Centre gives you the ability to download detailed offline maps from pretty much everywhere in the world. But, be warned, as you would expect, detailed maps equals big impact on free space! If you want to cache offline, it is going to take up some room to do so! The offline Australia map is 3.3Gb! You cant have one without the other!
 Combine this with its ability to digest/ingest pocket queries from the Geocaching web site, as well as GPX files and databases that you might create using GSAK (Geocaching Swiss Army Knife), and you have got a 100 Percent Totally Offline solution.
 You can now go Geocaching literally in the middle of nowhere, completely cut off from the internet, provided you have your maps and pocket queries in order before you leave. Once you have found your caches you can create “Found It” logs as you go, and once you have data coverage again L4C will send them off to geocaching.com automatically. Cool Huh!
L4C has a website you can check out Here.