Free Video Cutter – Split MKV and MP4 with Avidemux on Mac Windows and Linux
If you have ever read one of my articles on compressing video in Handbrake you will have seen me rant about cutting off a section of your source file, and encoding a 2-3 minute chunk too see how your settings look as opposed to waiting all night for the whole video to encode. I was asked recently how this can be done for free, as pretty much everything out there ultimately ends up asking you for money. Avidemux is a free open source tool that allows you to split and cut your MKV and MP4 video files, including 4K UHD. They have versions for Mac, Windows and Linux, and it works really well!
The latest stable releases can be downloaded on Github HERE. If you are looking for the latest version you can try the nightly builds from the Avidemux site HERE.
Once you have it downloaded your copy, open it up and you will see the main user interface window.
ProMovie is a fantastic app for your iPhone that takes recording video to a new level. It has a host of professional features that allow you to fine tune many aspects of video recording, and goes way beyond the capabilities go the built in Camera App. You can check it out on the ProMovie Recorder web site. Note, this is not a free app, but it is worth every penny!
After not using it for a short while, I went in today only to discover that I no longer had the ability to zoom or movie between the wide angle, telephoto and normal lenses on my iPhone 13 Pro. I guess some things may have changed in a recent update. I found this quite frustrating. I was not able to find the answer online either. But after a great deal of messing around I figured it out.
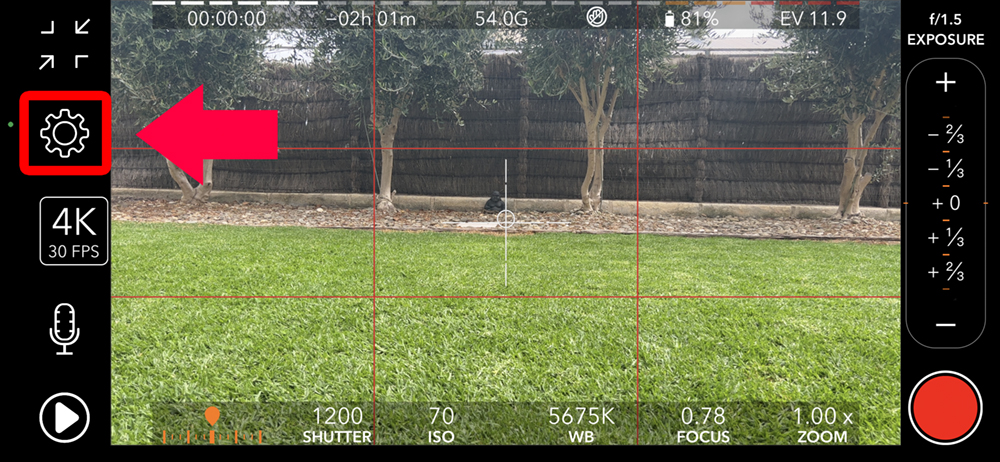
To get the zoom and wide angle working again, click the settings icon, it looks like a little gear.
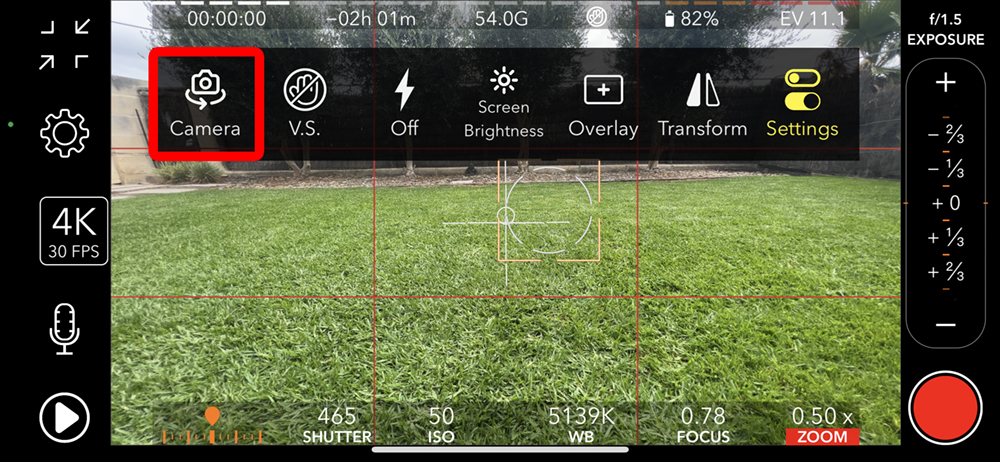
This will open a menu on the screen – select “Camera”
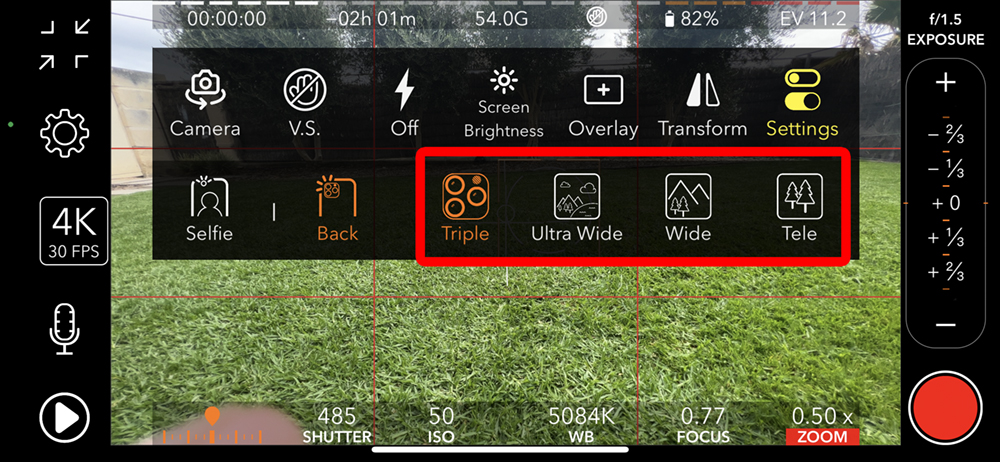
Another menu will appear, and it is in here that you can select which lens to use.
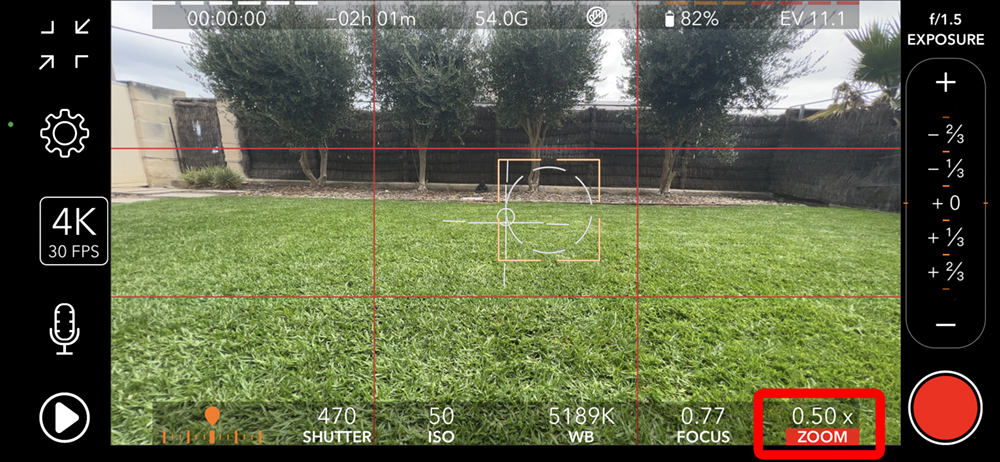
I selected “Triple”, which gave me back the ability to use all three lenses again, and choose from ultra wide angle and zoom al the way through telephoto. You can also lock in on a specific lens if you choose.
Want to Stop Transmission Opening Dialogue Box Window For Each New Torrent Added?
Transmission is a great piece of software, but in its default settings state it does have some quirks that can be a little annoying. To learn how to stop this you can watch the below video, or continue reading.
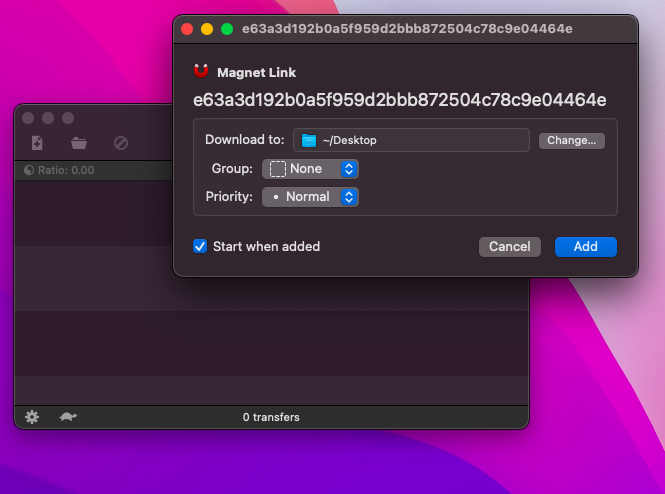
When adding a new torrent, a dialogue box ALWAYS opens, even after you have set your default download locations for both complete and incomplete files.
Wouldn’t it be great if you didn’t get that window, and downloads just added and started automatically without you having to click the “Add” button every time?
Here’s how to stop this annoying behaviour once and for all!
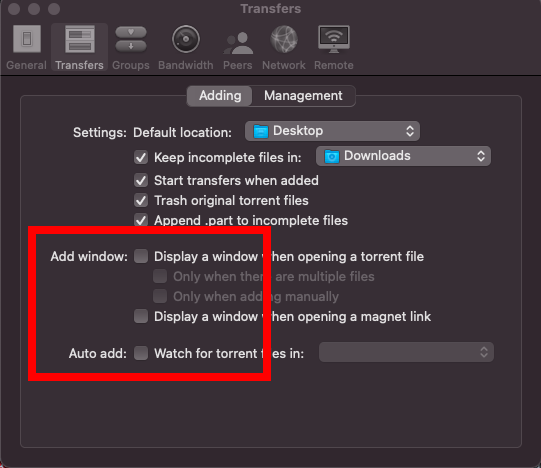
Open Preferences, and click on the “Transfers” tab. Make sure you are looking at “Adding” and not “Management”.
To stop it from opening that annoying window make sure ALL of these options are unchecked.
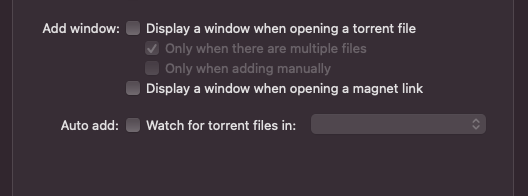
**NOTE** – Be sure that EVERY option is unchecked! I found in my testing that leaving one checked (as shown below), and un-checking the parent option still made the window appear, even though the check was greyed out
As always, make sure you are using the latest version of Transmission BT which can be downloaded HERE.
From time to time you may find you need to know the frame numbers of individual frames in your videos and movies. This is especially useful if you are compressing and encoding video and want to be able to refer back to your source video and compare it to your encoded video. By picking a specific frame and knowing its number, you can view it from both versions side by side to see how it looks.
I recently stumbled upon DJV, a really useful and FREE program from Darby Johnston that amongst many other things, will allow you to see the frame numbers in videos. It has Windows, Mac and Linux versions, and can be downloaded free from the Darby Johnston Github Page HERE.
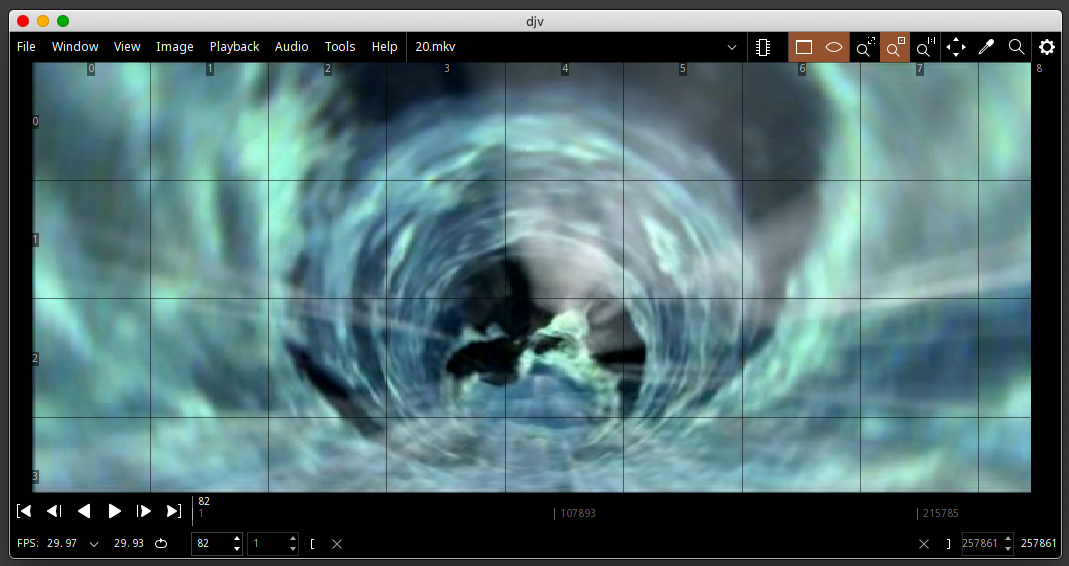
Once you have downloaded and installed DJV open it up, and you will see the main interface. Drag and Drop your video file onto DJV to load it.
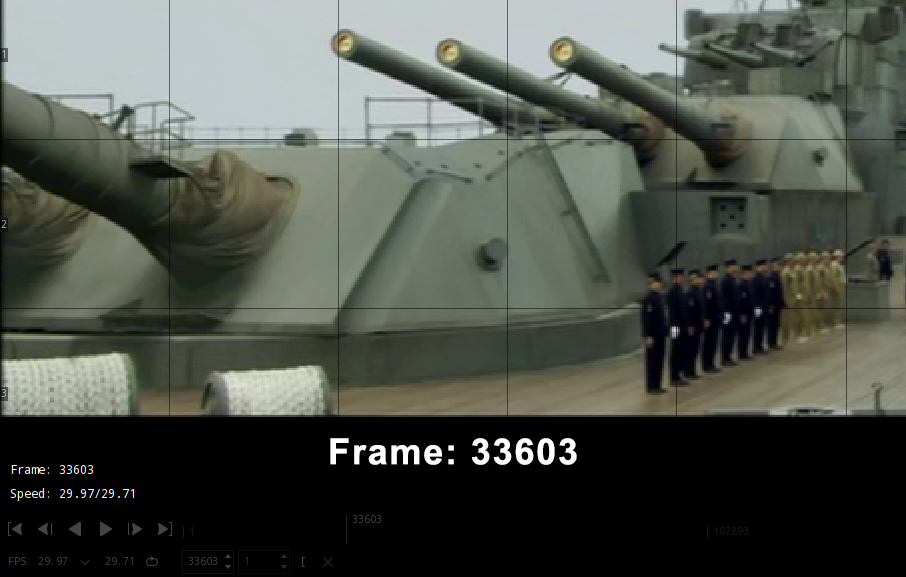
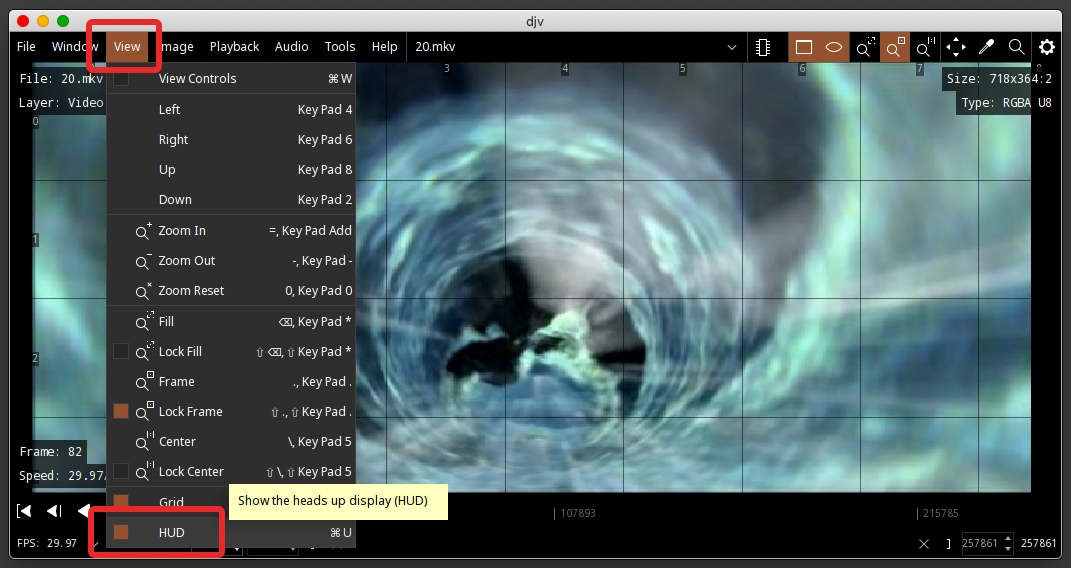
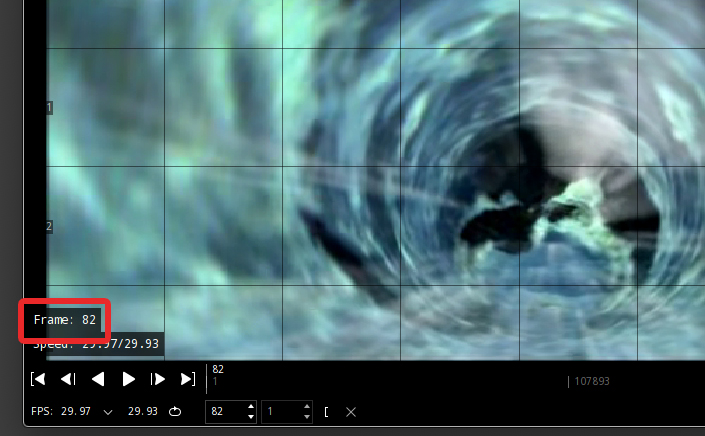
To show the frame numbers we need to click the “View Menu” and select “HUD”, which is short for Heads Up Display.
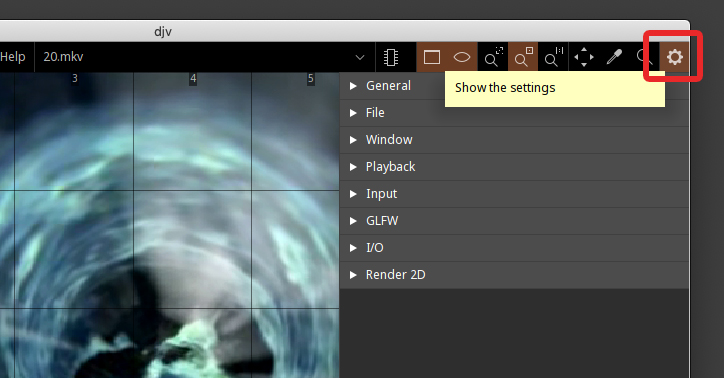
Next, open the settings/preferences from the top right corner.
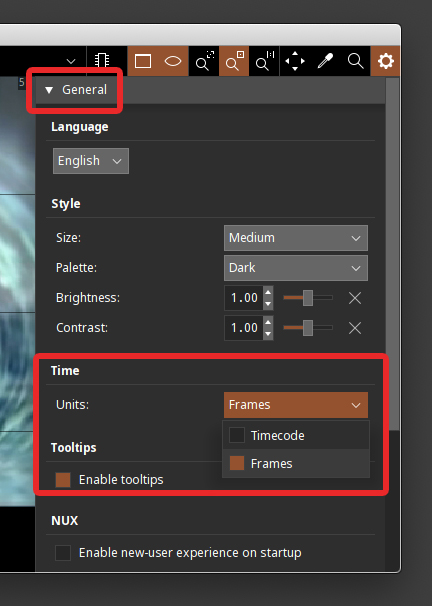
Then click and expand the “General” section, and in the “Time” option set the units to “Frames”
In the bottom left corner you will now see the frame numbers displayed.
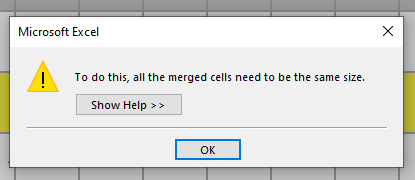
Has Microsoft Office Excel ever confronted you with the error dialogue box that says “To do this, all the merged cells need to be the same size” when you are trying to sort your columns and data? It was driving me crazy, but a little dig into the documents settings revealed the culprit. To solve it just click the little triangle in the top left hand corner of your spreadsheet once to select the whole document.
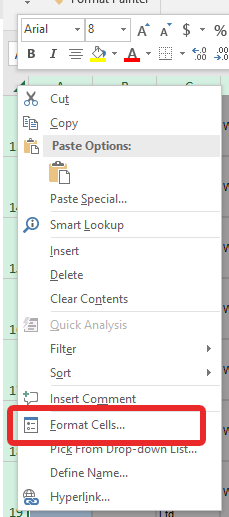
Then right click on it to reveal some options and select “Format Cells”
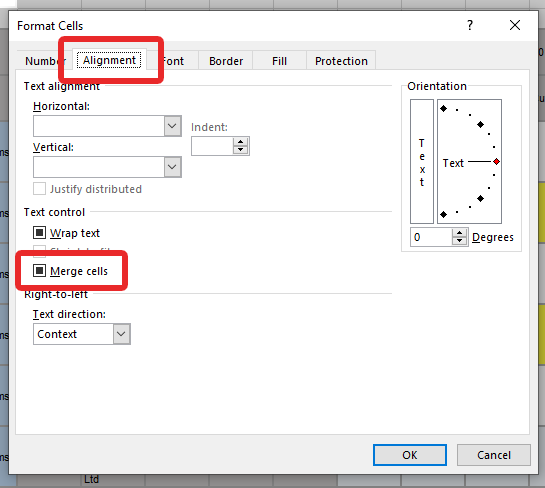
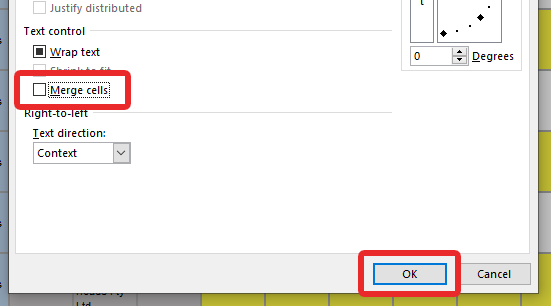
This will open another menu with six tabs. Select the “Alignment” tab. Once selected, find the “Merge Cells” option.
Once you have found it, click it a few times until the box is empty.
Once the check box is empty, click “OK” and you are back in the game!
This is a simple easy guide on how to make the best encodes with the smallest file size in Handbrake without having to know or understand all of the settings. Just copy my settings and you’re done!
To get started right away please scroll down to the red text that says “START HERE”.
**NOTE** – These settings are for DVD Video ONLY – You can find a updated Blu Ray Tutorial HERE.
MY RANT – By popular demand, I have decided to update my two articles on how to quickly and easily produce great quality DVD and Blu Ray video encodes with Handbrake. The program interface has changed, the H.264 codec has been refined, and the TV’s we view our movies on have evolved dramatically since writing the original articles.
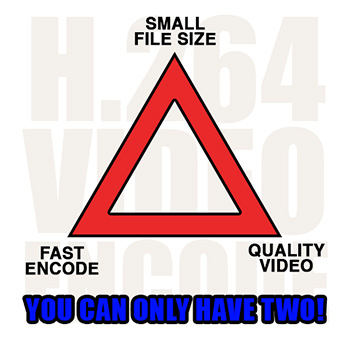
THE GOAL – To produce the highest quality video with the smallest possible file size, whilst retaining the entire original 5.1 Dolby Digital sound track. DVD’s playing on todays large 4K TV’s look terrible due to their low resolution. We will also use Handbrakes filters to clean up the picture quality.
DISCLAIMER – This method will produce very nice quality DVD videos, but may take 2 hours or more to process each hour of video, so my advice is to let run whilst you are sleeping each night. Unfortunately, good quality video with small file size cant be done quickly, it just doesn’t work that way. Also, All set-ups are different. We all have different size TV’s, different size and shape rooms, different players and a plethora of other factors that could produce varying results. This is a guideline, and a great place for a beginner to start. If you feel there is something that could be done better, or should be done differently, please feel free to let us all know by leaving a comment.
THE TECHNICAL STUFF – My TV is a 65″ Samsung 4K which I absolutely love, and sit about 10-12 feet back from. I play the media from a Apple TV 4K, and use the Infuse Pro 5 player app. The video is encoded on a 3-4 year old HP desktop computer with a Intel I5 processor. The version of Handbrake used in this tutorial is v1.2.0 which is the current stable release for February 2019.
We use cookies on our website to give you the most relevant experience by remembering your preferences and repeat visits. By clicking “Accept”, you consent to the use of ALL the cookies.
This website uses cookies to improve your experience while you navigate through the website. Out of these, the cookies that are categorized as necessary are stored on your browser as they are essential for the working of basic functionalities of the website. We also use third-party cookies that help us analyze and understand how you use this website. These cookies will be stored in your browser only with your consent. You also have the option to opt-out of these cookies. But opting out of some of these cookies may affect your browsing experience.
Necessary cookies are absolutely essential for the website to function properly. This category only includes cookies that ensures basic functionalities and security features of the website. These cookies do not store any personal information.
Any cookies that may not be particularly necessary for the website to function and is used specifically to collect user personal data via analytics, ads, other embedded contents are termed as non-necessary cookies. It is mandatory to procure user consent prior to running these cookies on your website.